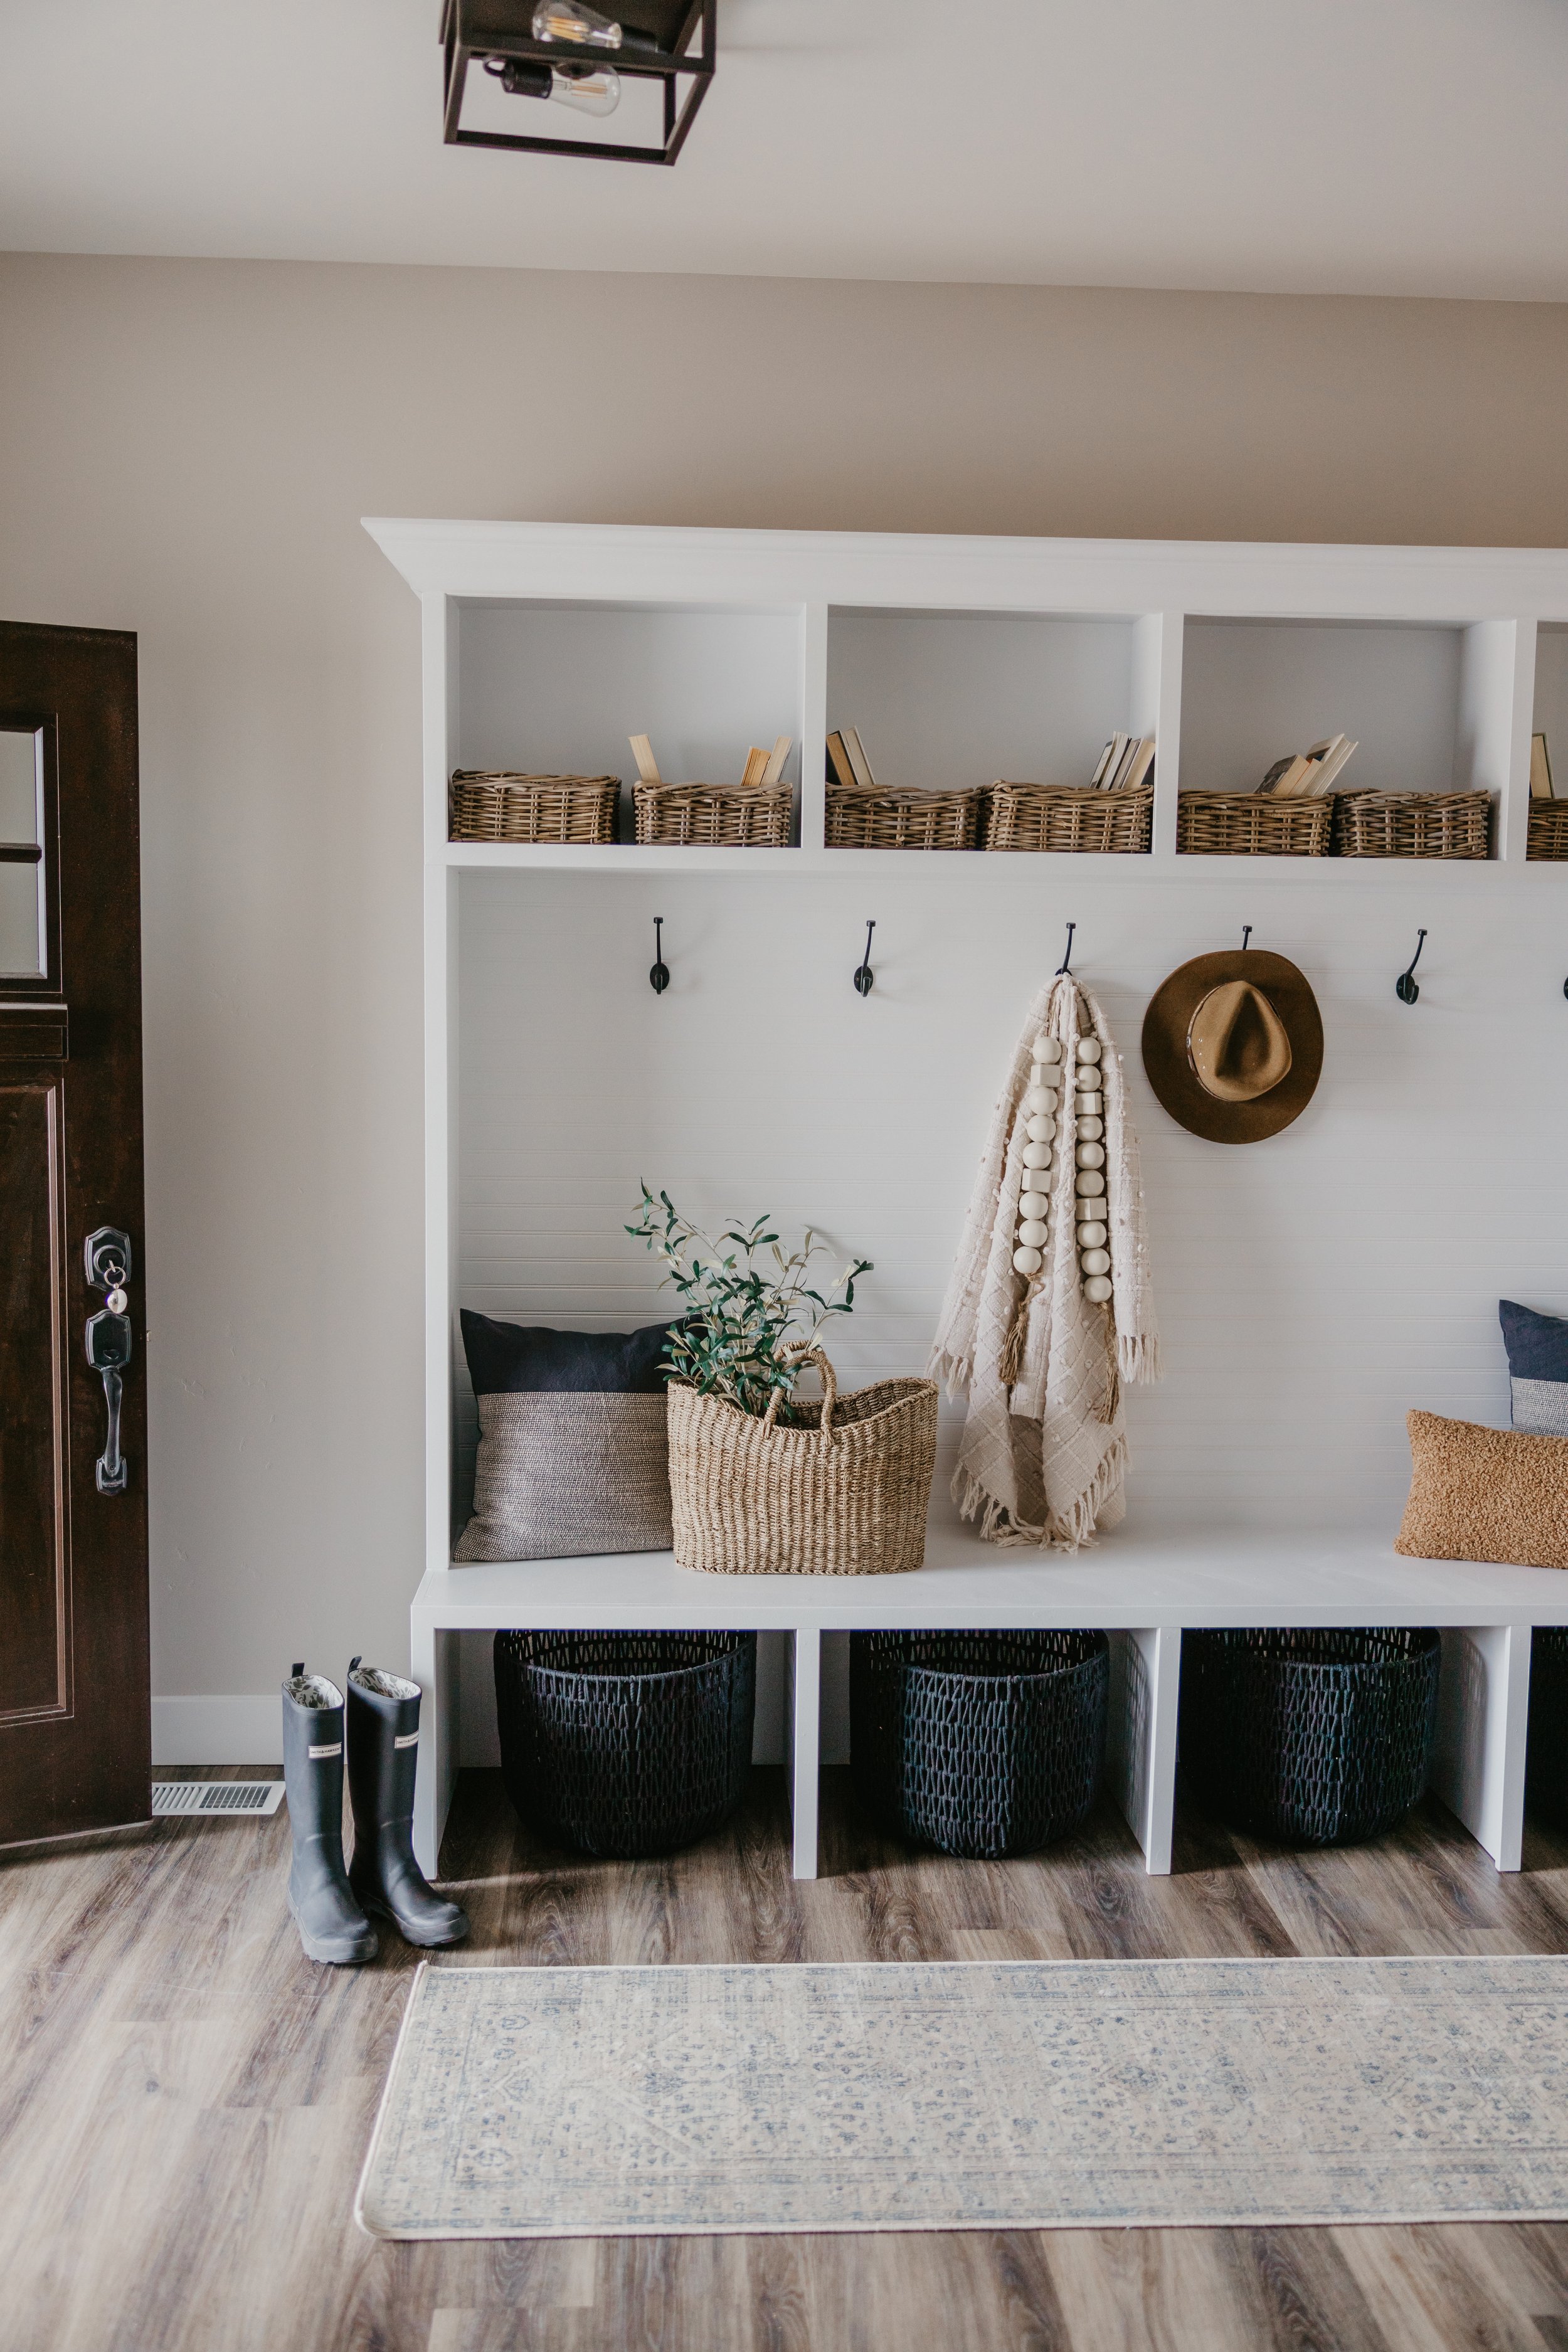
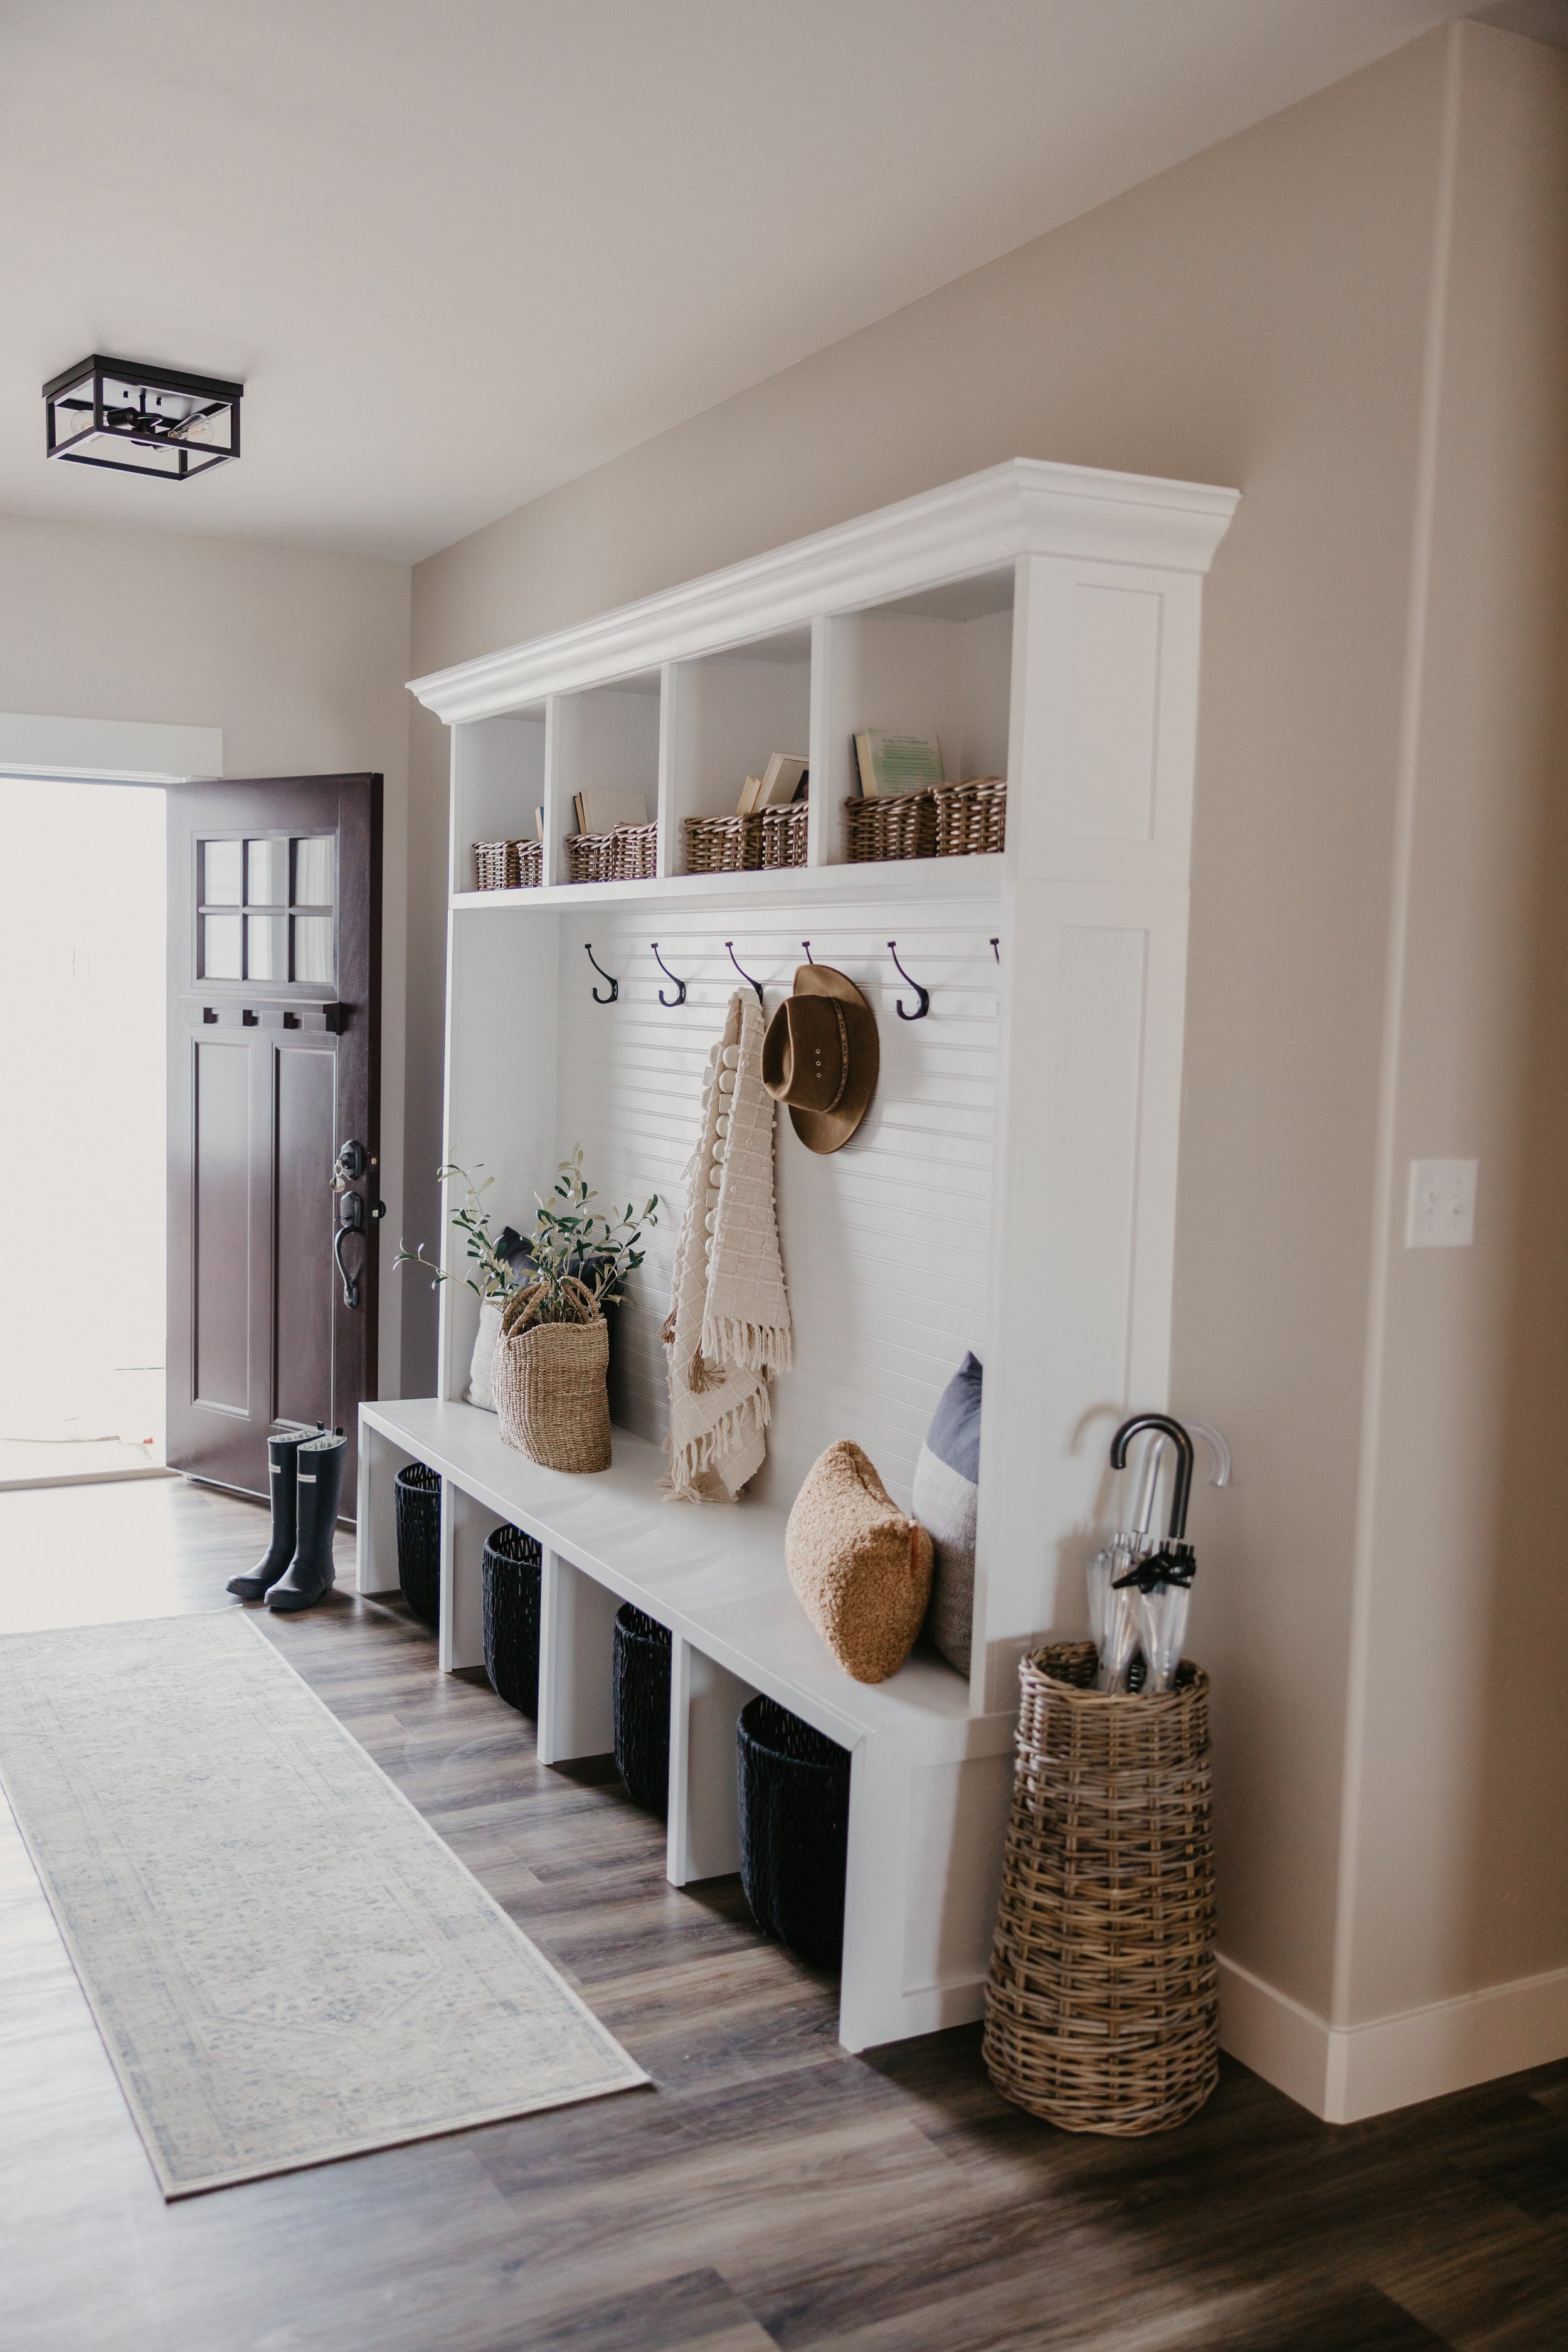
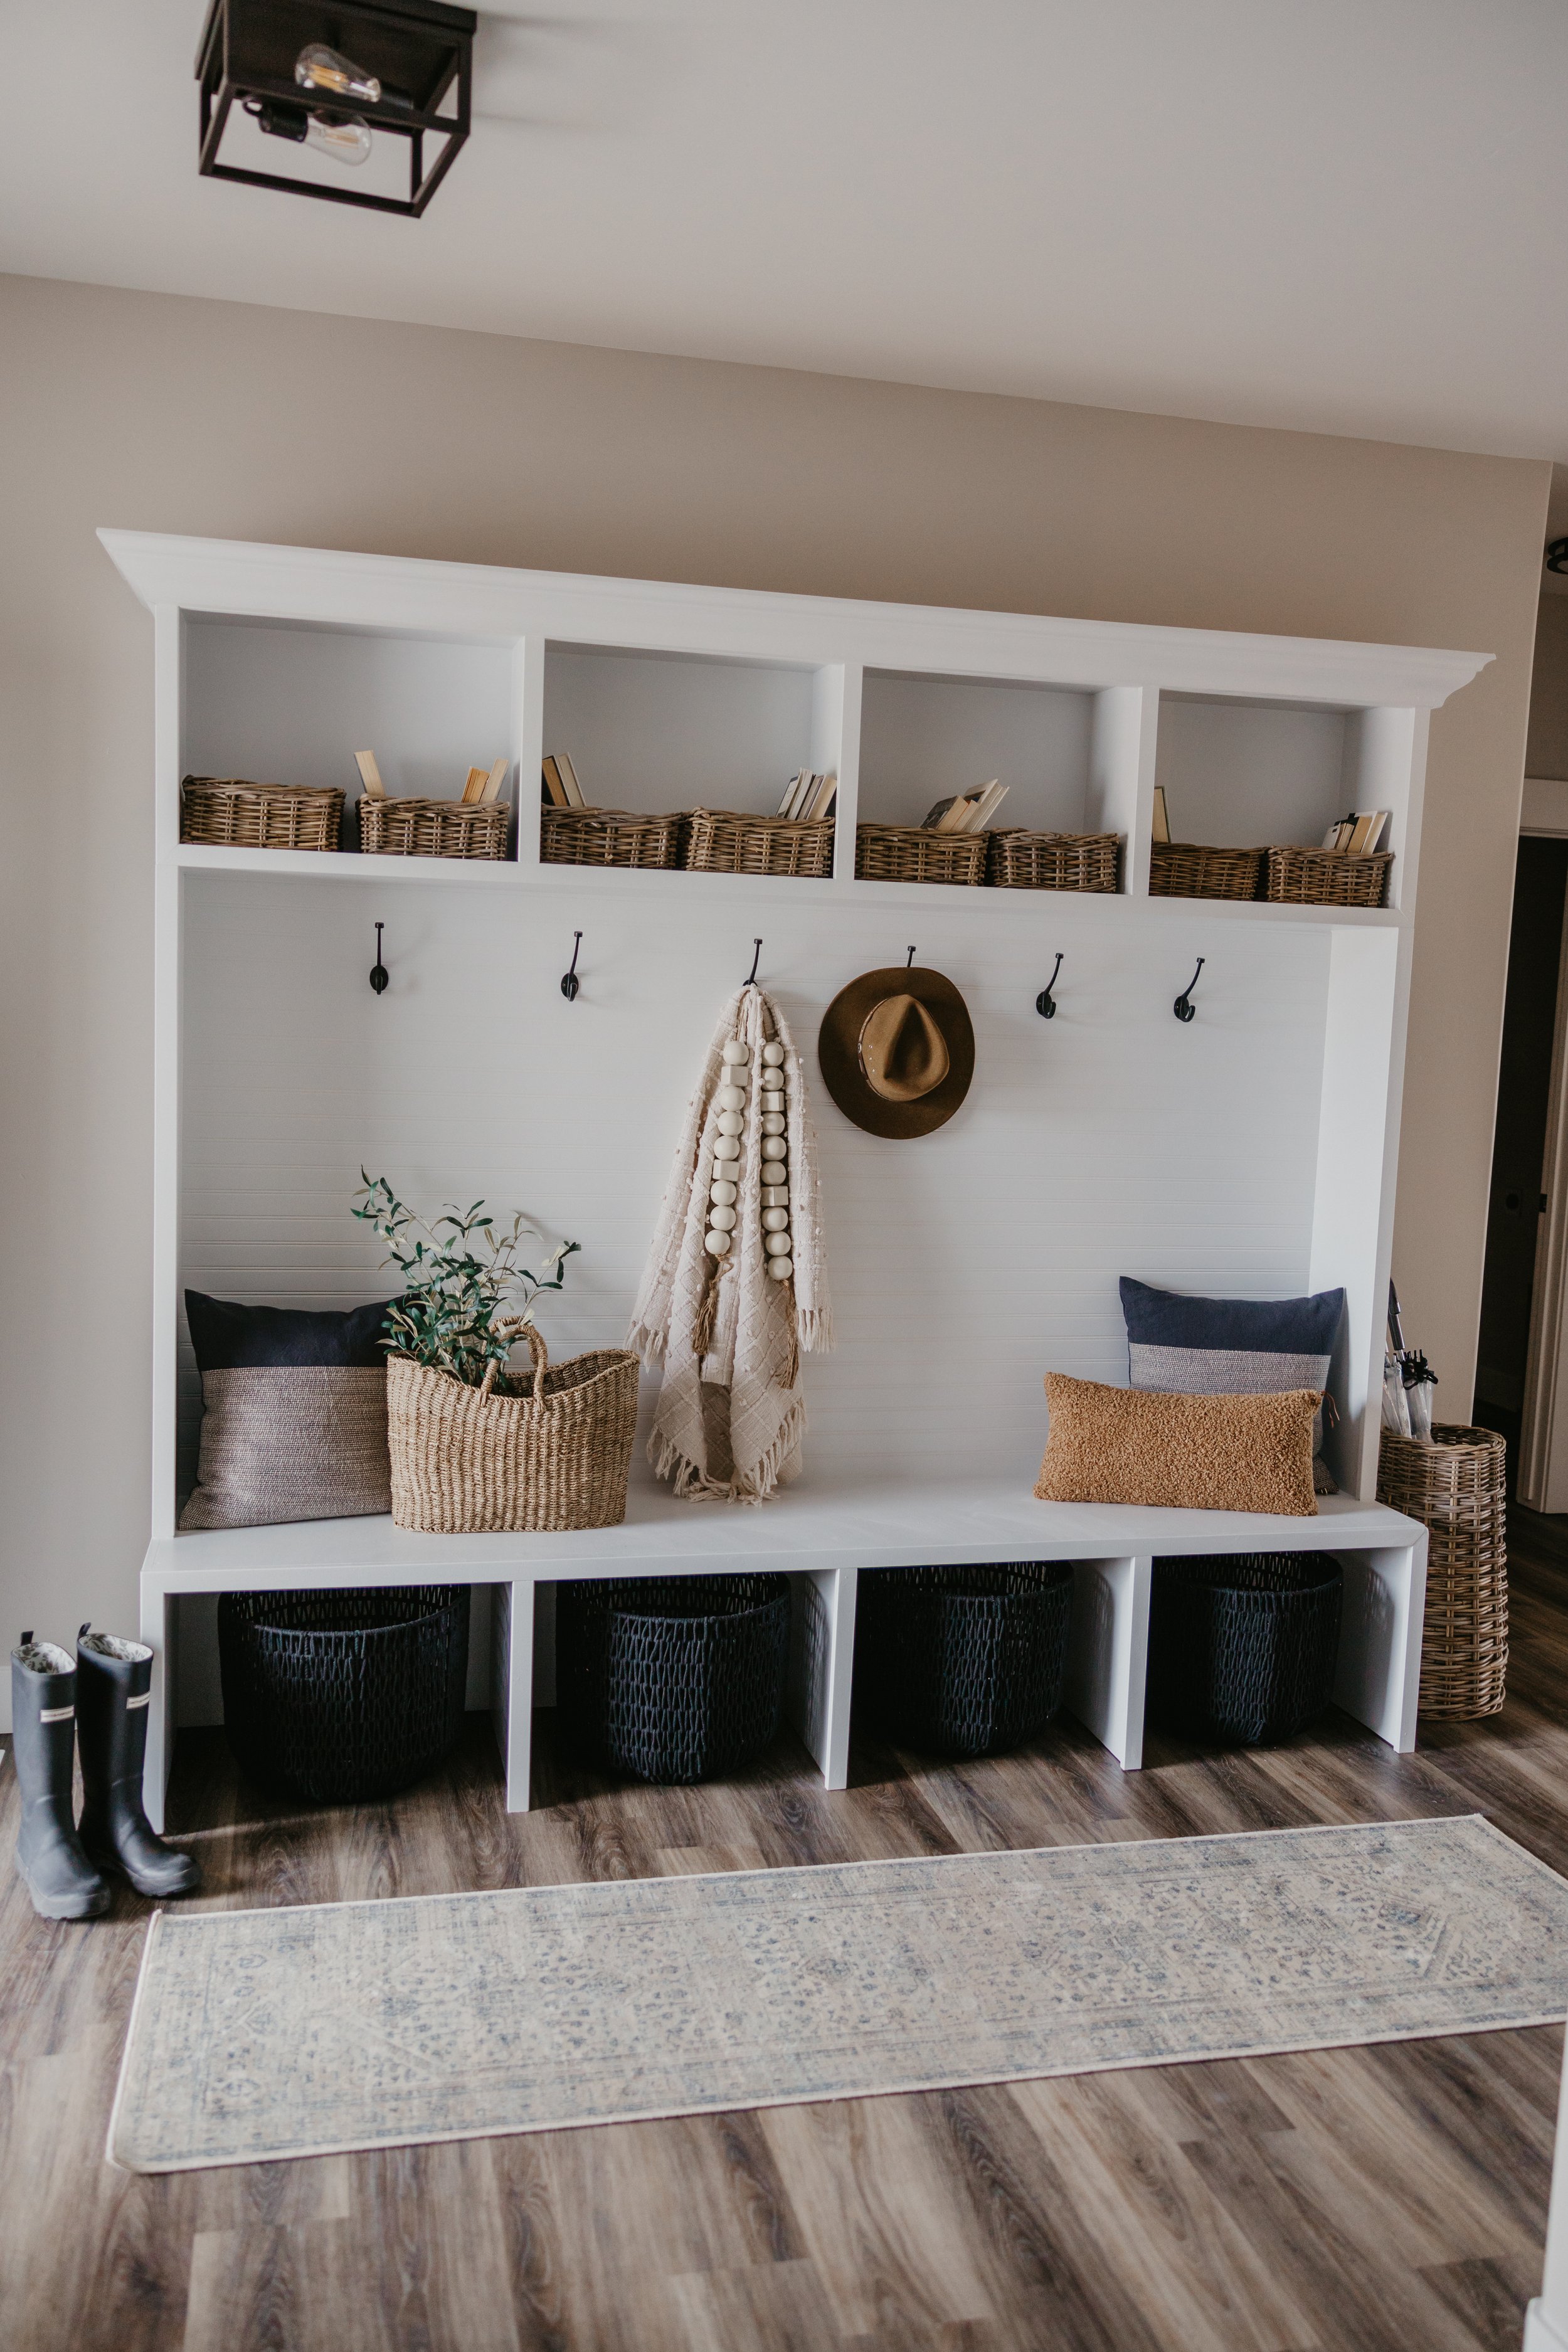
diy entry bench

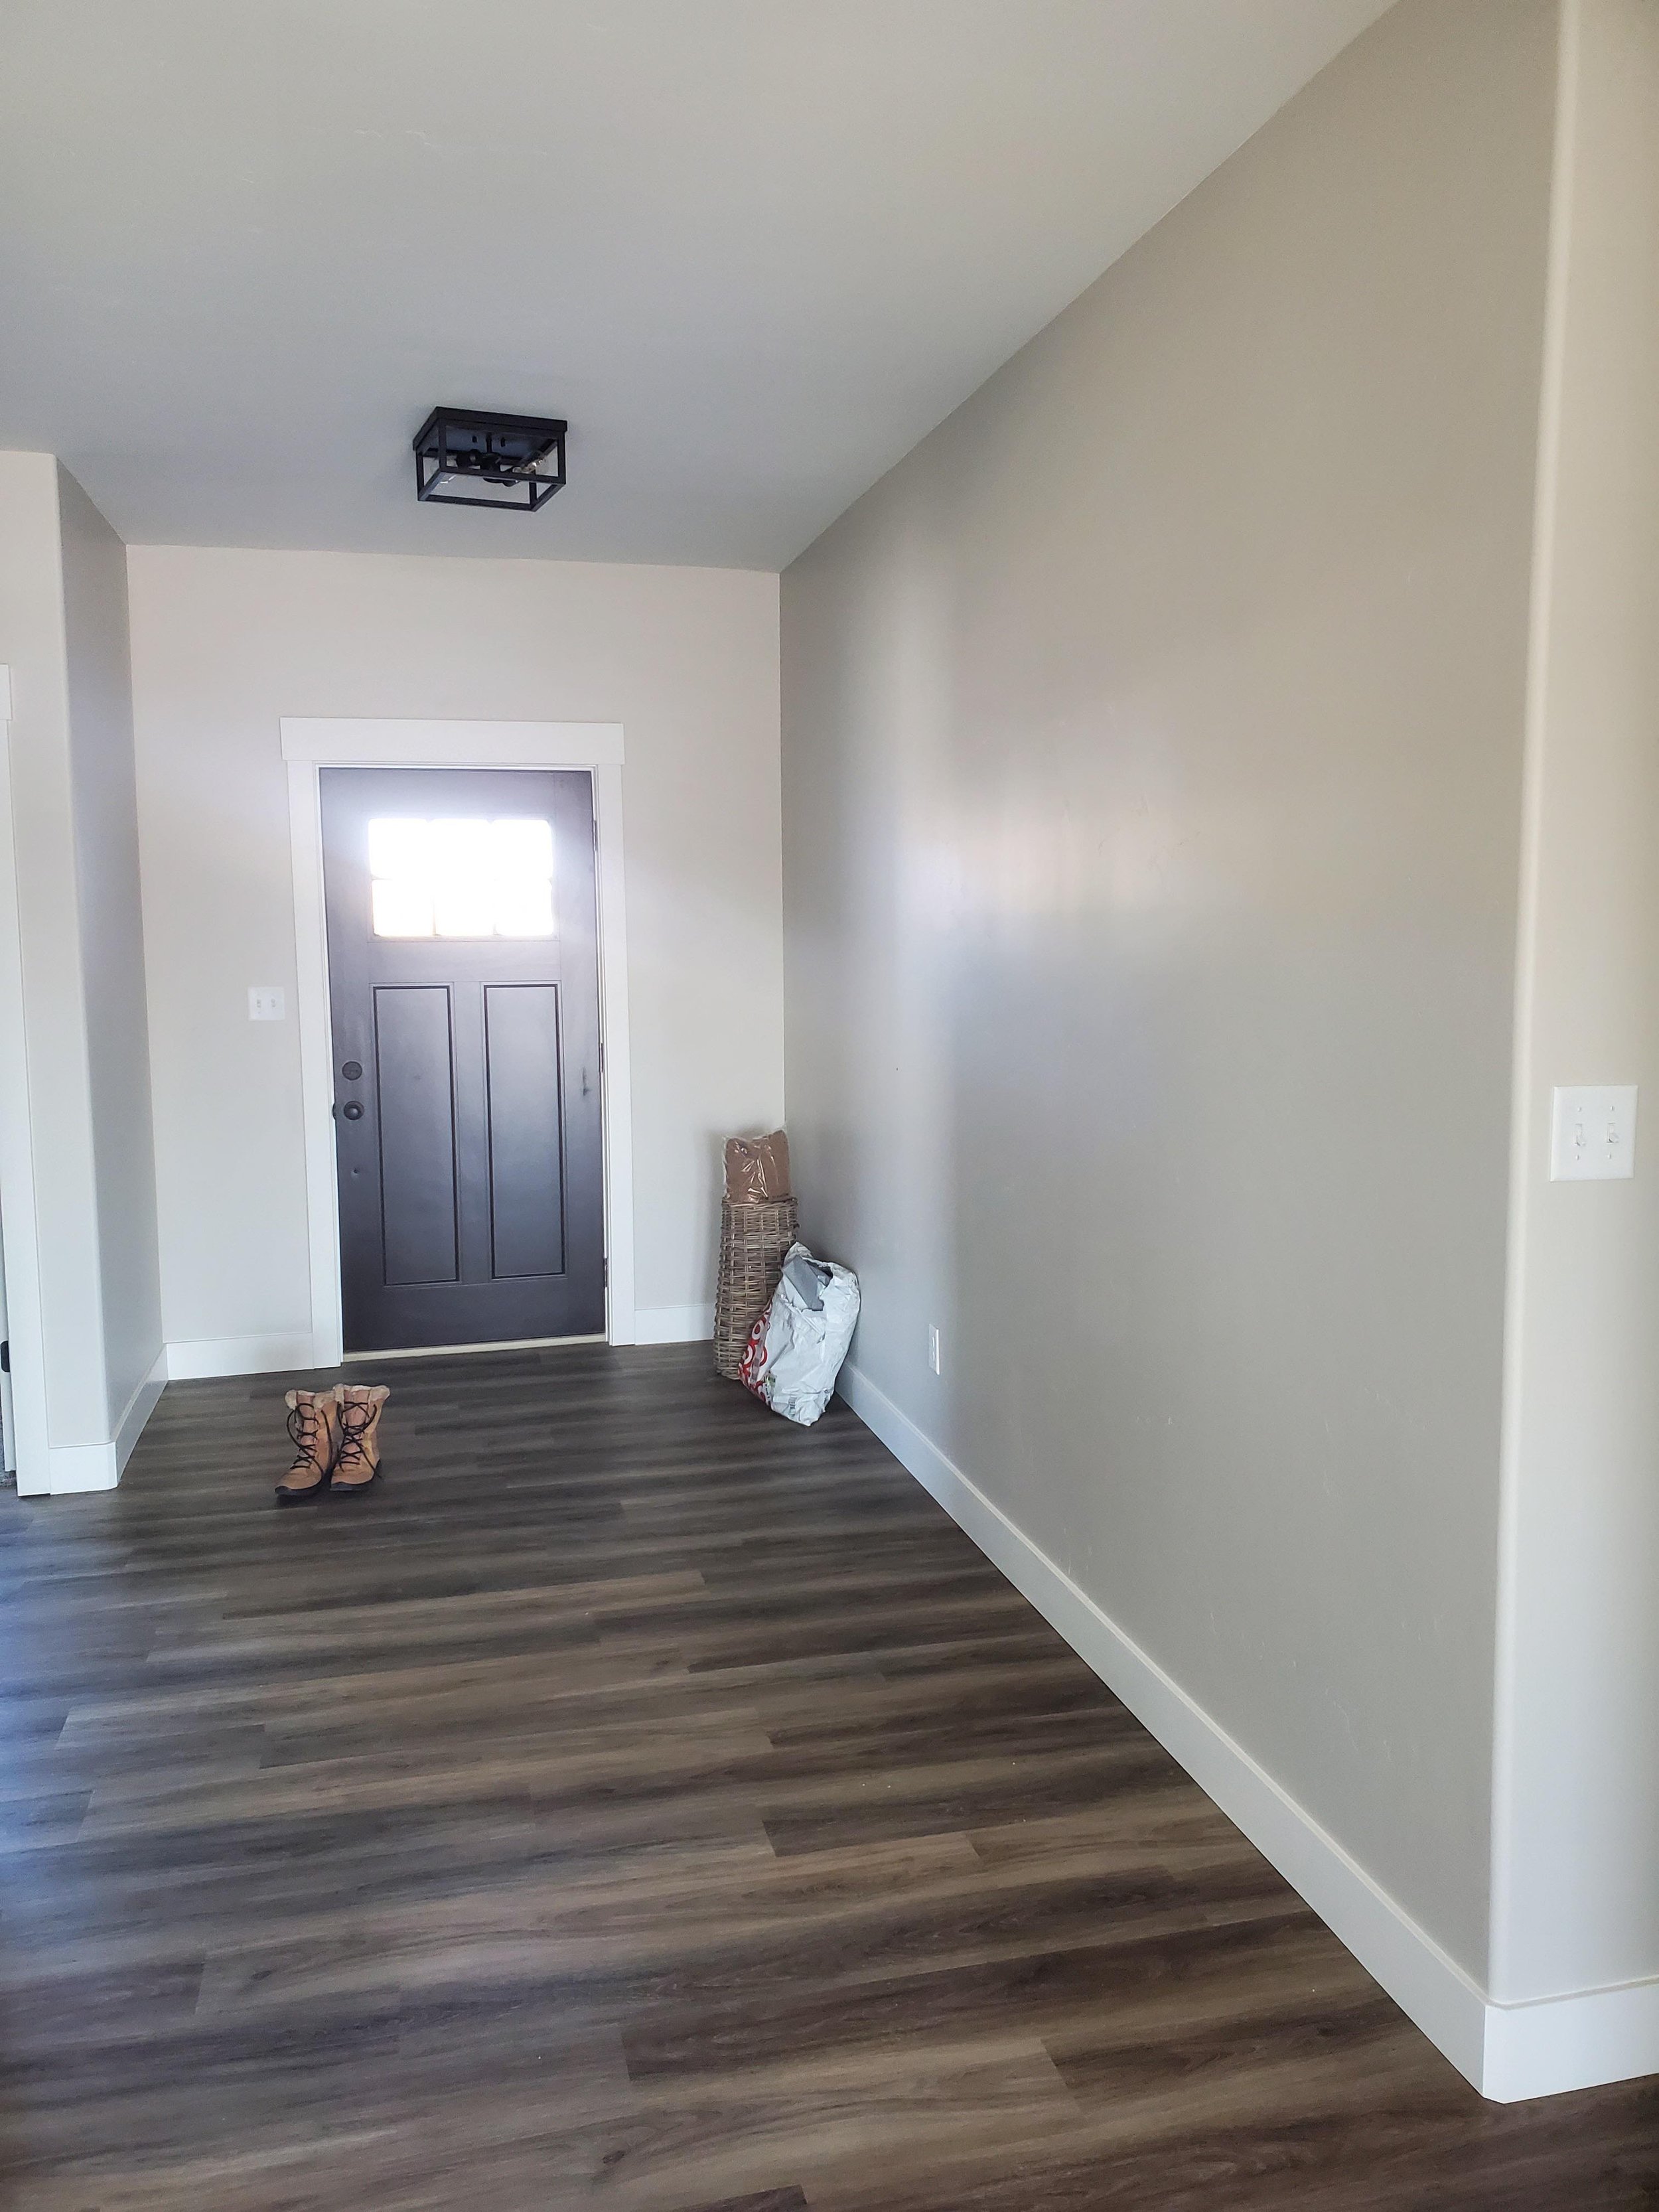
last april, we completed a project at my parents new house. they had a big beautiful hallway when you first walk in the door that was just begging for something to fill it. at first, they wanted to order one, but then i told them we could build them one twice as big for the same cost. so we got to planning.
first, i started by measuring their space + deciding just how large it should be. I initially wanted to take it all the way to the ceiling. but after thinking + evaluating the rest of the house design, we decided to stay 1 foot below the ceiling like the kitchen cabinets. then i started to draw my idea out.
supply list:for this project materials we used:
-3.4” 4 ft x 8 ft sheets of mdf
-1 x 2 x 8 mdf for the front trim
-1 x 4 x 8 mdf for the side trim
-crown molding on the top
-3 inch screws to attach the unit to the wall studs
-kreg pocket hole screws
-dowels
-paintable latex caulk
-paint color: frost by behr in satin
tools we used:
-compound miter saw
-brad nailer
-caulking gun
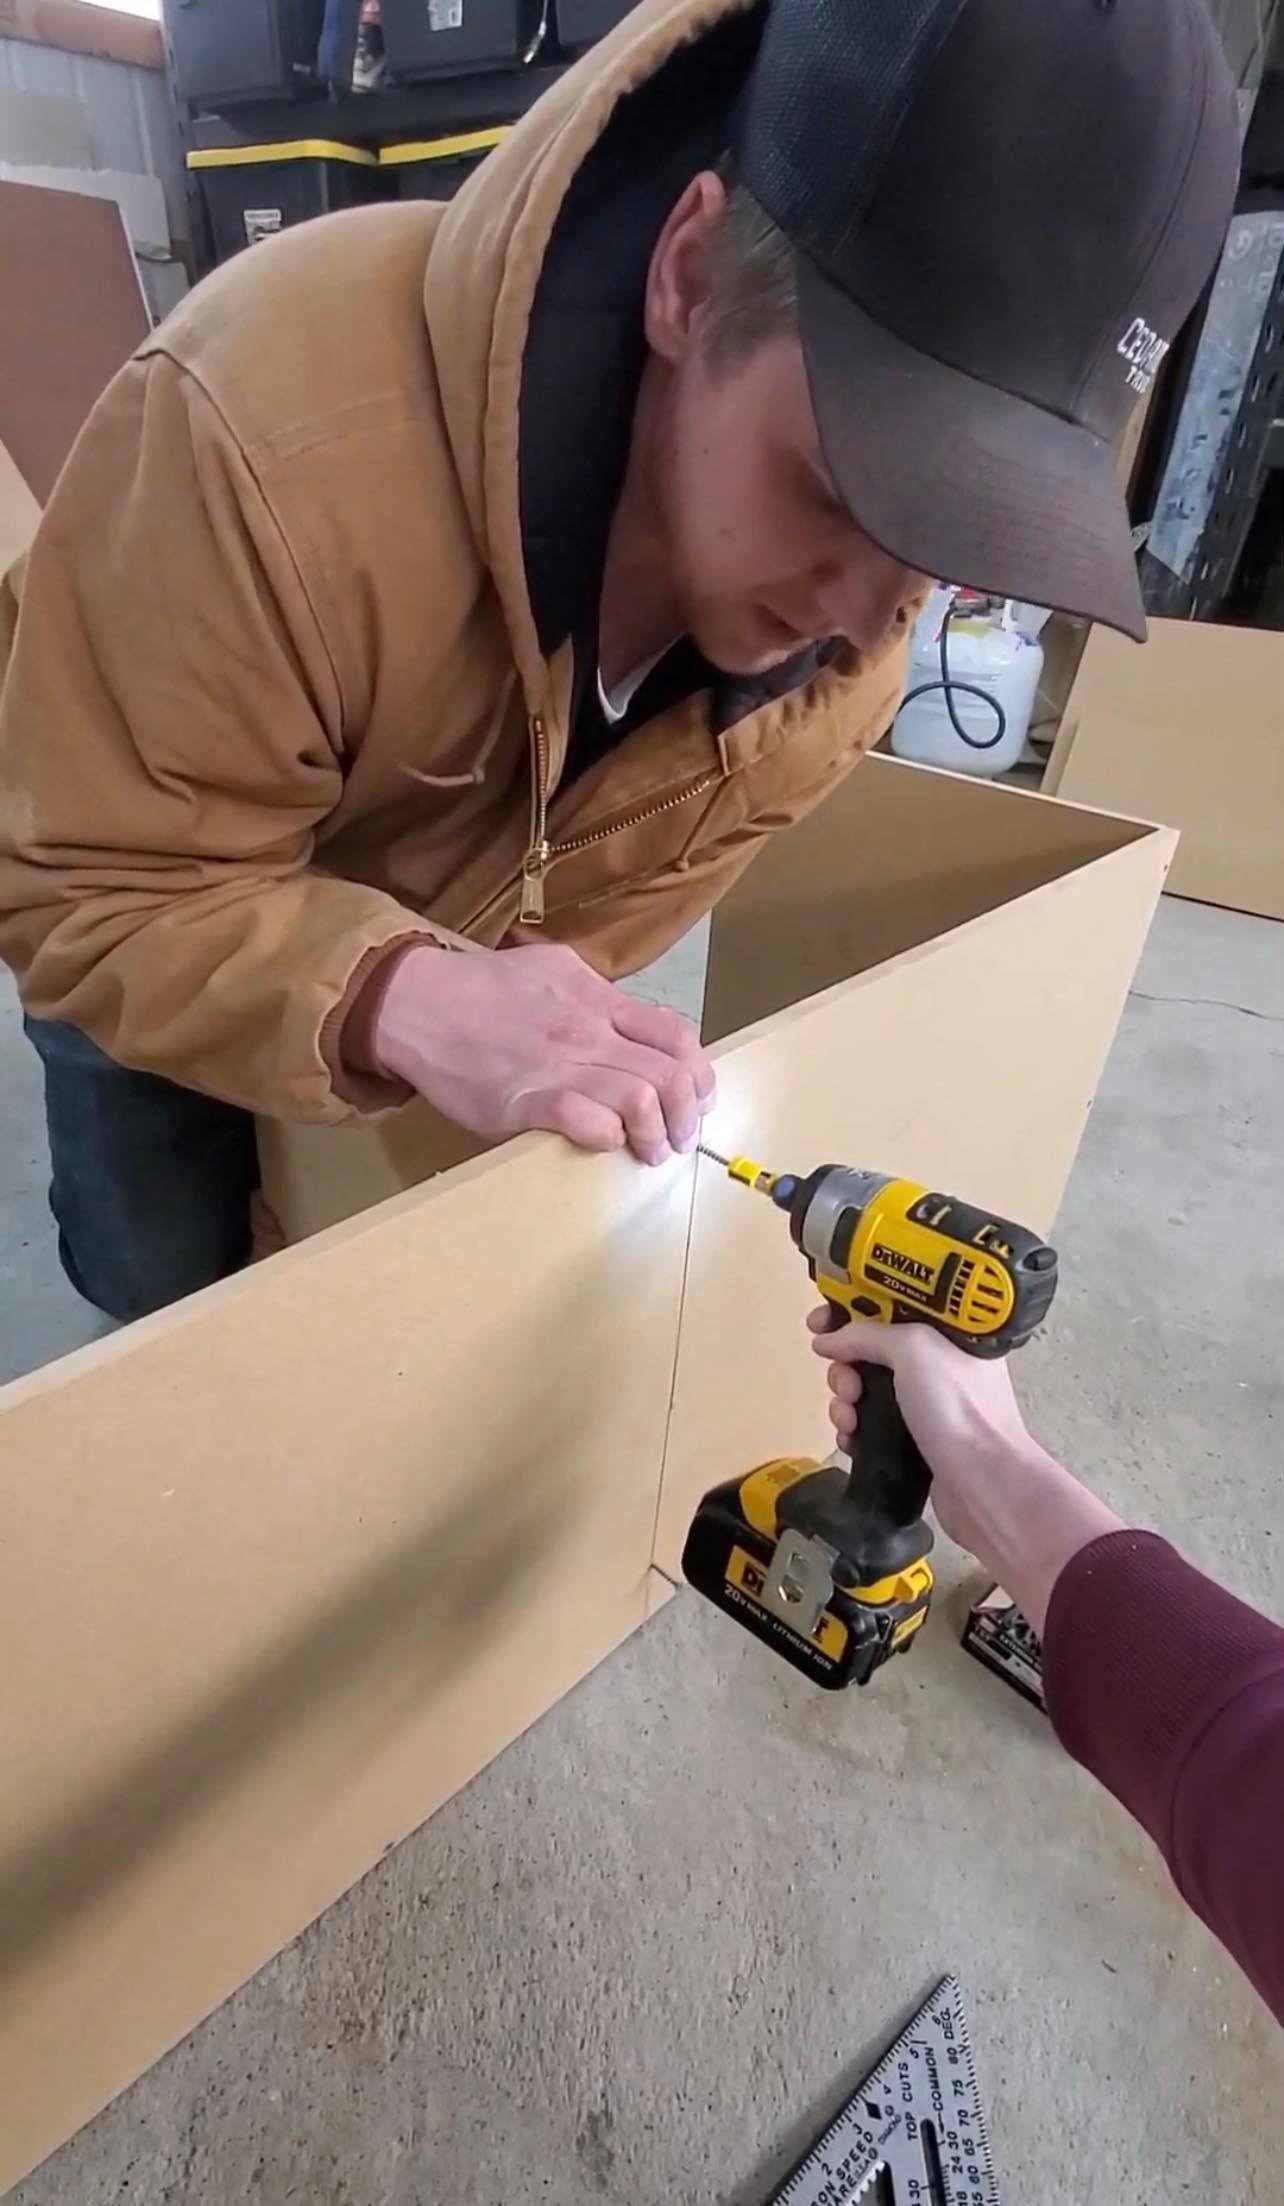
-drill/driver
-level
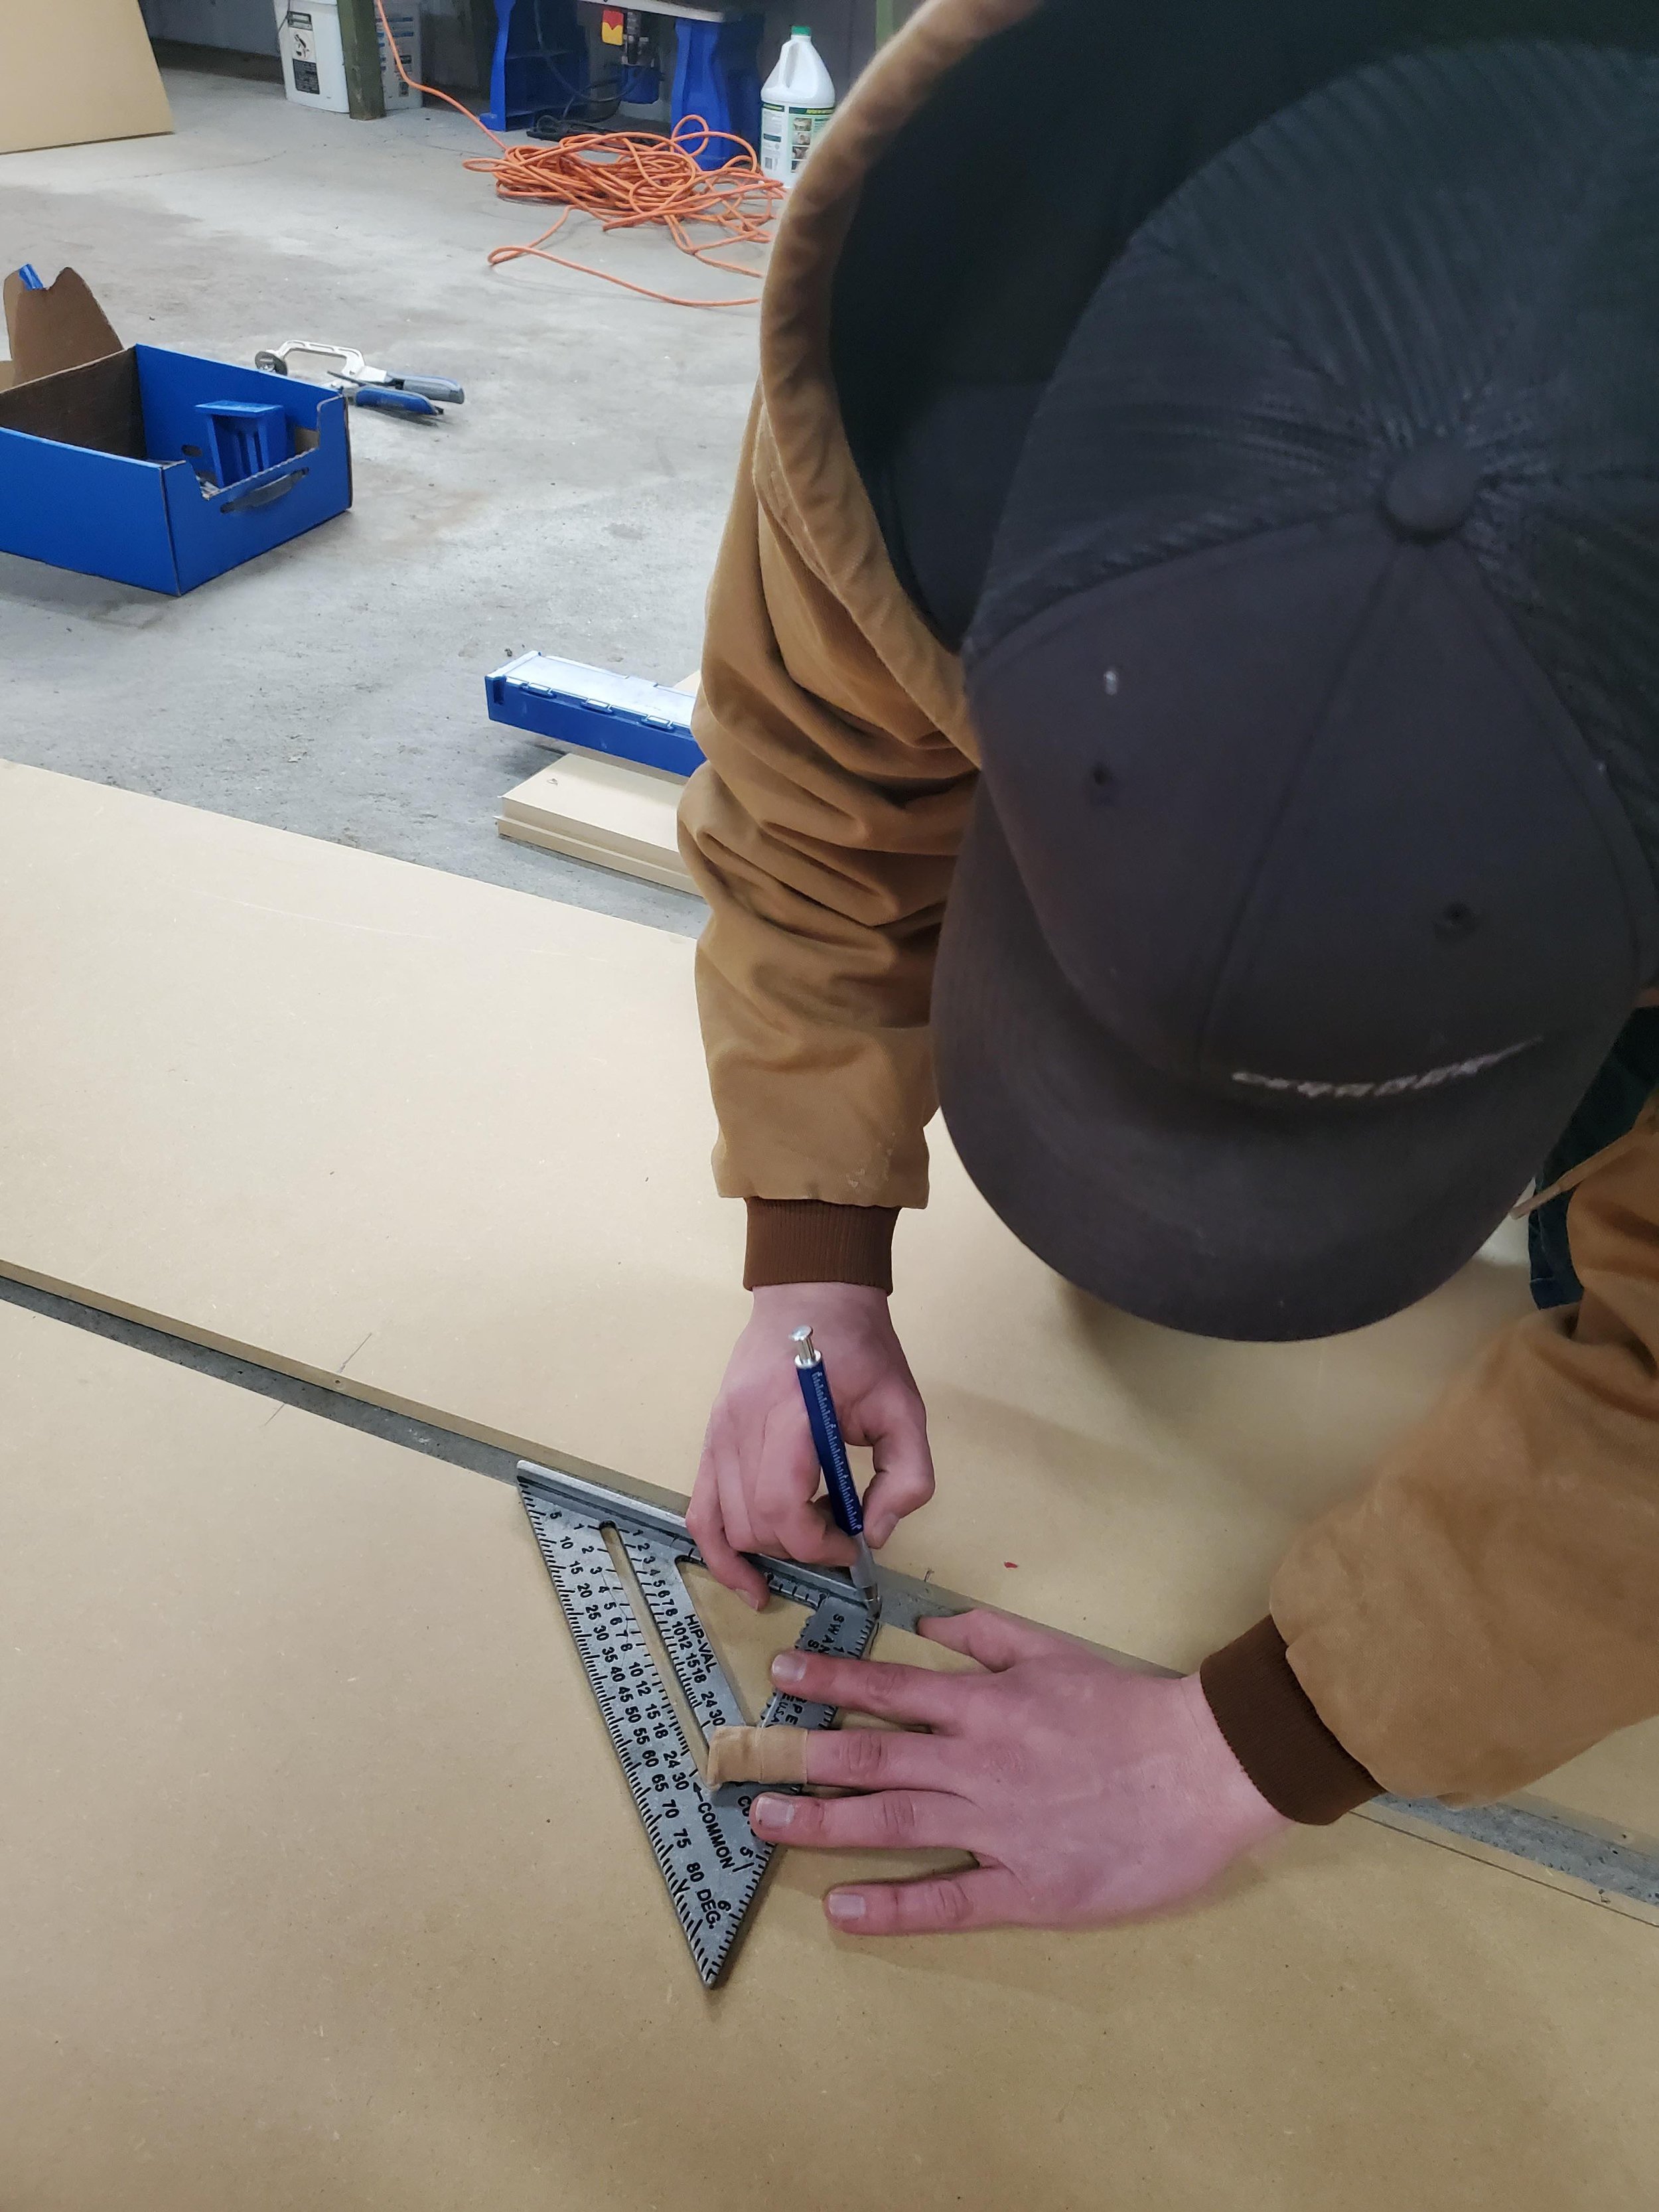
-square
-table saw
-corner clamps
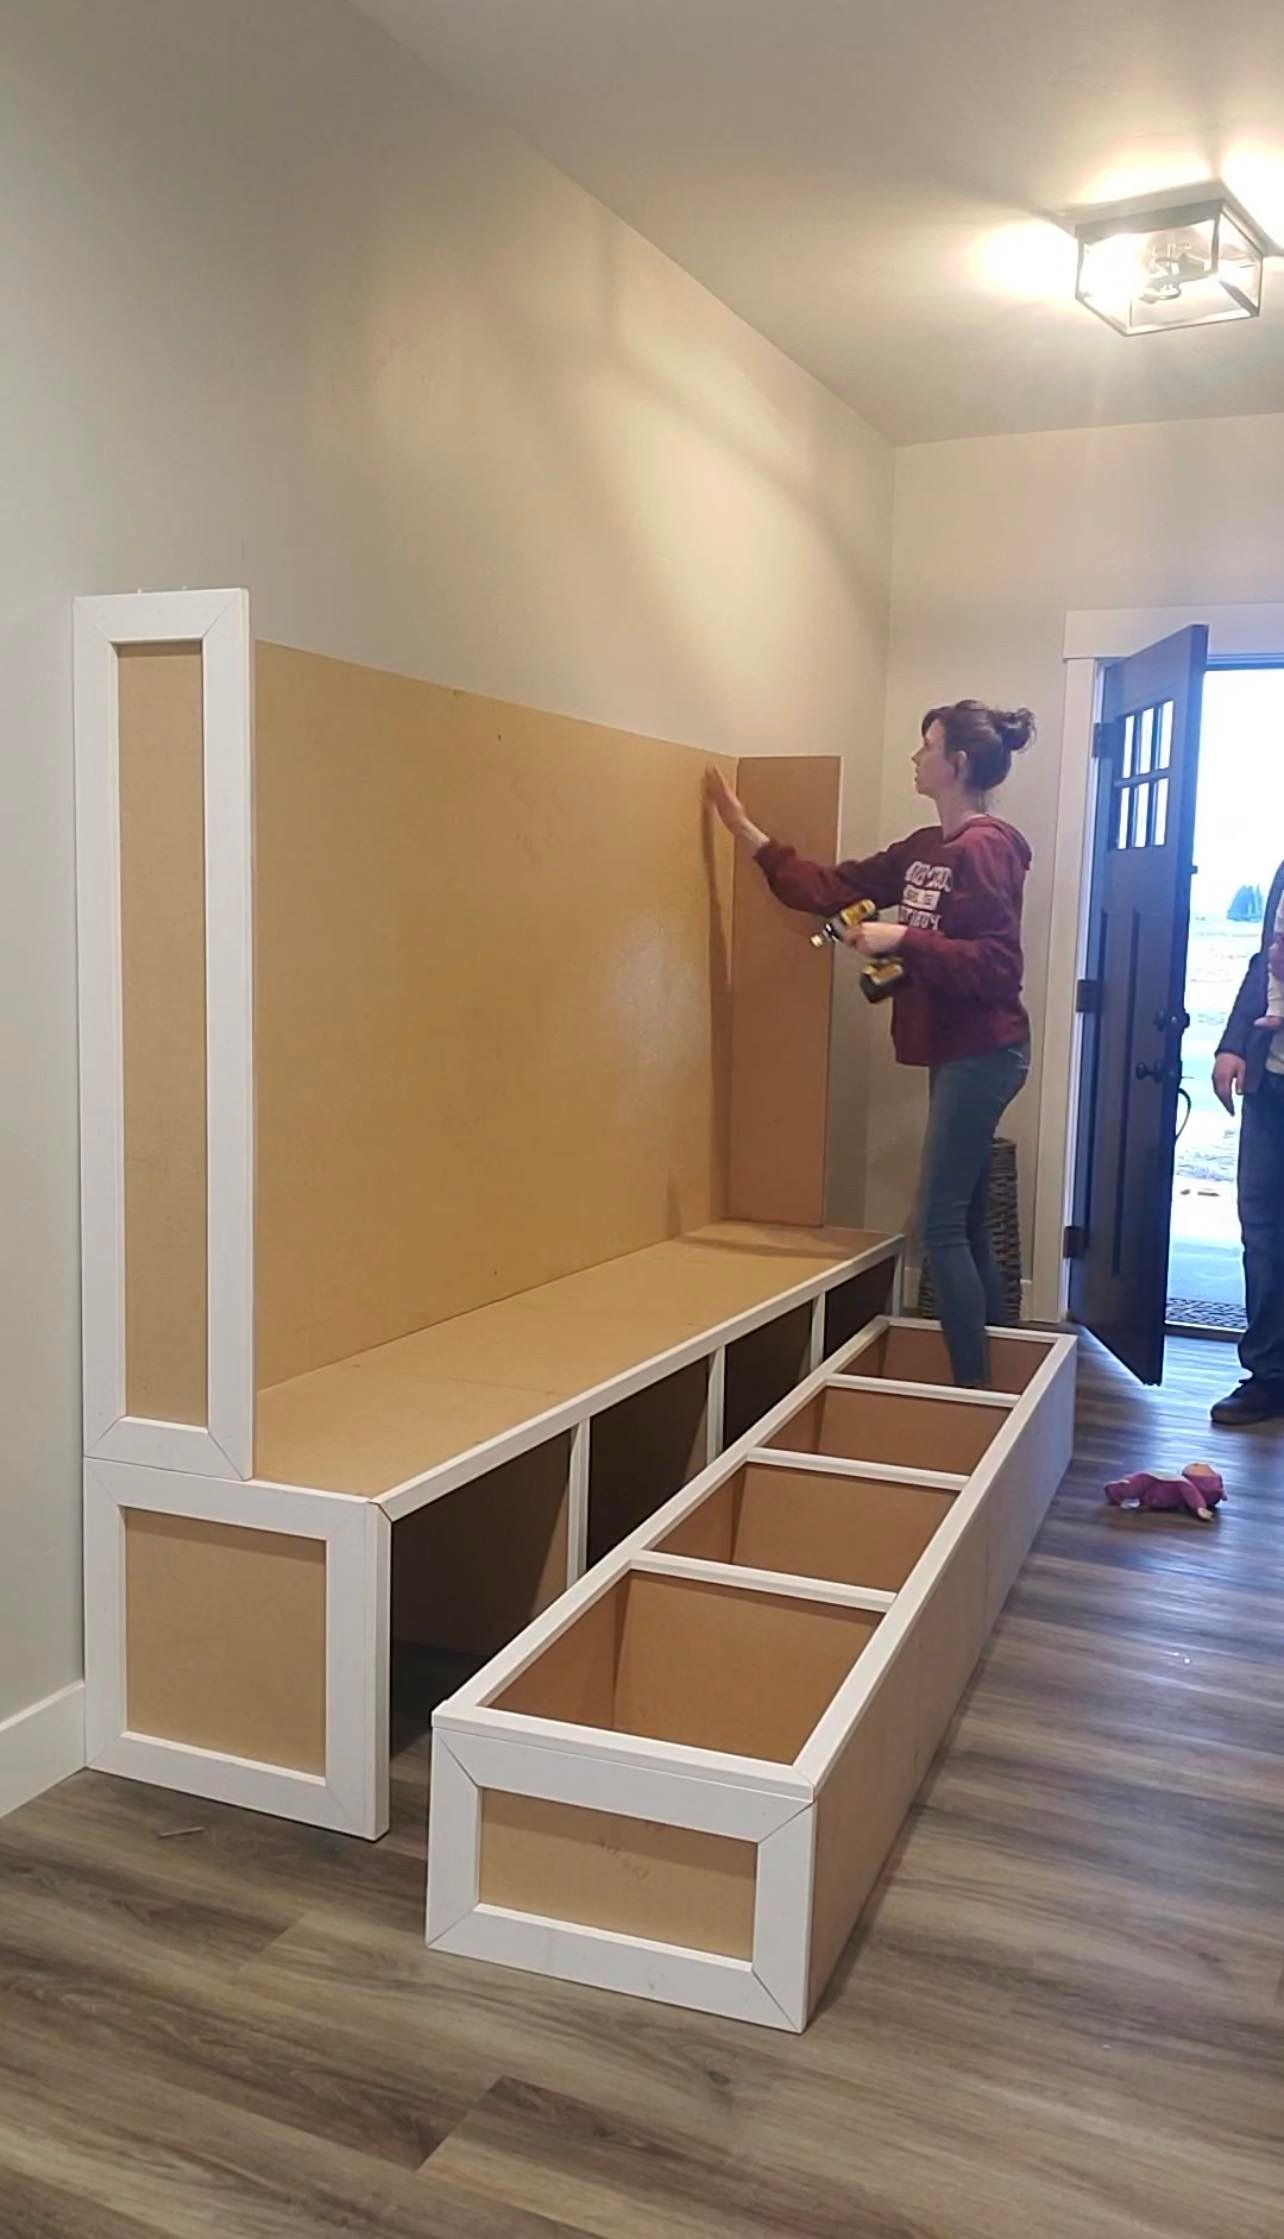
steps:first, we started out by drawing out each piece of mdf we would need and what part it would be for, to build the base and top level, based on the size we wanted. we measured out and cut each piece by running it through the table saw and made small cuts on the miter saw. If you don’t have one, you could easily use a circular saw.
our bottom bench consisted of a top piece + back piece that were the same length and width. then we cut and attached 5 bottom support piece to the back and top with 2 inch screws. we used a square to make sure everything was plumb. then we used a combination of holding and clamps to screw each piece together. MAKE SURE TO PREDRILL! If you don’t, you can split the wood while inserting your screw. next time, if we were to build this again, pocket holes would have been a better idea to attach all the pieces.


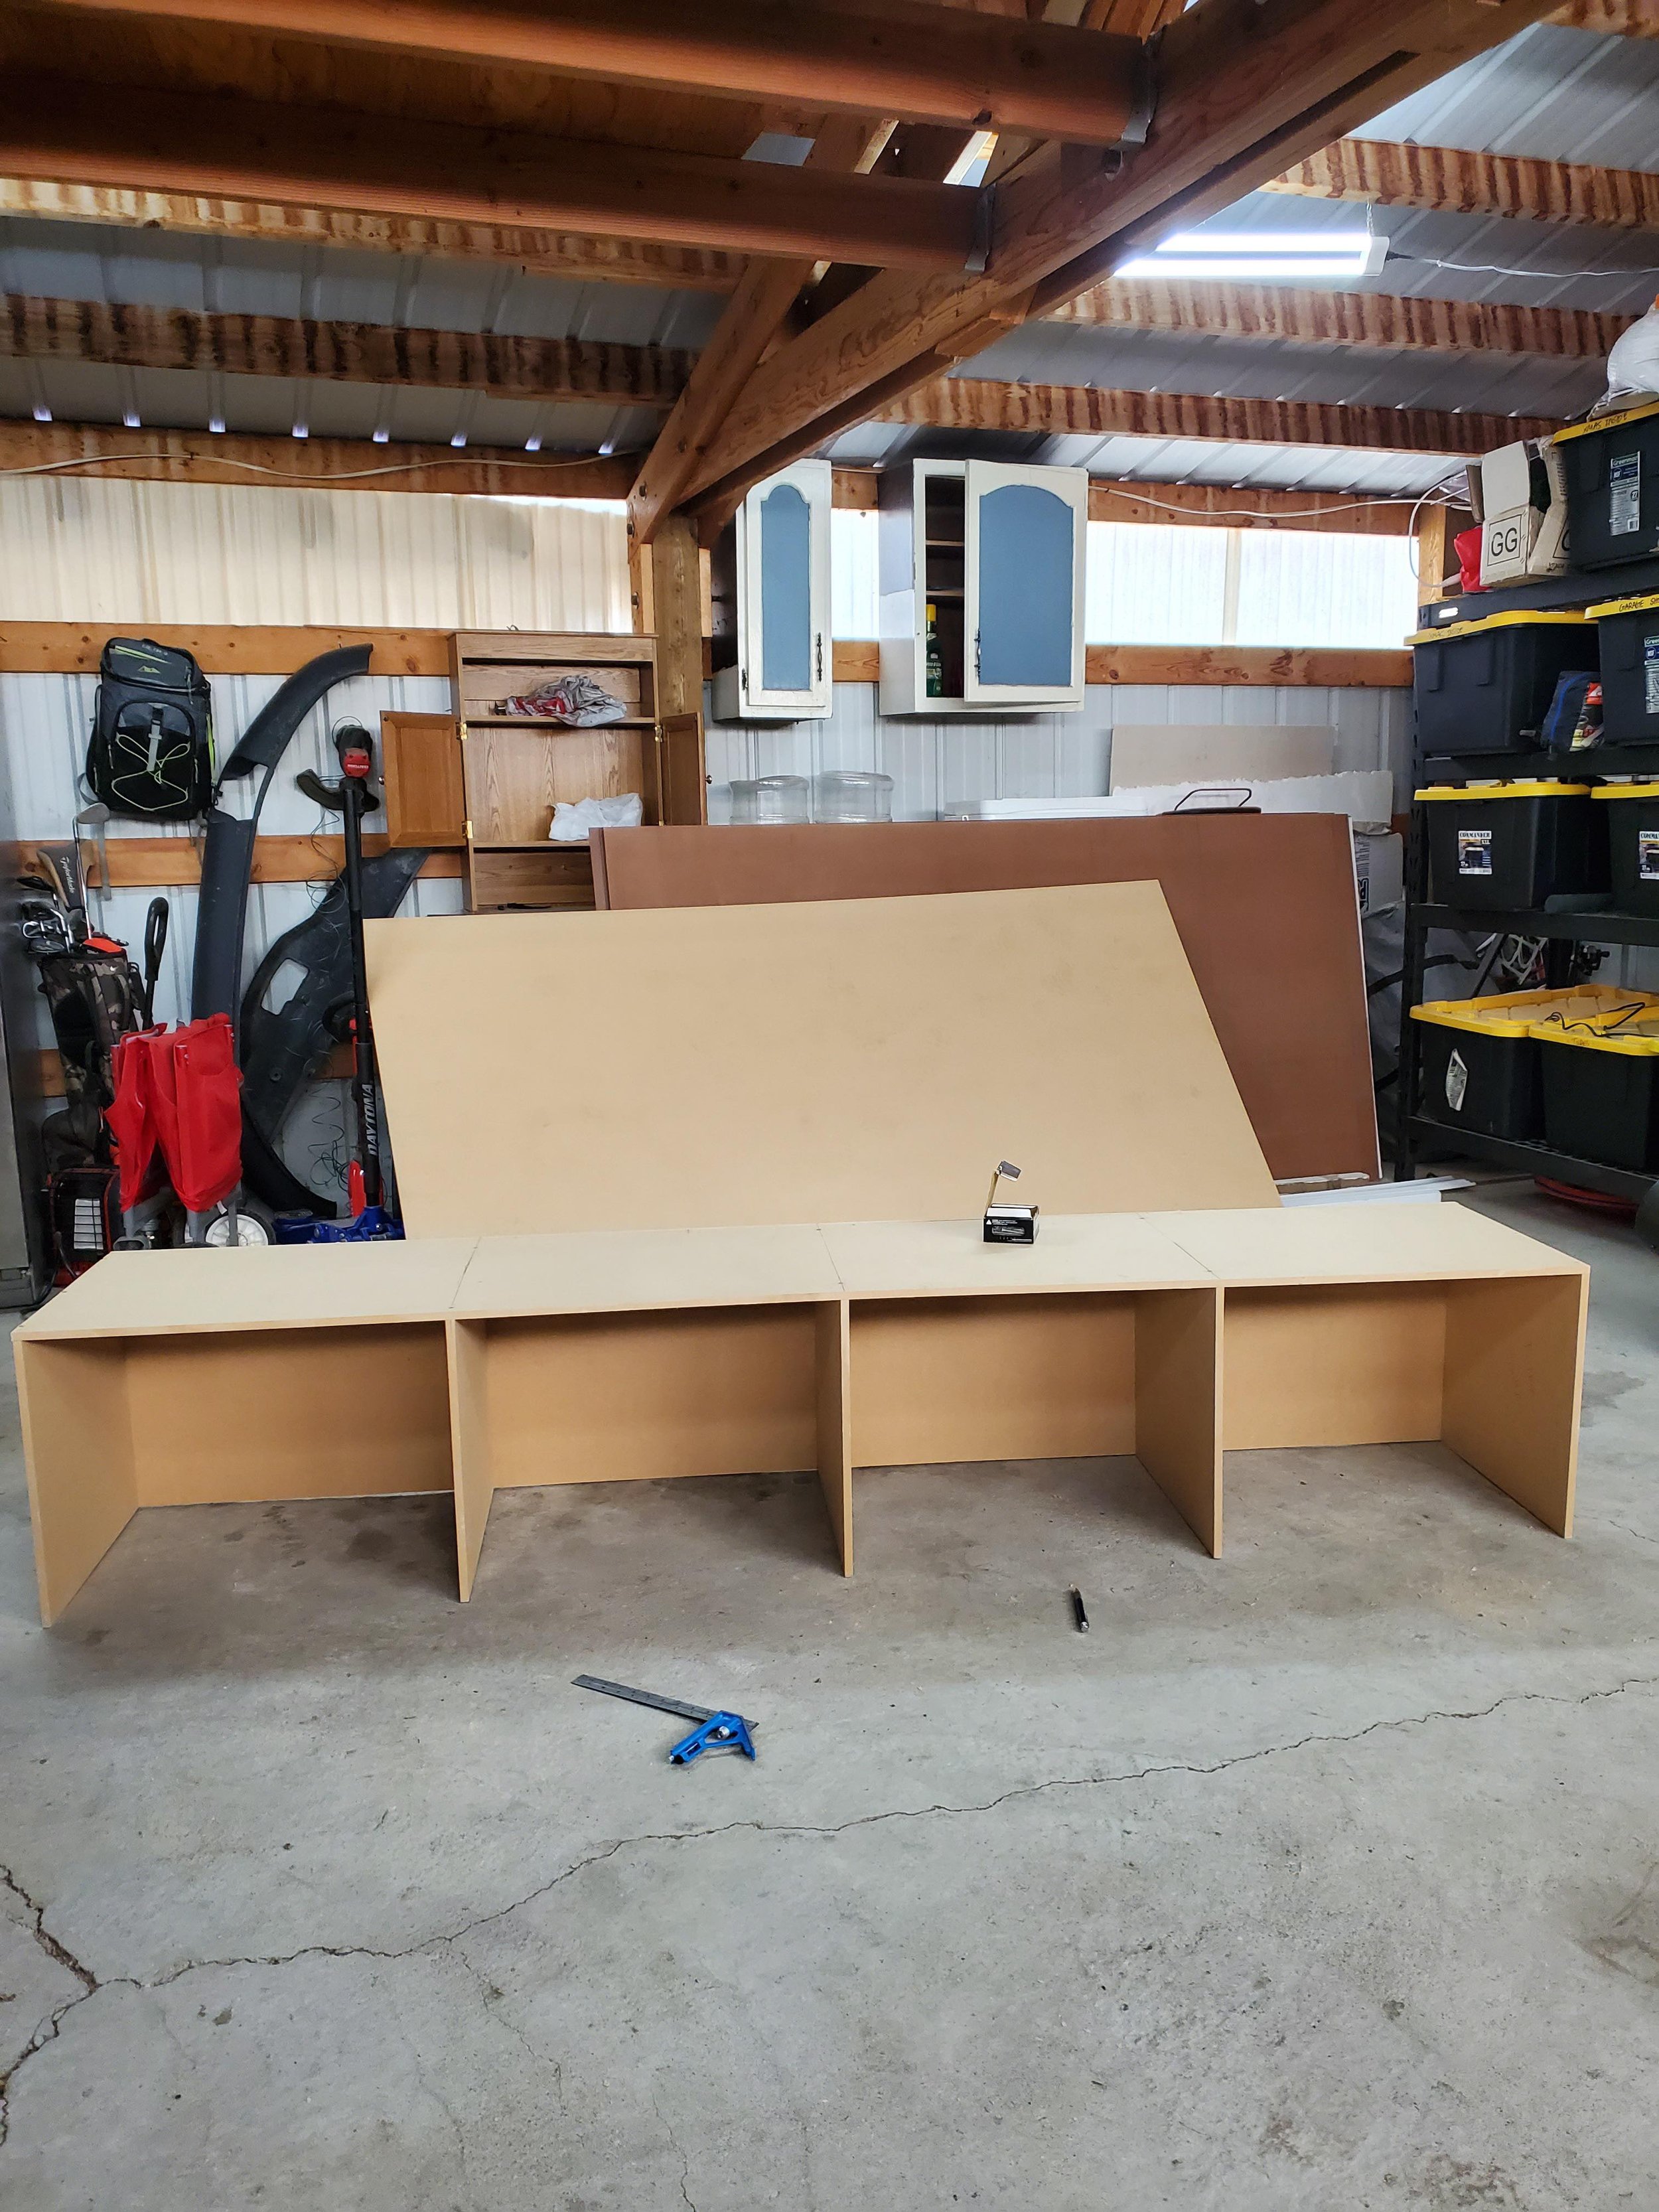
next we built the top shelf, repeating the steps we followed for the bottom bench, except we added a bottom piece, creating a long box with three sides. then we added the same divider pieces as we did on the bottom bench to create cubbies for baskets. we decided to build each piece individually mostly because we were transporting the pieces to my parents house and this seemed like the easiest way since we were using our own tools at our house.
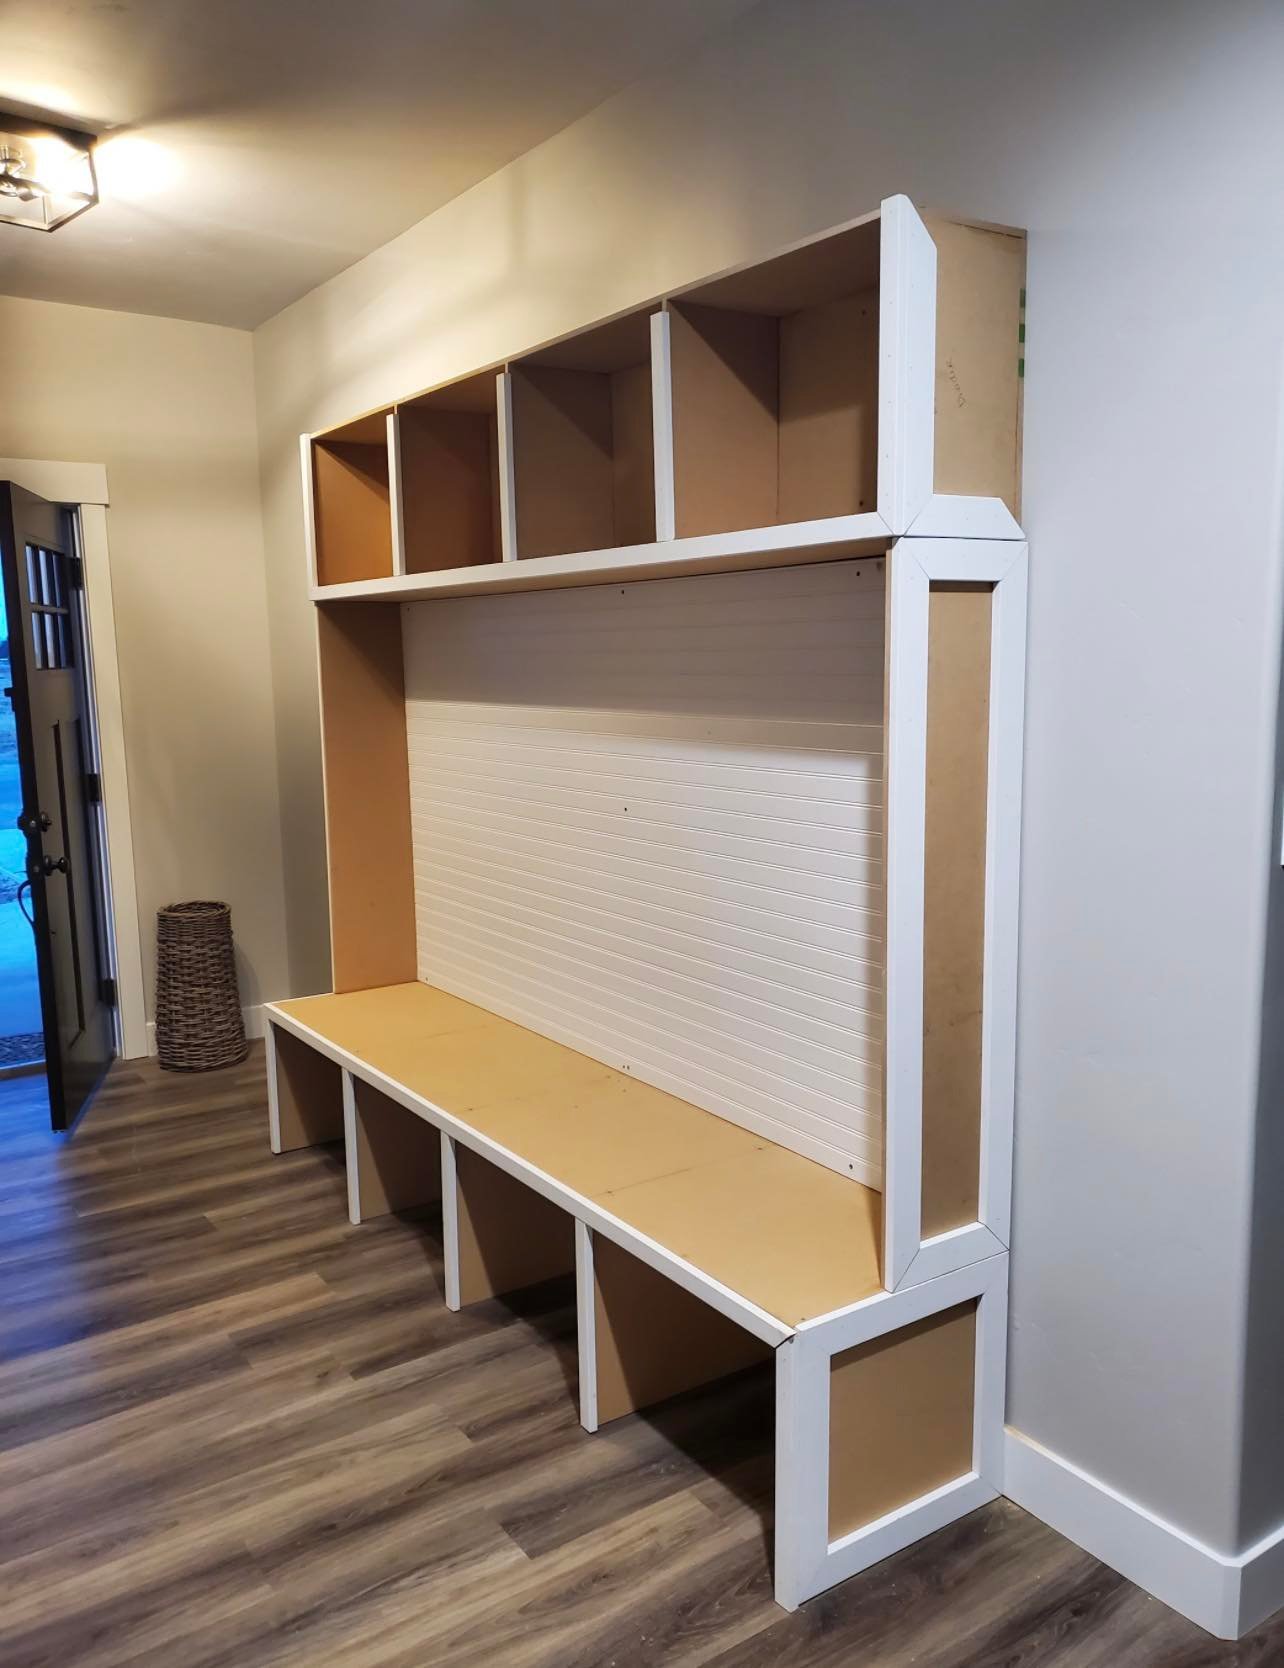
after building the top and bottom pieces, we transported them. first, we attached the base to the studs in the wall with 3 inch screws. We counter sunk them so we could use wood filler over the nail hole and then paint over it. after the base was secure, we added a 4 x 8 MDF sheet directly to the wall studs to be the support for the hooks and side pieces. we attached the side pieces to the base bench on the bottom side with dowels and connected the top shelf to the side piece with dowels on the top side as well. then we used 3 inch screws to attach the top shelf to the wall studs.
once it was all connected and secure, we added a 4 x 8 sheet of bead board to the back of the middle of the bench with brad nails. it held great because it went straight into the MDF sheet behind it which was attached to the studs in the wall. After that, we went through and trimmed it all out with 1 x 4 mdf on the sides and 1 x 2 mdf on the front. every seam was caulked after that and we then cut crown molding for the top.
This was my first time cutting crown + it definitely gave me a run for my money, so no tutorial on that yet.
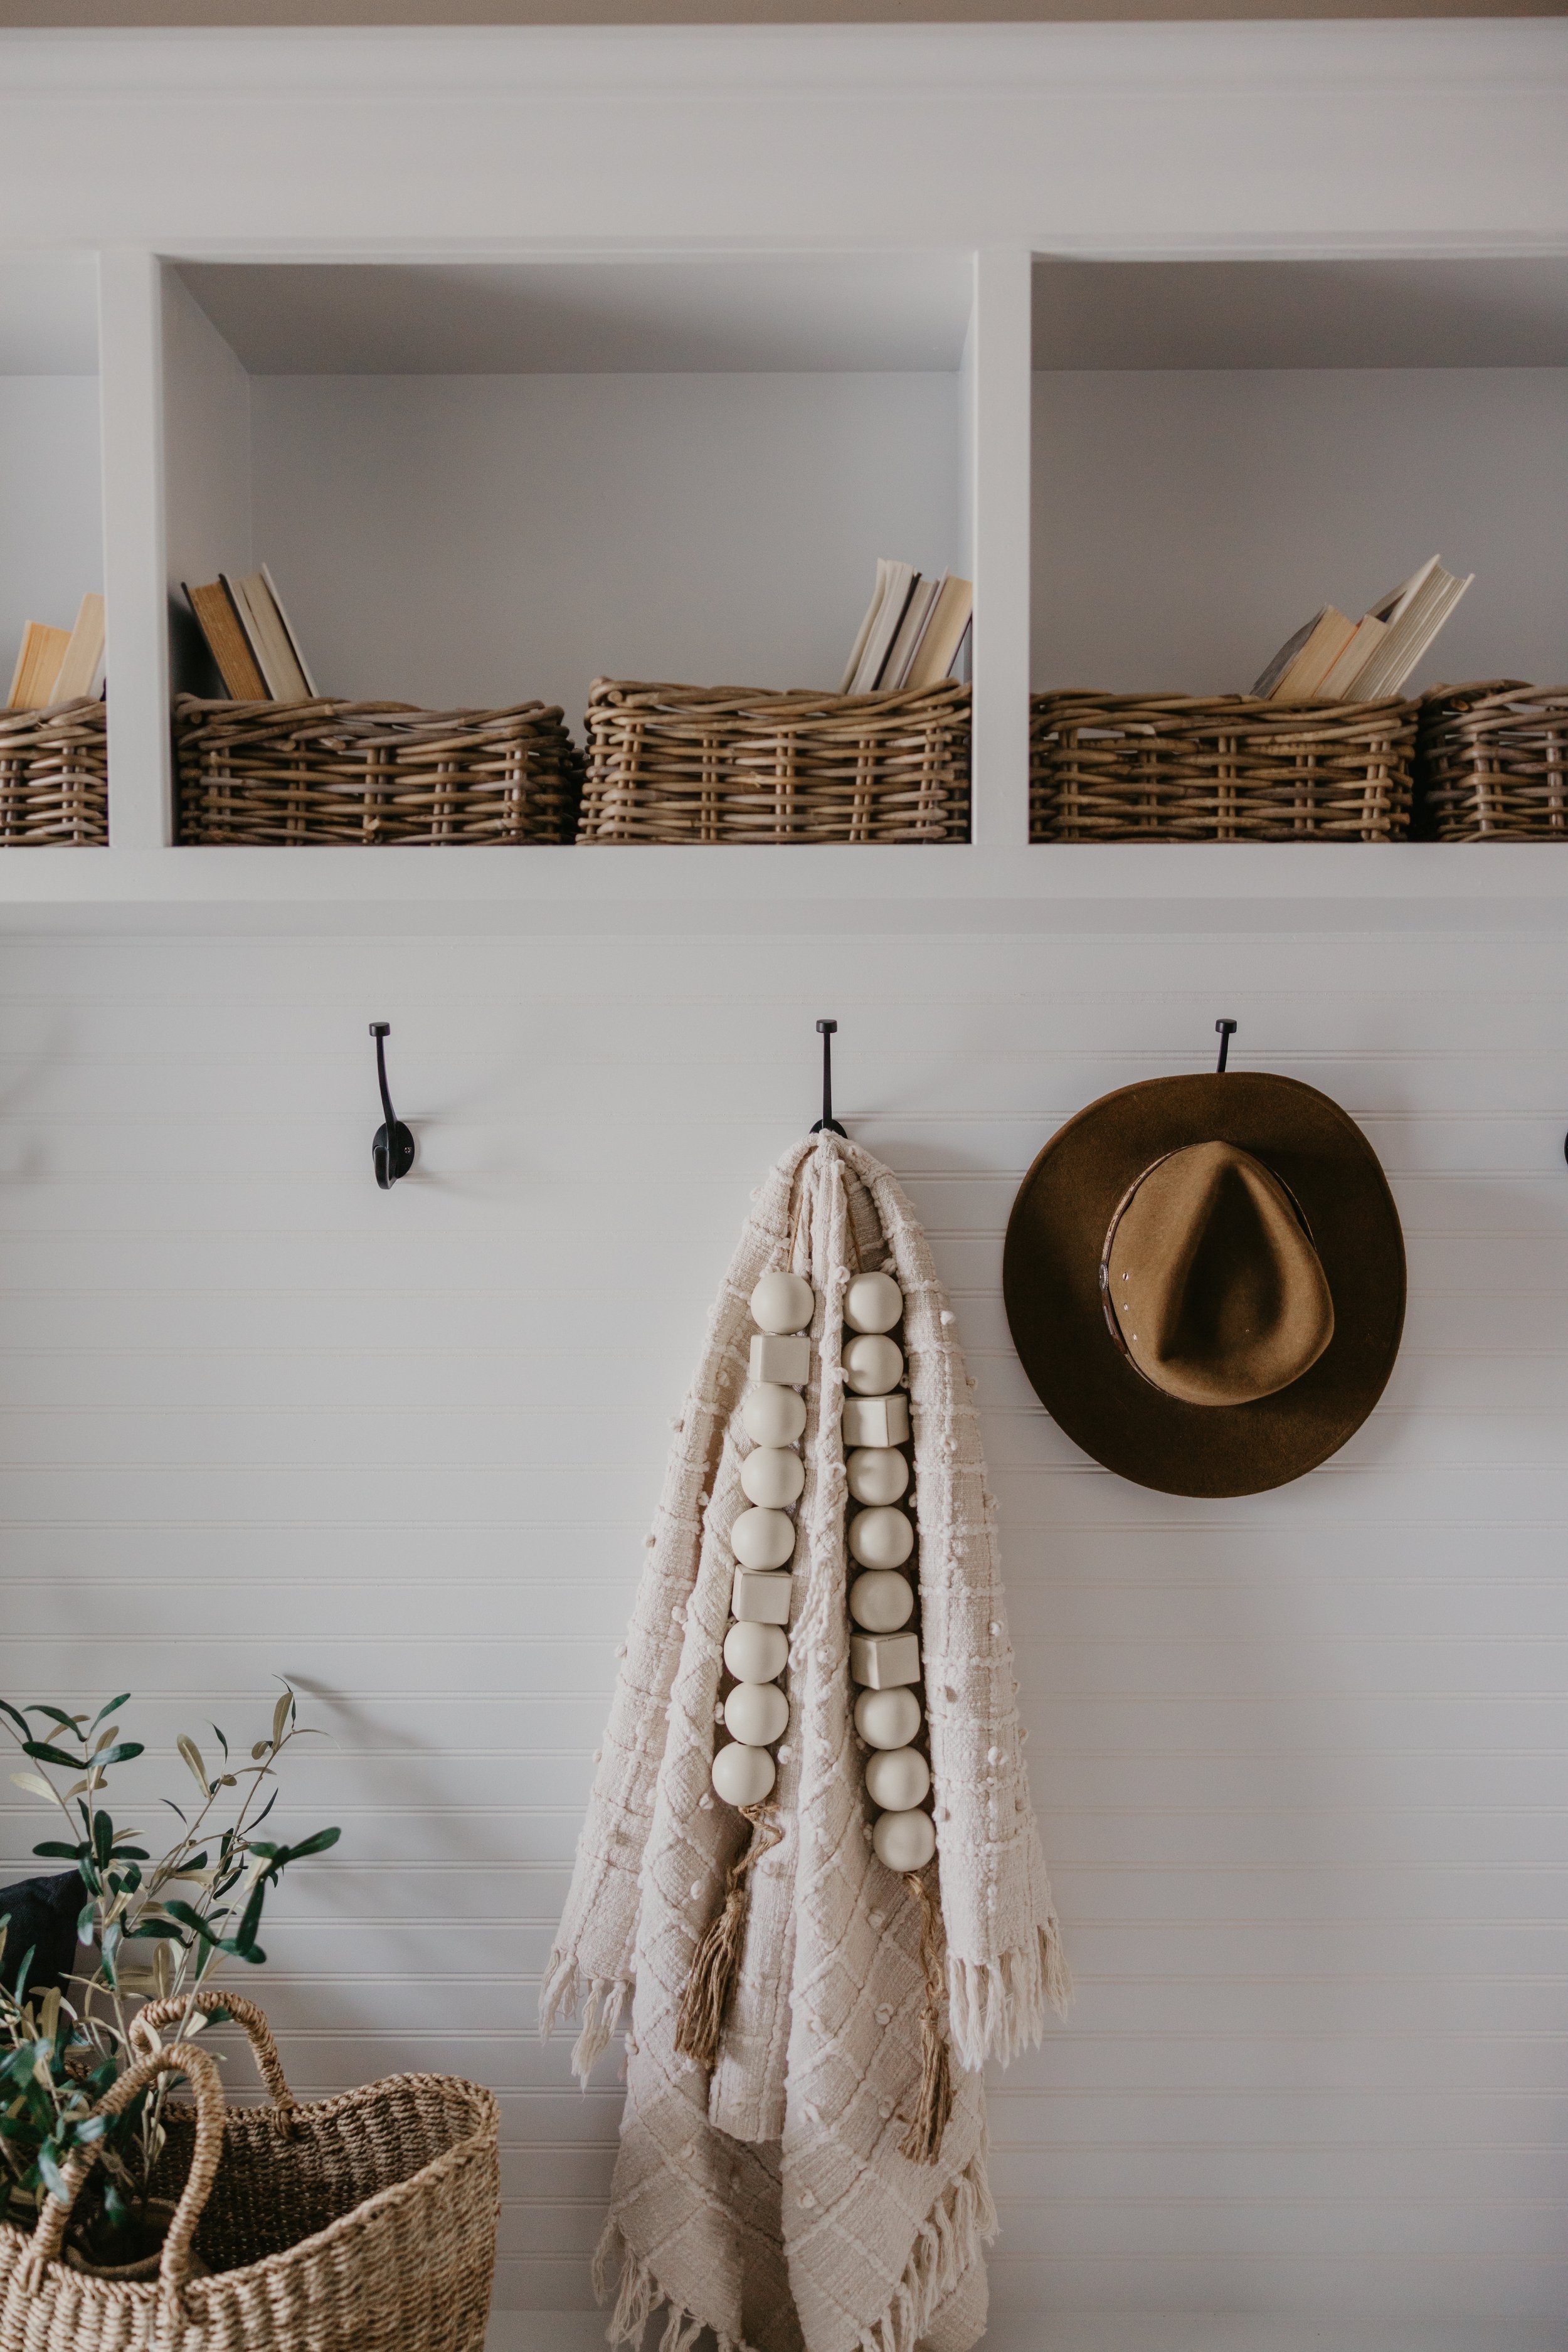
then we painted the bench with a combo of roller and brush painting. i used my favorite, a 4 inch high density roller and zibra 2 inch angled brush, working in multiple coats. once it was looking to perfection, we styled it + called it done! this piece was a great learning project & we had so much fun completing it for my parents. it gets used so often when guest come over as a place the put their coats, purses, sit and put your shoes on, or whatever they need it to be.
have any questions? feel free to send me a message! shop the decor here!