boy room makeover

we finally got through our first room in this house! & it honestly feels so good. we still have so much to do, but at least this one piece feels more like home.
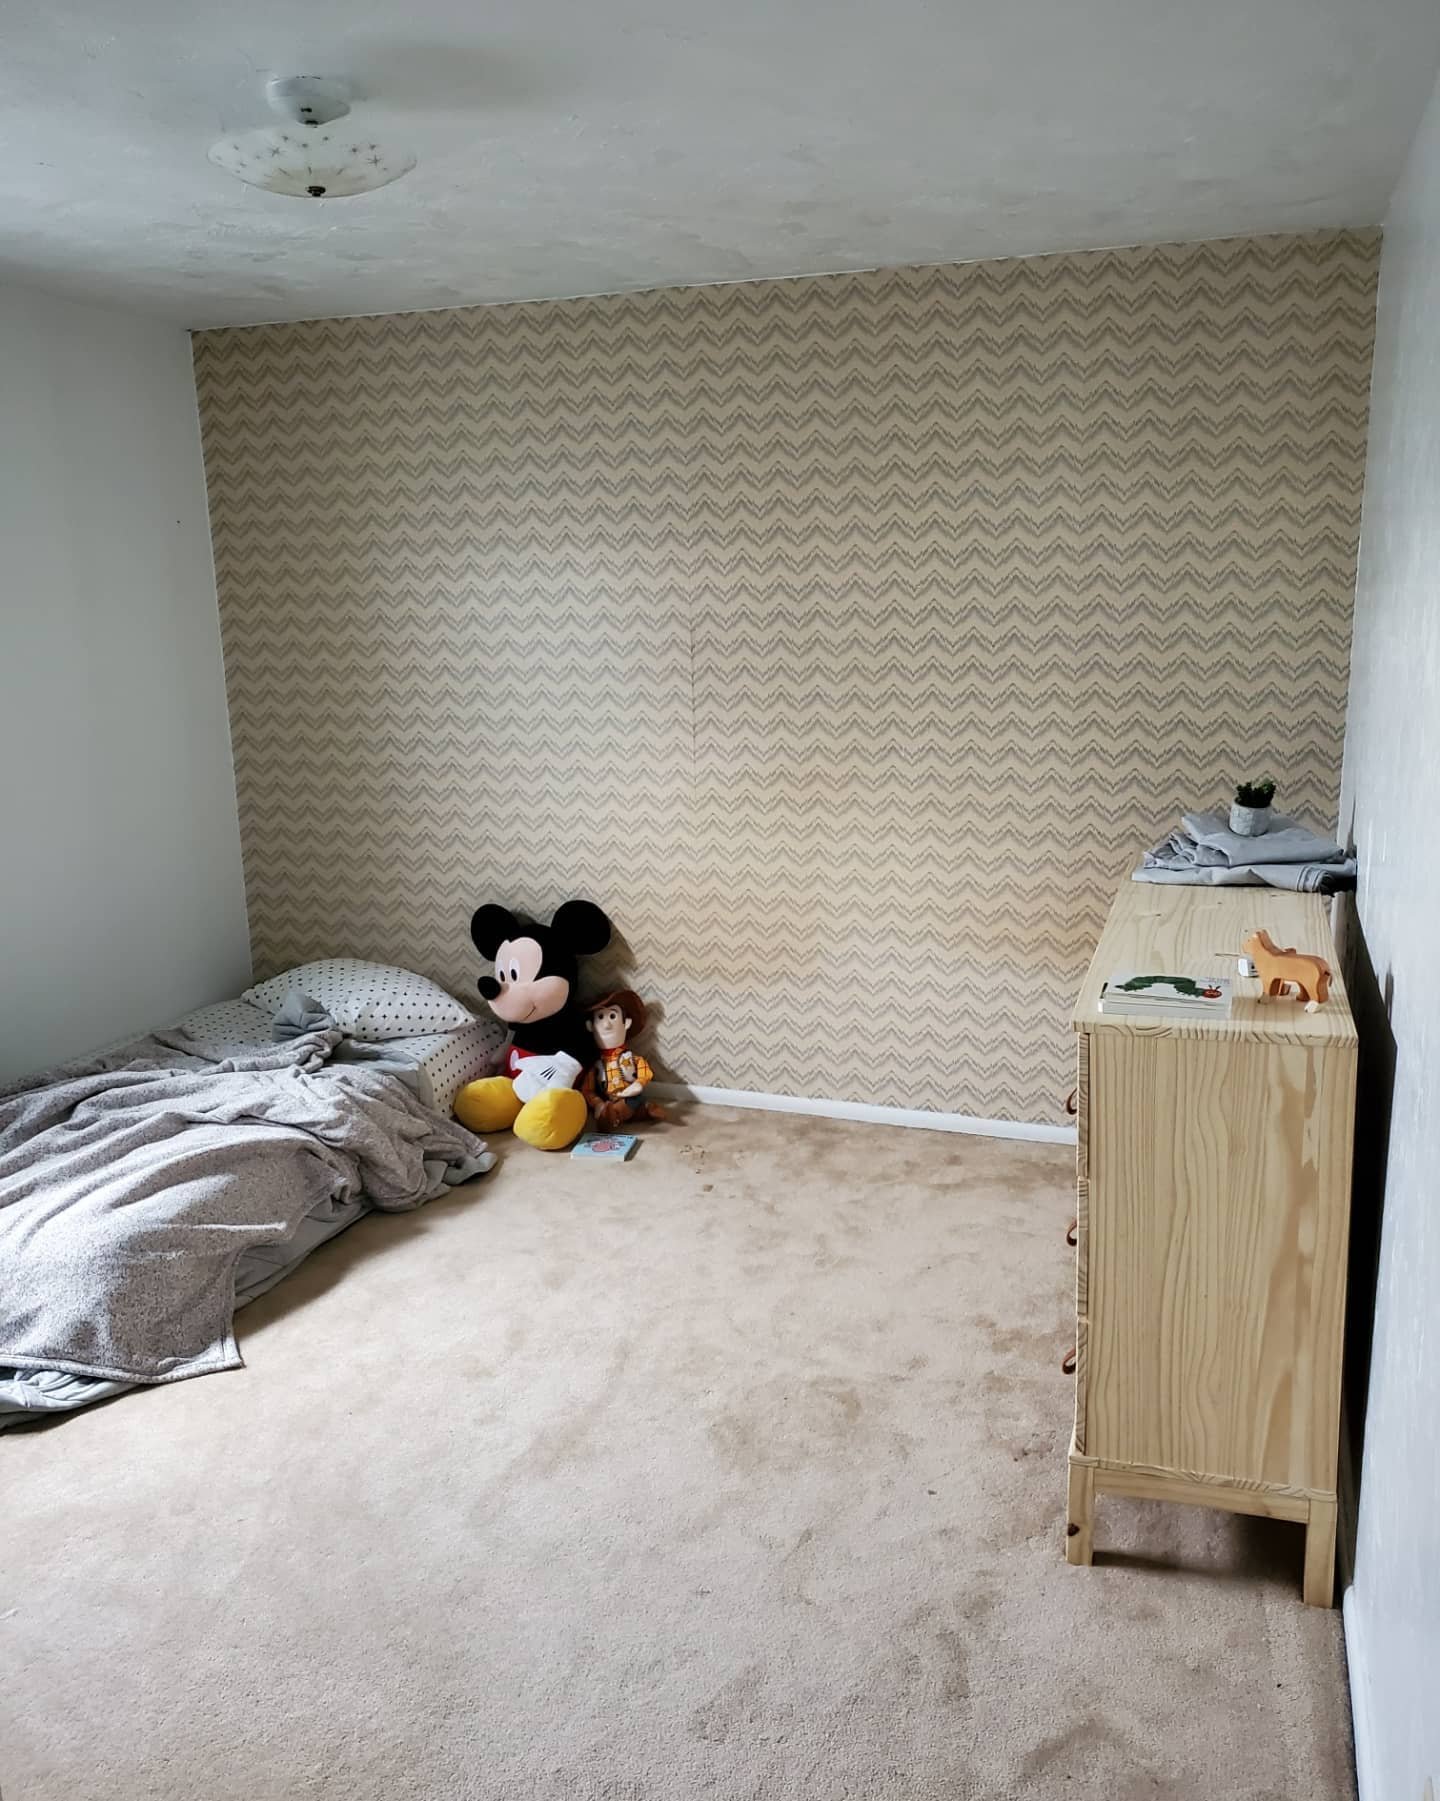
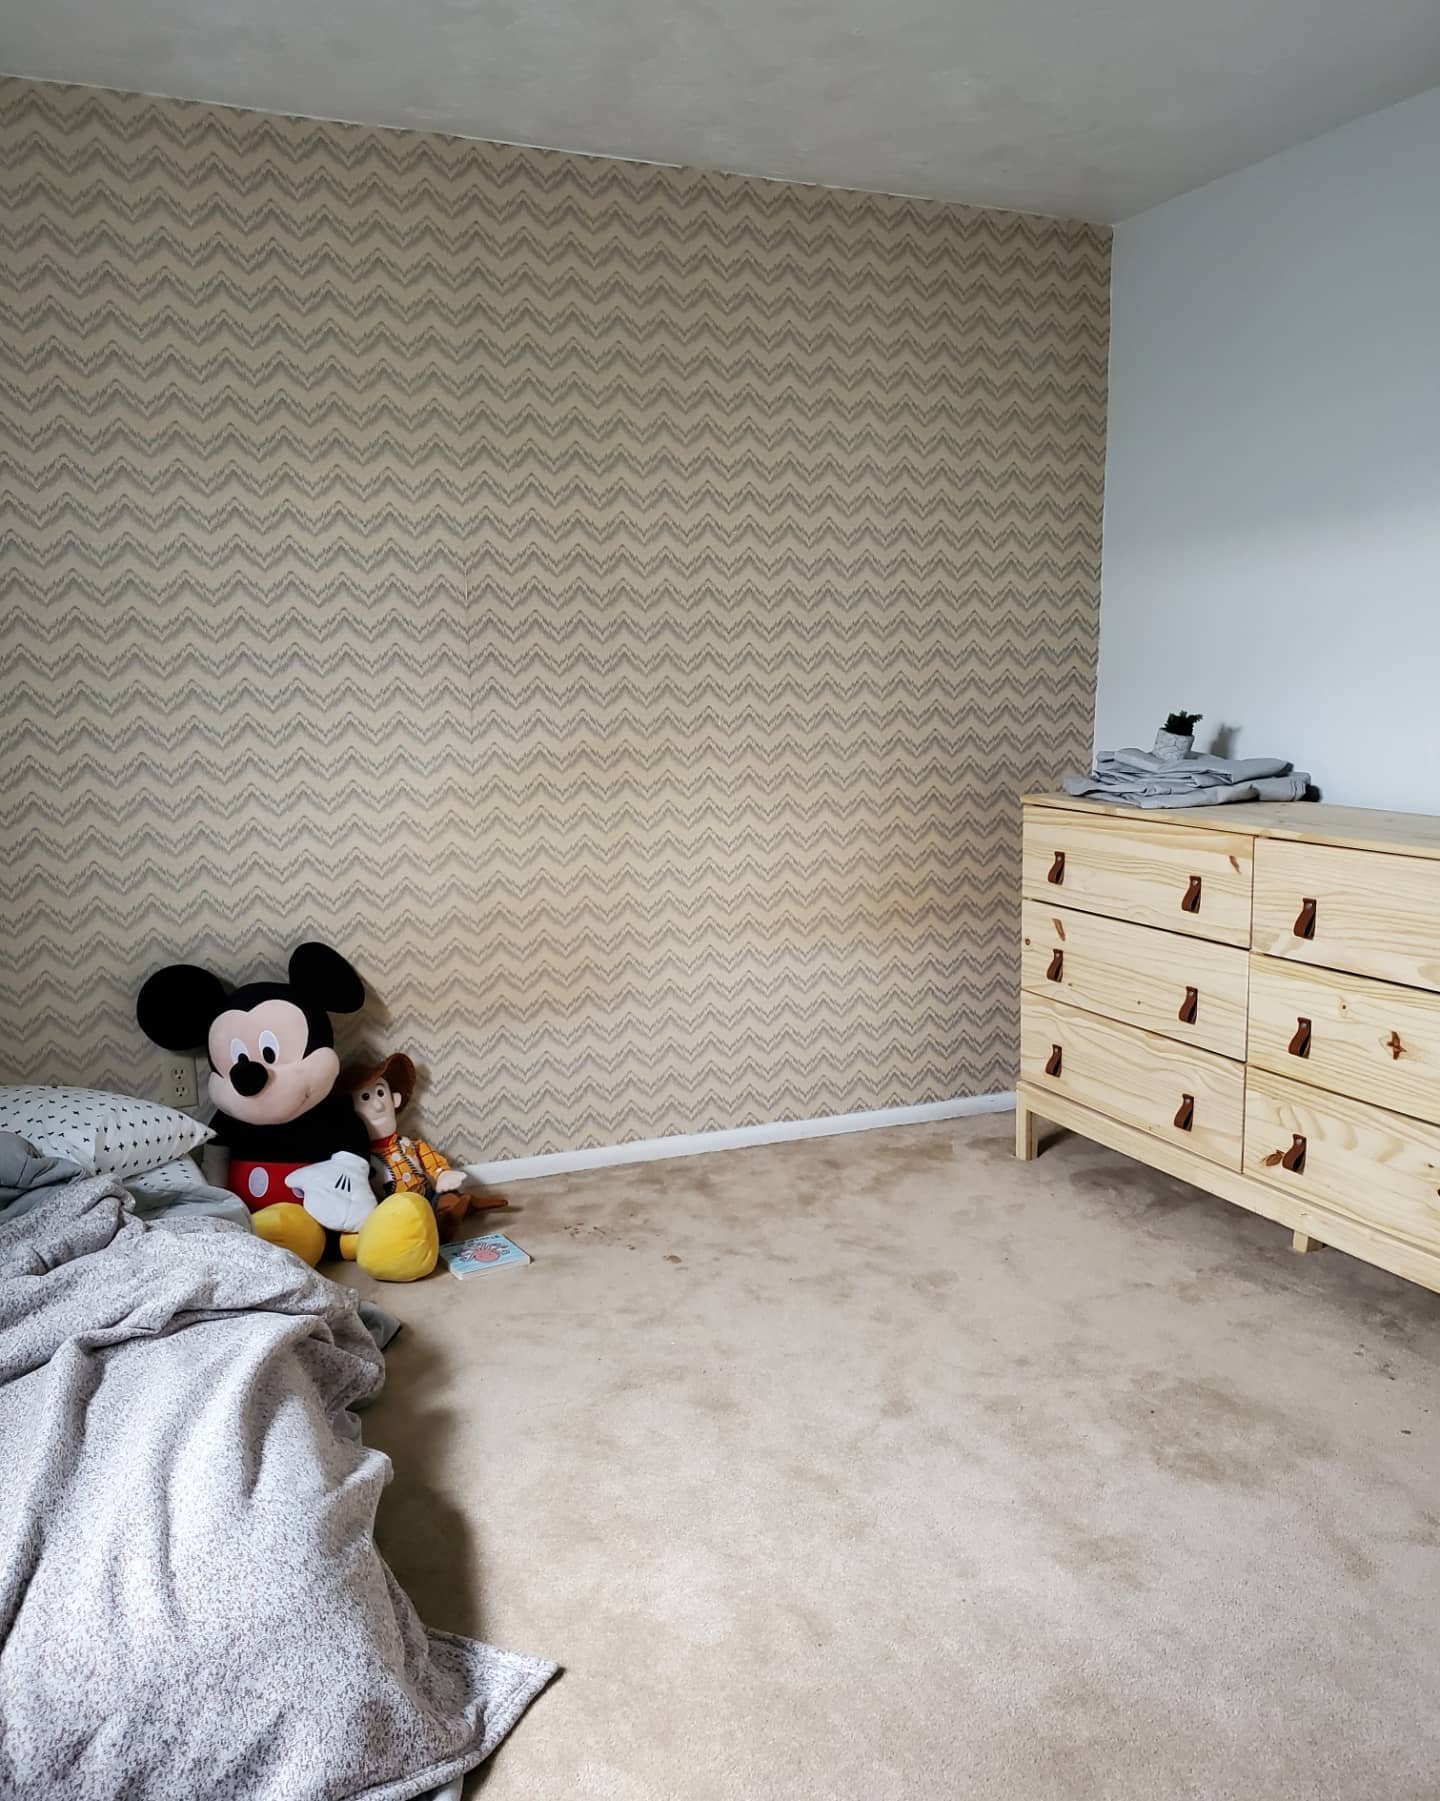
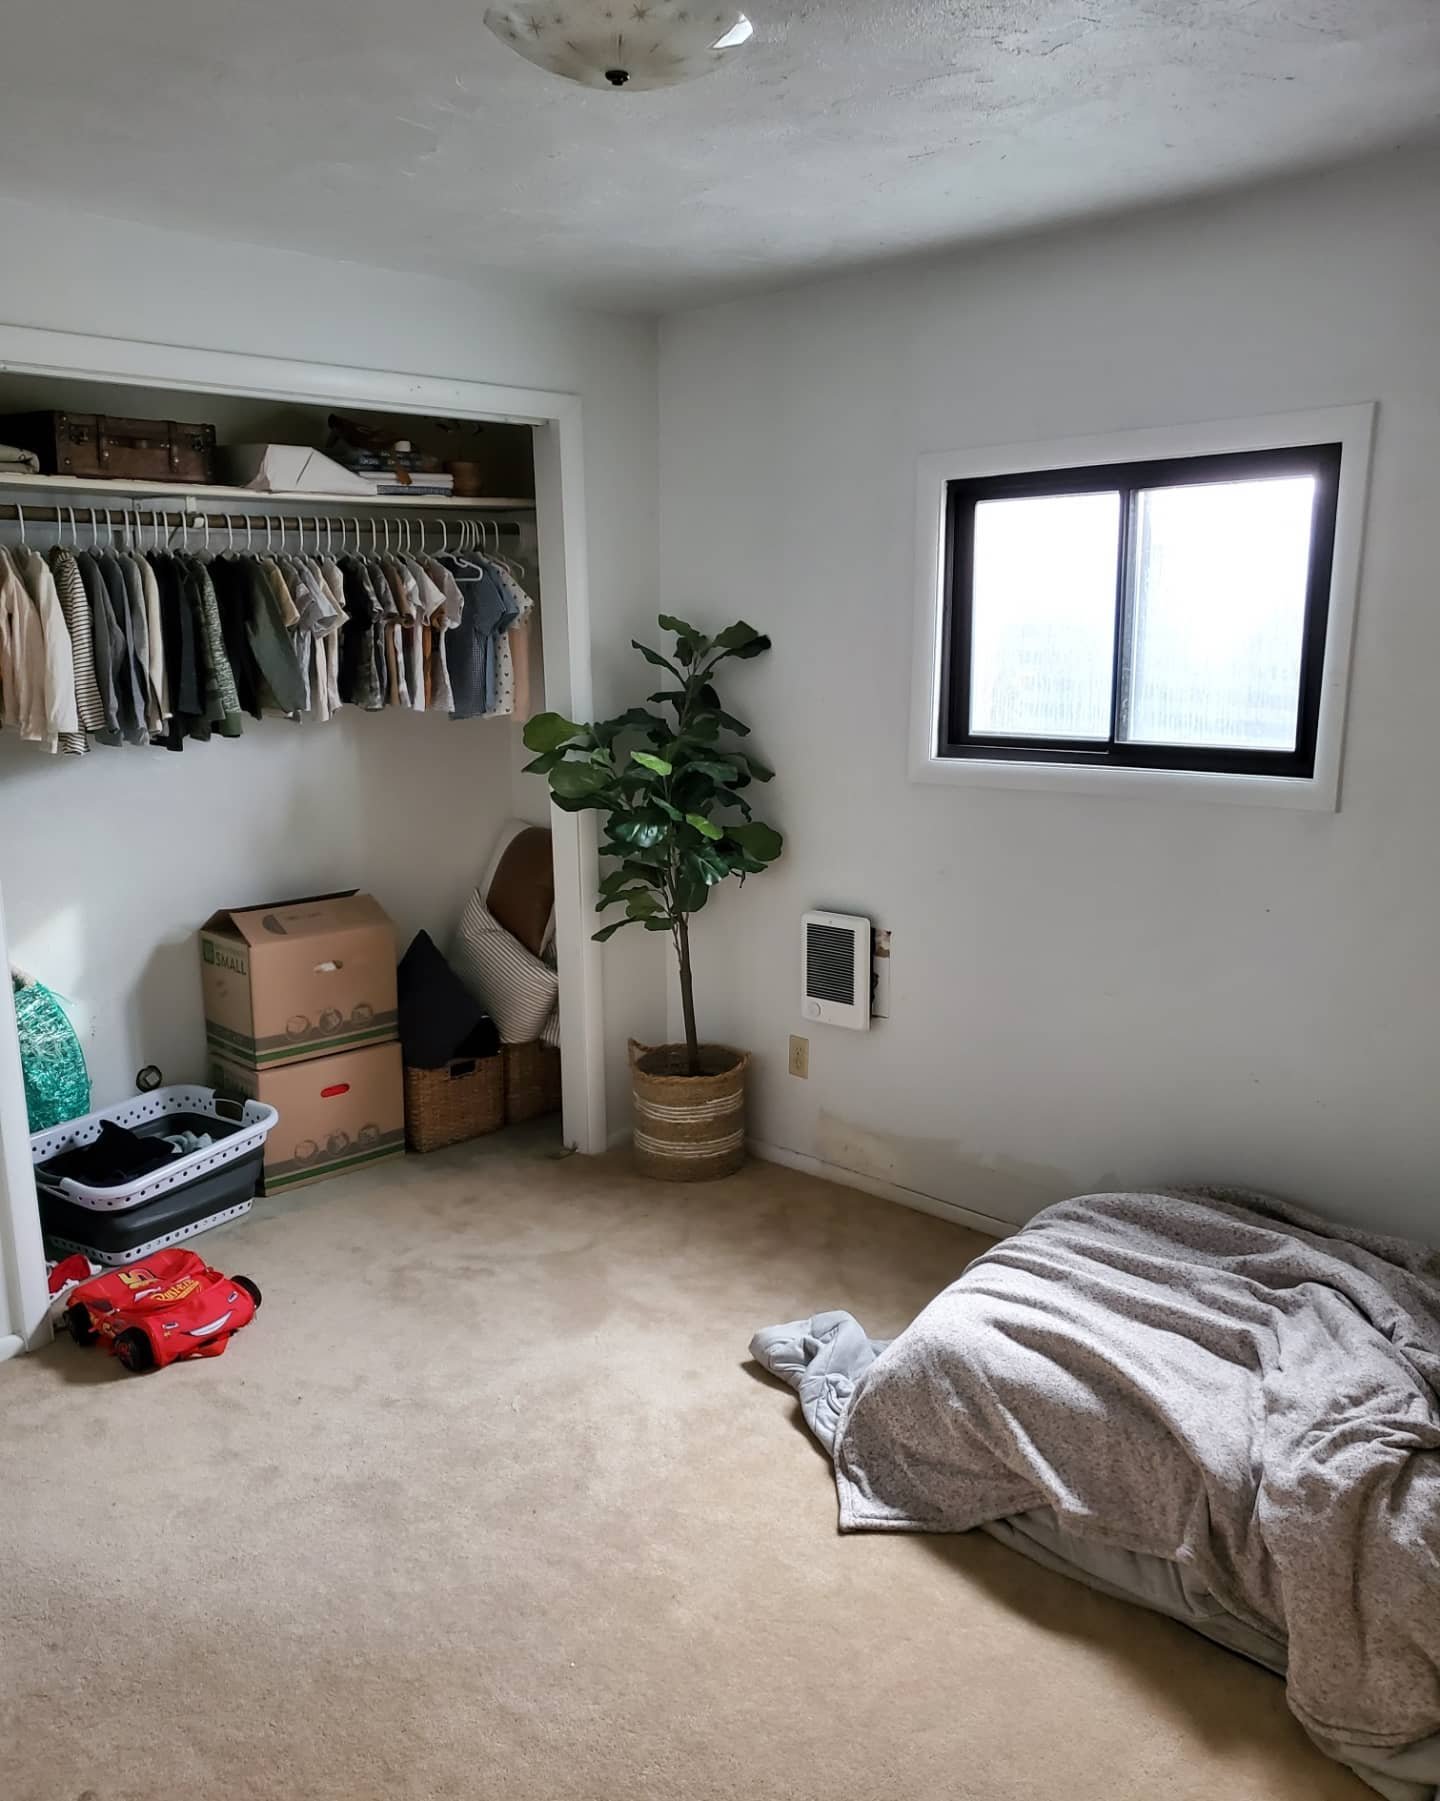
i decided to start with our son’s room because he’s the oldest, but also because i wanted him to feel at home in his new house. when we moved, he was pretty sad about leaving his old bedroom and playroom + would ask often if he could go back. he would say he liked his new house too, but would never want to go into his room like he used to. we also started with his room because it was the easiest + no walls or doors were being added or changed.
first, we started out by skim coating the walls + ceiling because i am not all about that late 70’s texture haha this was a loooooong process that was tedious & time consuming, but totally worth the end result. if you’ve never skim coated before, here are the steps i took:
vacuum + clean your walls with TSP or another all purpose cleaner
prime the walls with an all purpose drywall primer, so you get the best adherence. this is the one I used
then you are ready for the mud. click here. if you buy pre mixed, make sure to also buy a drill mixer so you can get it to a smooth mayonnaise consistency, otherwise it will leave air bubbles in your mud on the walls.
after that, i used a 6 inch taping knife (this is a good starter kit) to slather it on the walls, moving up and down with the wall, think of painting a large canvas in rows and smoothed it out as i went across the wall with a 12 inch squeegee knife. if you wait too long to smooth the mud you put on the wall, it was dry too much and it will be hard to smooth, so do it in pieces as you go. each coat should be light, if you do it too heavy, your compound will crack and turn yellow.
then after i had 2 coats on, i sanded by hand first with 100 grit, and then followed that up with 120 grit. depending on your wall, you will most likely need between 2 and 3 coats, but if your texture is subtle, it may only take 1 coat. you can also sand with a hand sander, pole sander, or a drywall sander if you will be doing a lot of retexturing.
then, when you have your walls to the desired smoothness, you are ready to paint!

once i had finally completed skim coating, i primed and painted my walls. the colors i used were
-swiss coffee by behr in eggshell for the walls
-aged beige by behr in eggshell for the baseboards and trim
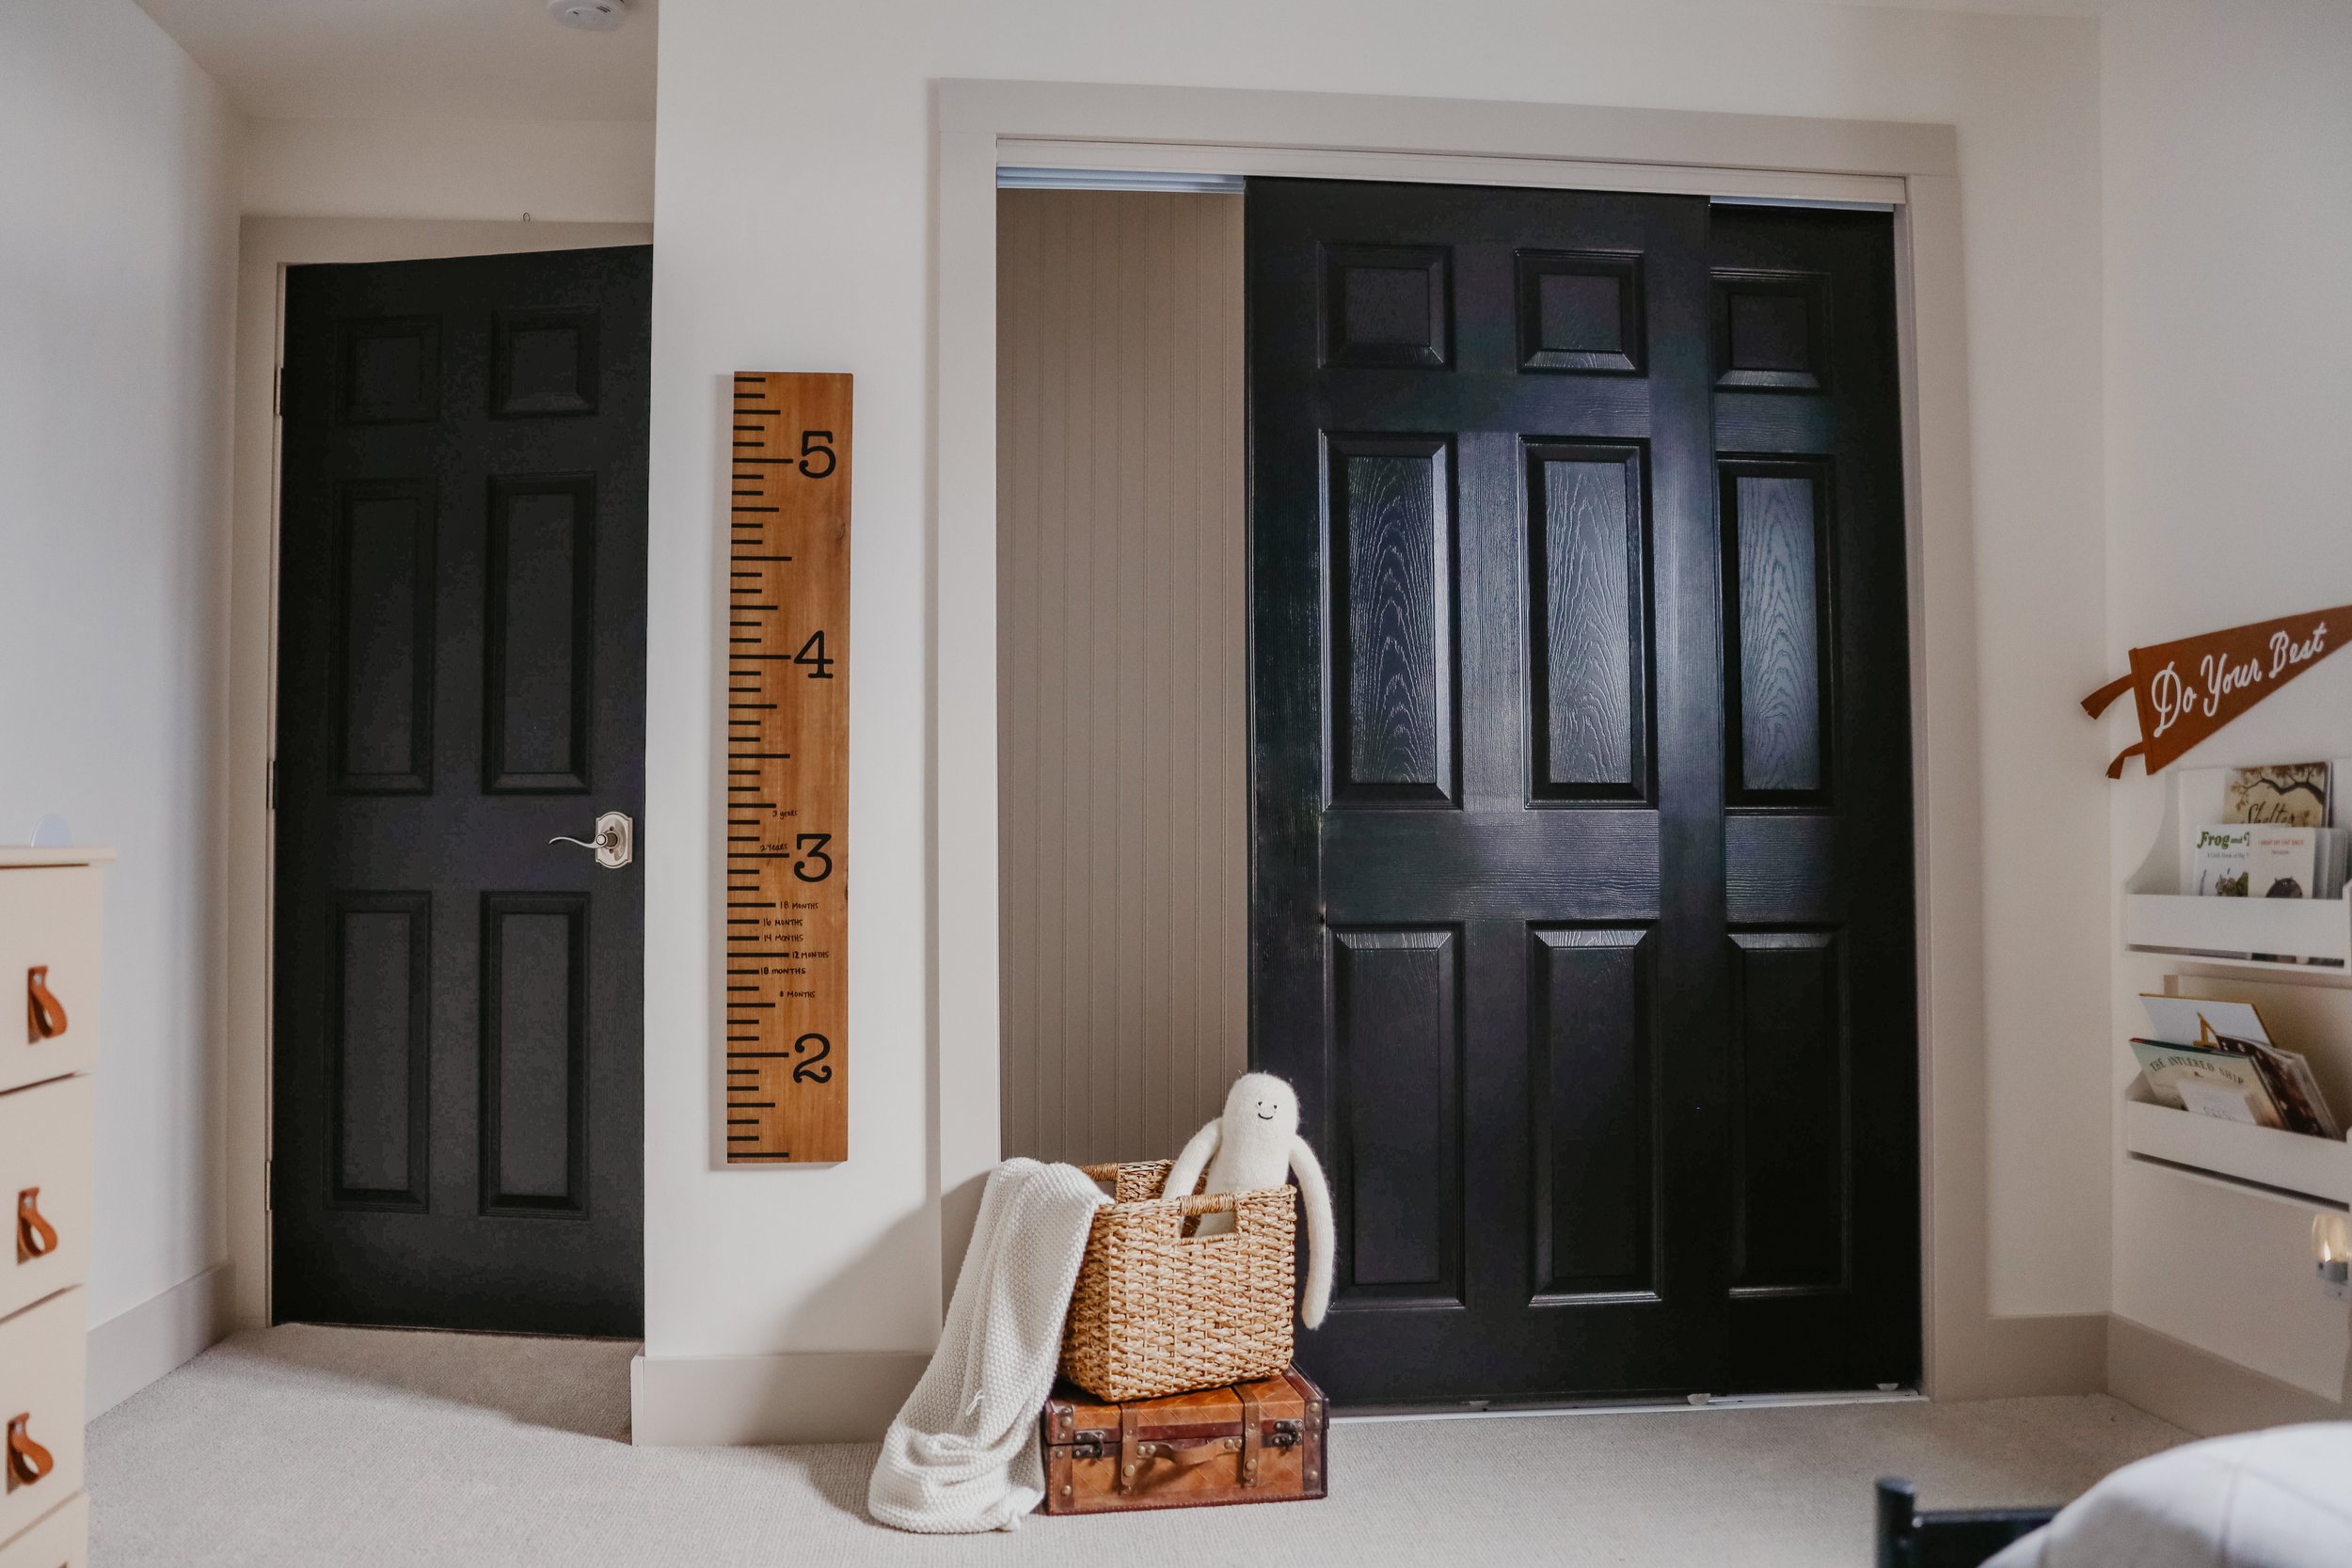
-black by behr in satin for the doors
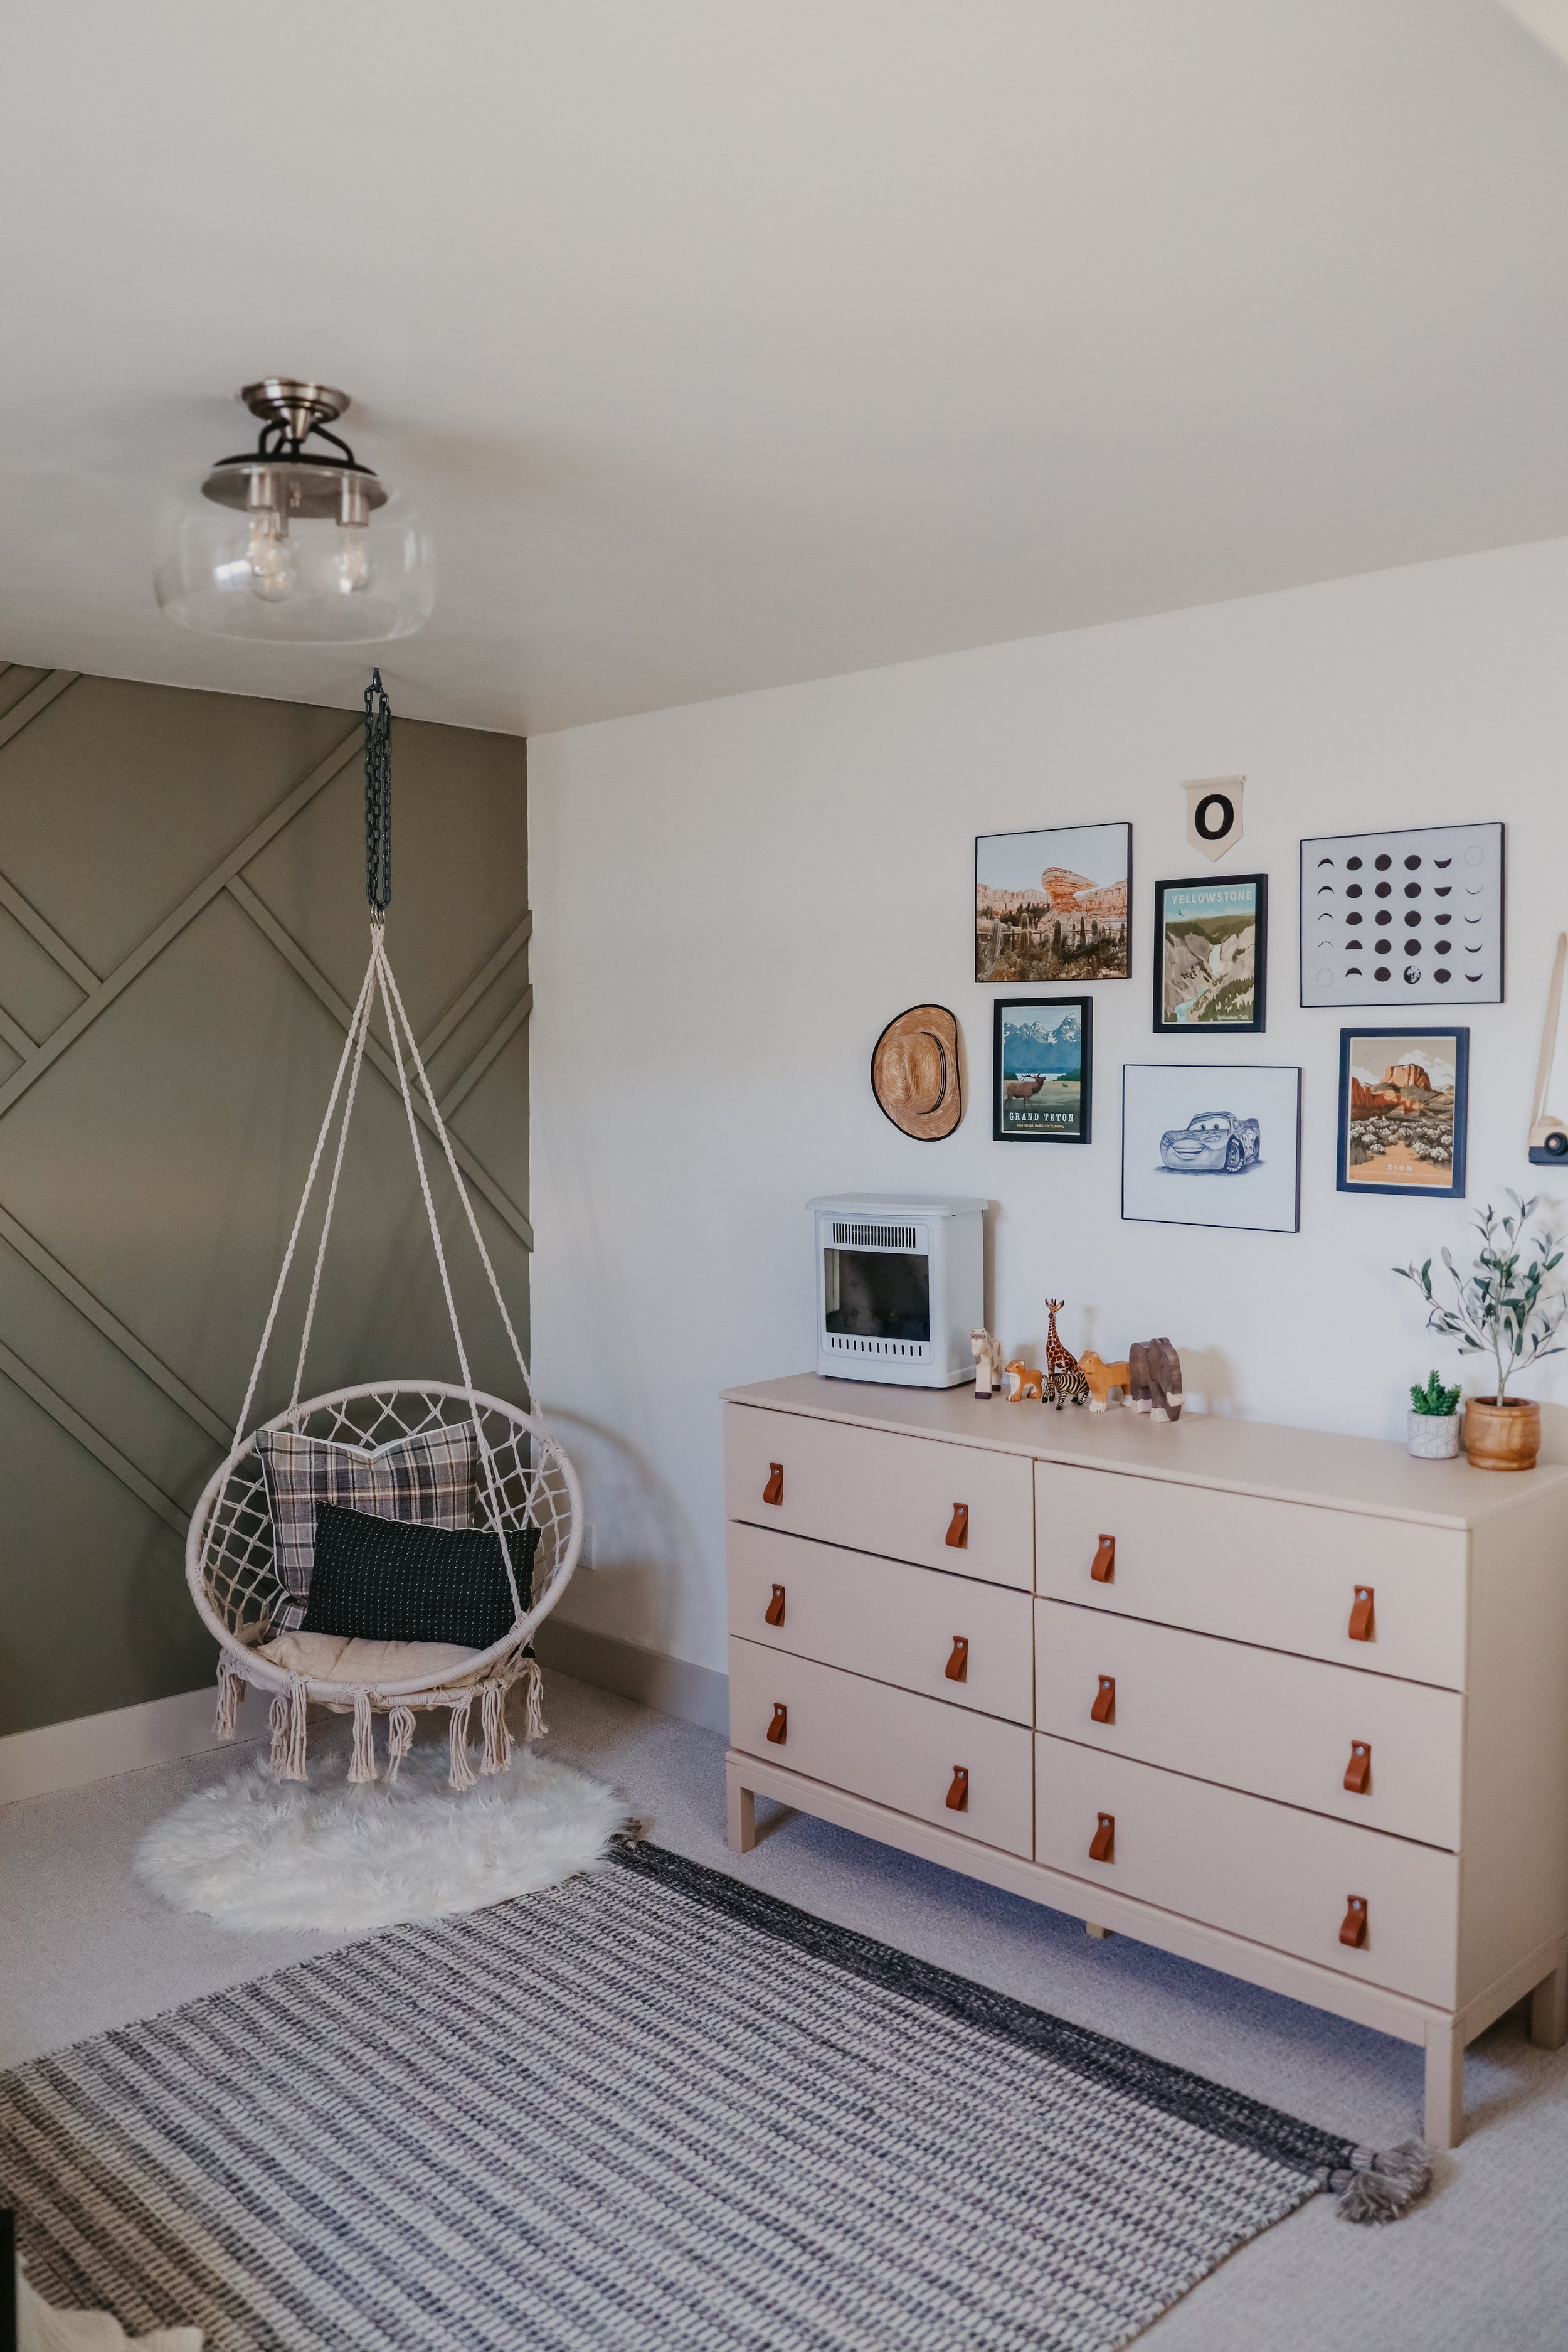
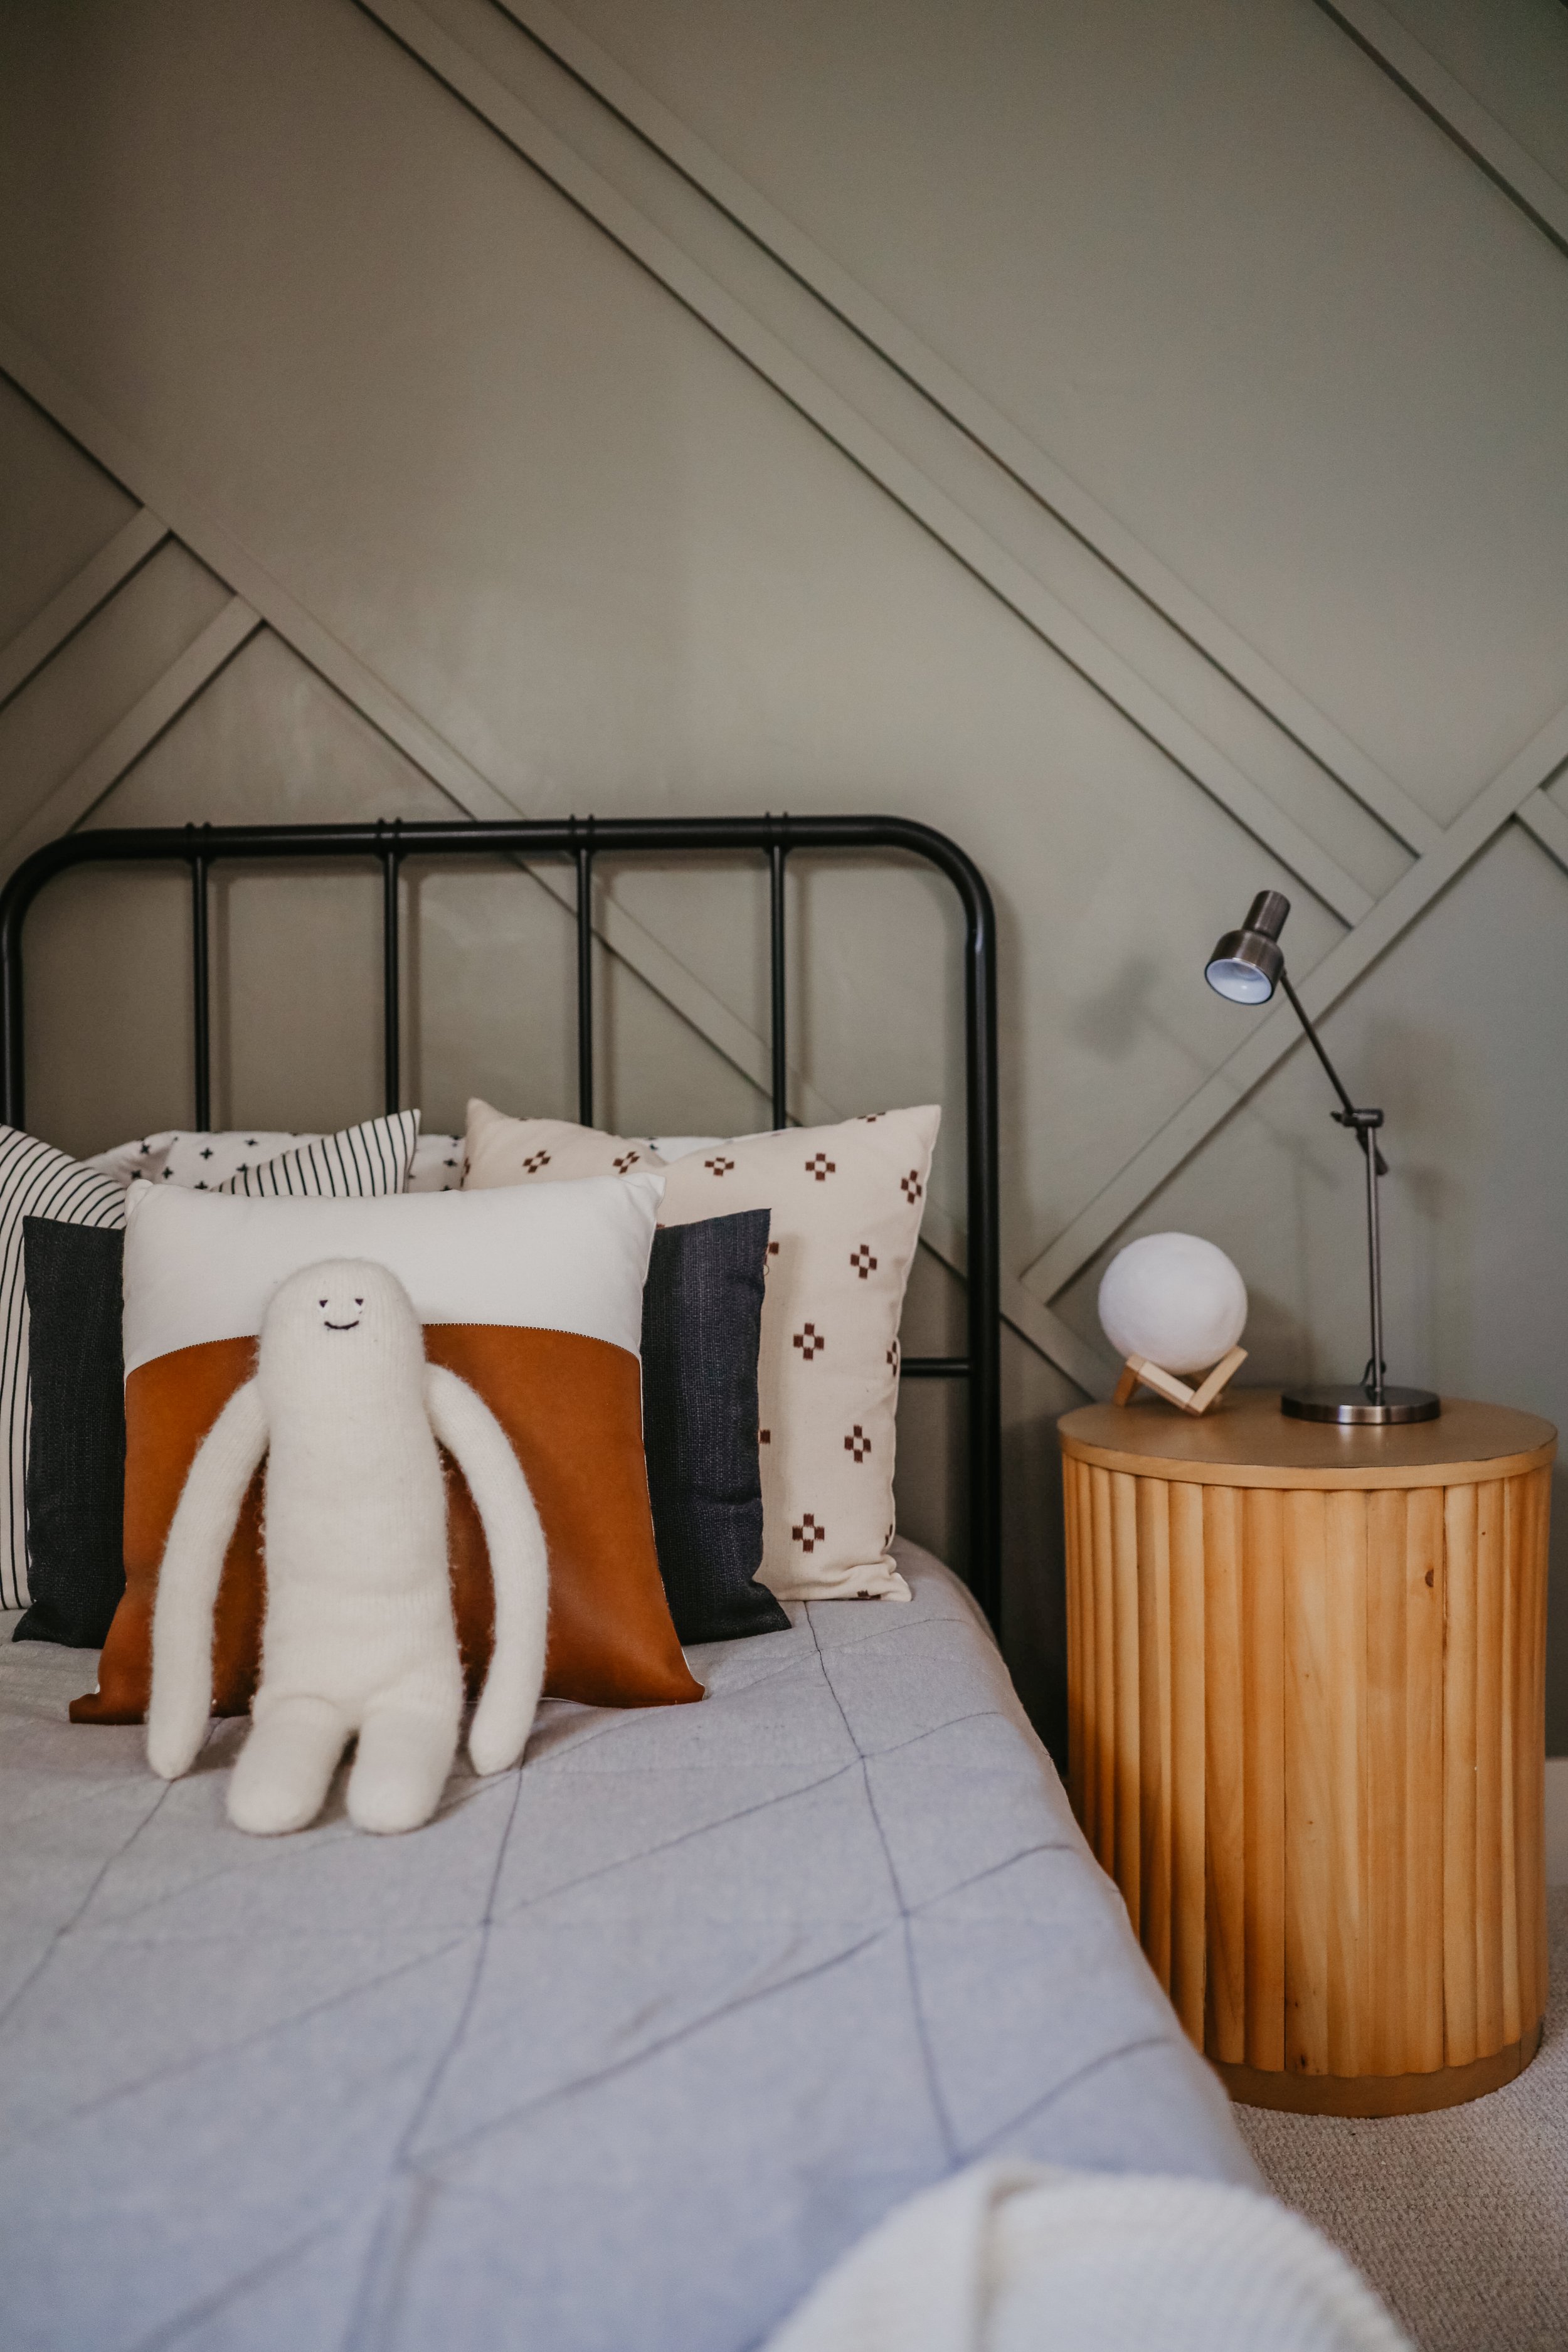
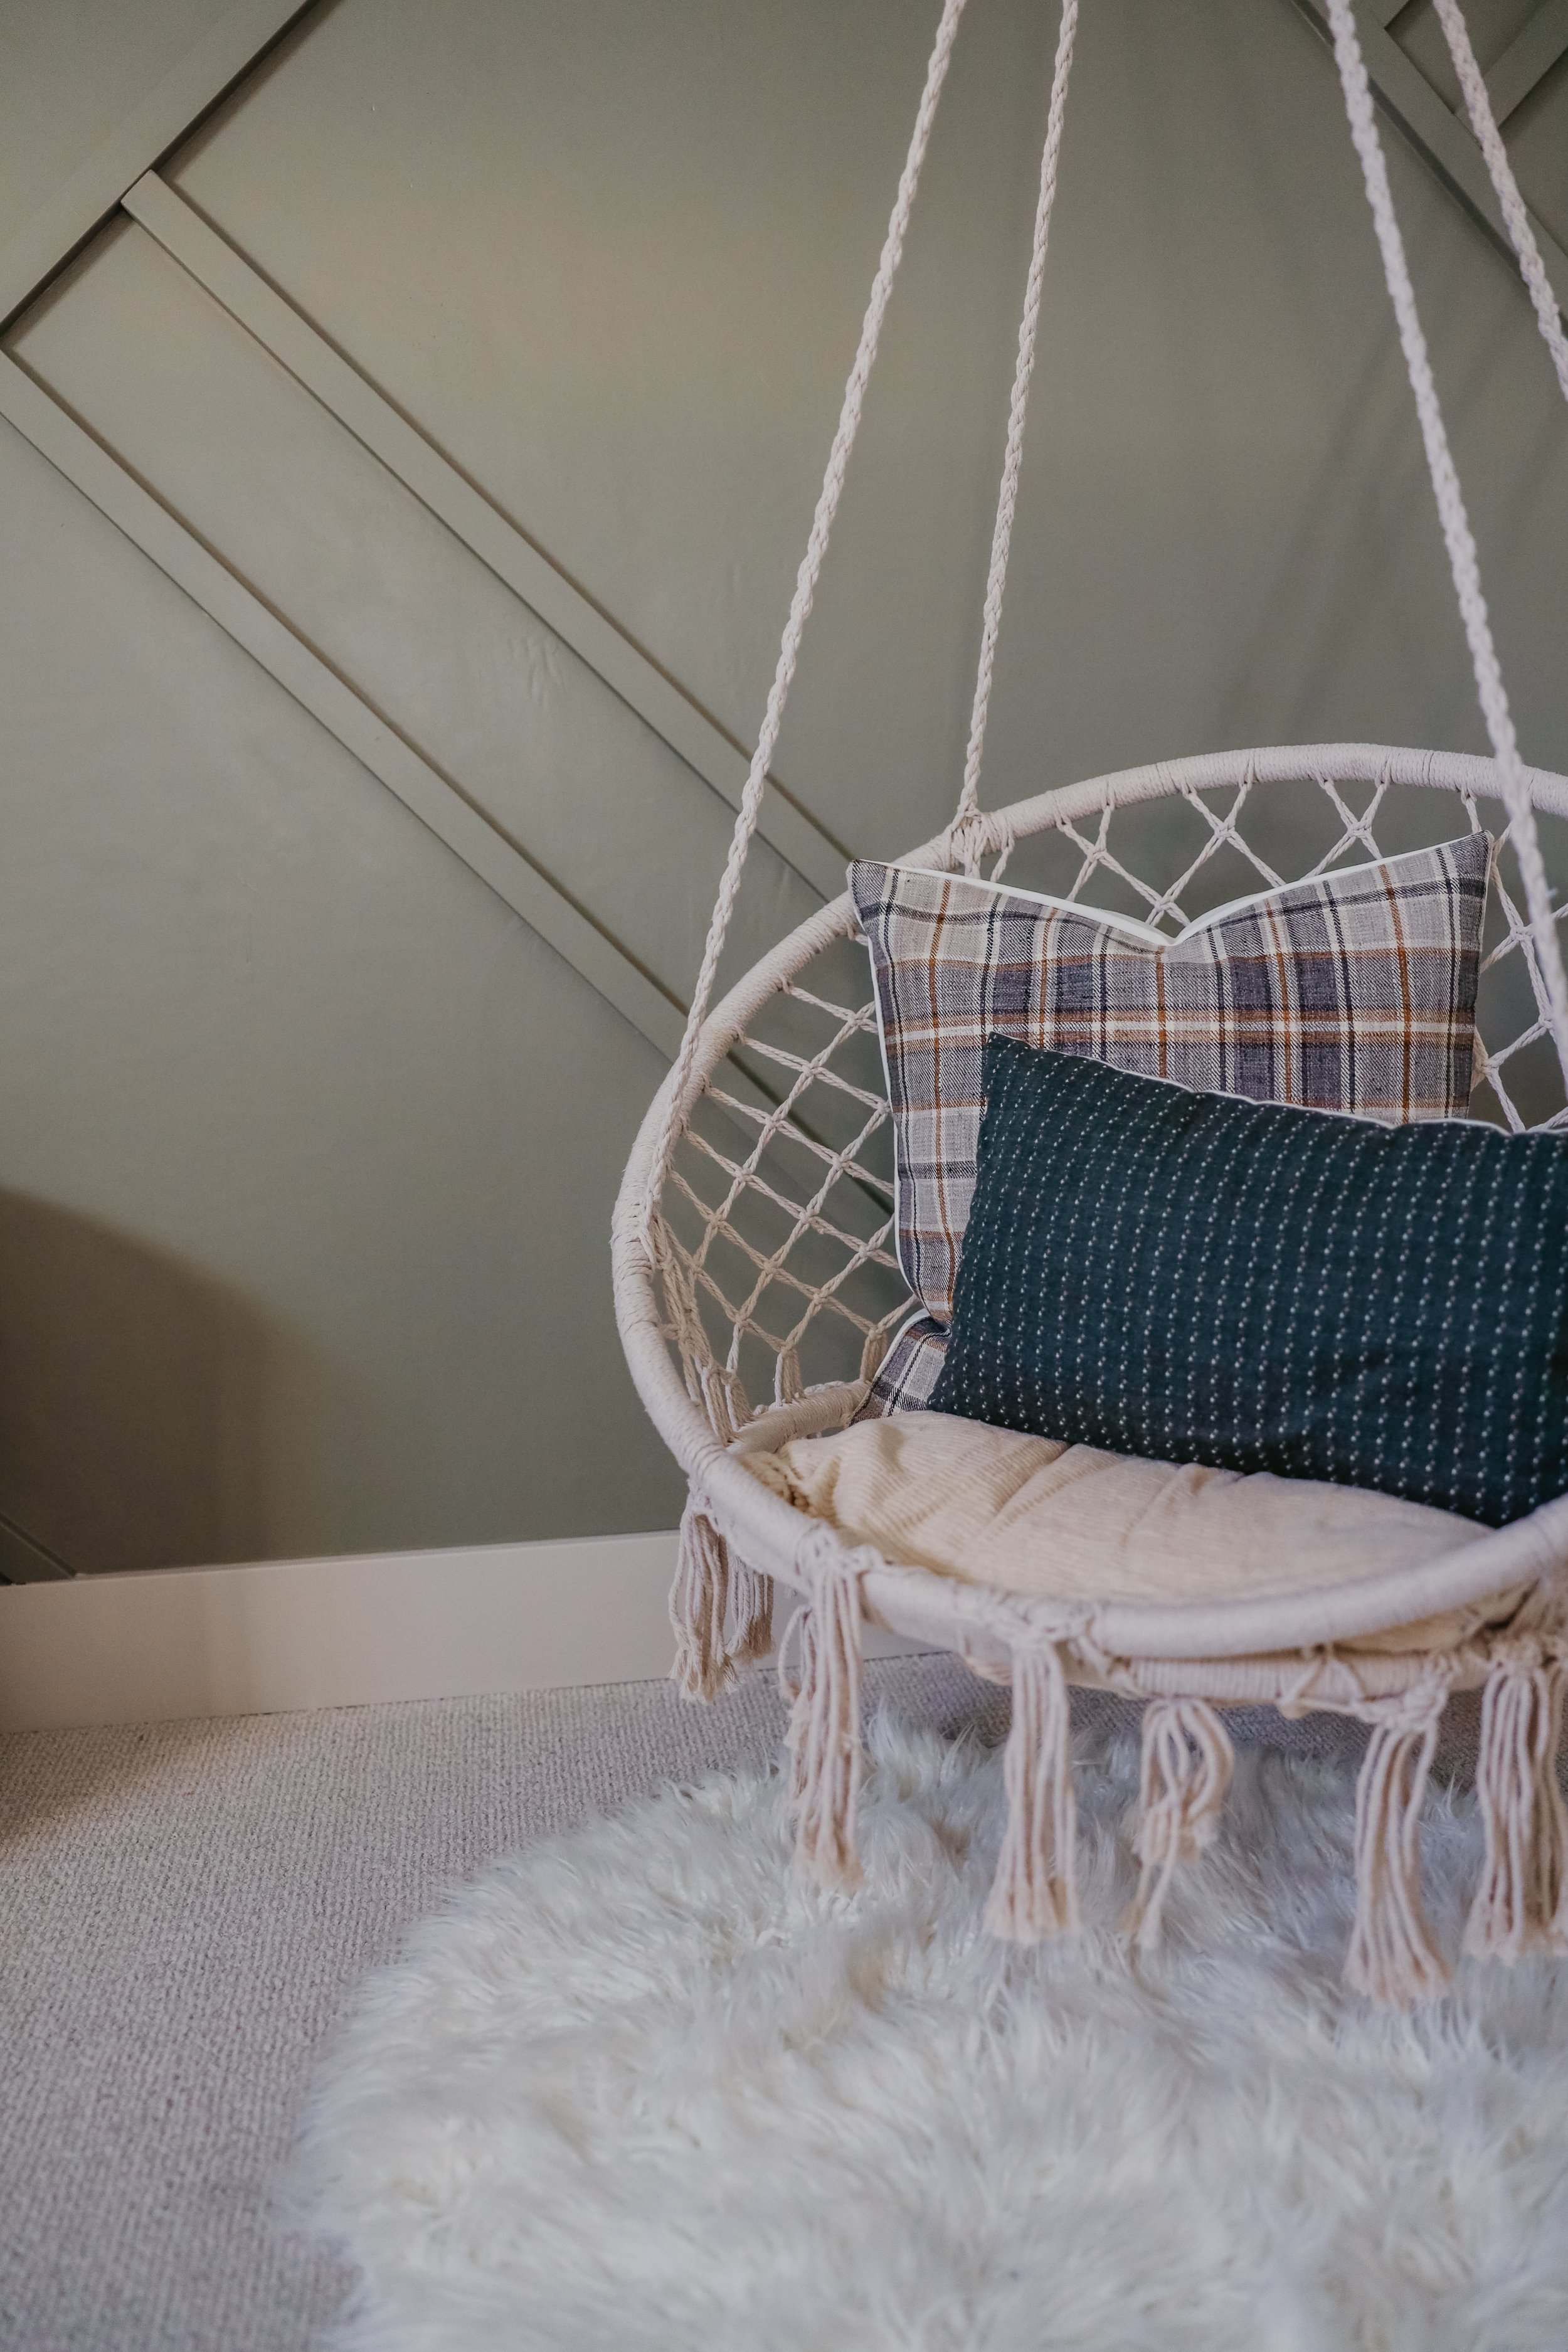
-muted sage by behr for the accent wall
after i painted all the walls and ceiling, it was time for the accent wall! i really loved the geometric wall i did in our last house, so i decided to recreate it. i used all 1 in x 2 in x 8 ft mdf for it because its an engineered material that has no flaws like real wood. i cut all my ends that touched the edges of the wall at a 45 degree angle and then the ends that touched other pieces, i didn’t cut an angle on. i mostly built my pattern as i went, but you can most definitely draw it out for planning purposes! then i attached them to the wall with my brad nailer and used these nails. i made sure to set my nailer so my brad nails would countersink, meaning they would “sink” below the surface of the wood piece so i could fill the nail holes with wood filler. then I sand it down and you no longer saw the nail hole. This isn’t necessary, but does add that much more of a professional look to your finished product.

then i was ready to caulk all my edges to give it a clean and finished look. caulk usually takes at least a few hours to set, but it is recommended it dry for at least 24 hours before painting it. this is my favorite go to for indoor projects. if you’ve never caulked before, you will also need a caulking gun. they come in many different price points, so pick the one you think fits your needs.
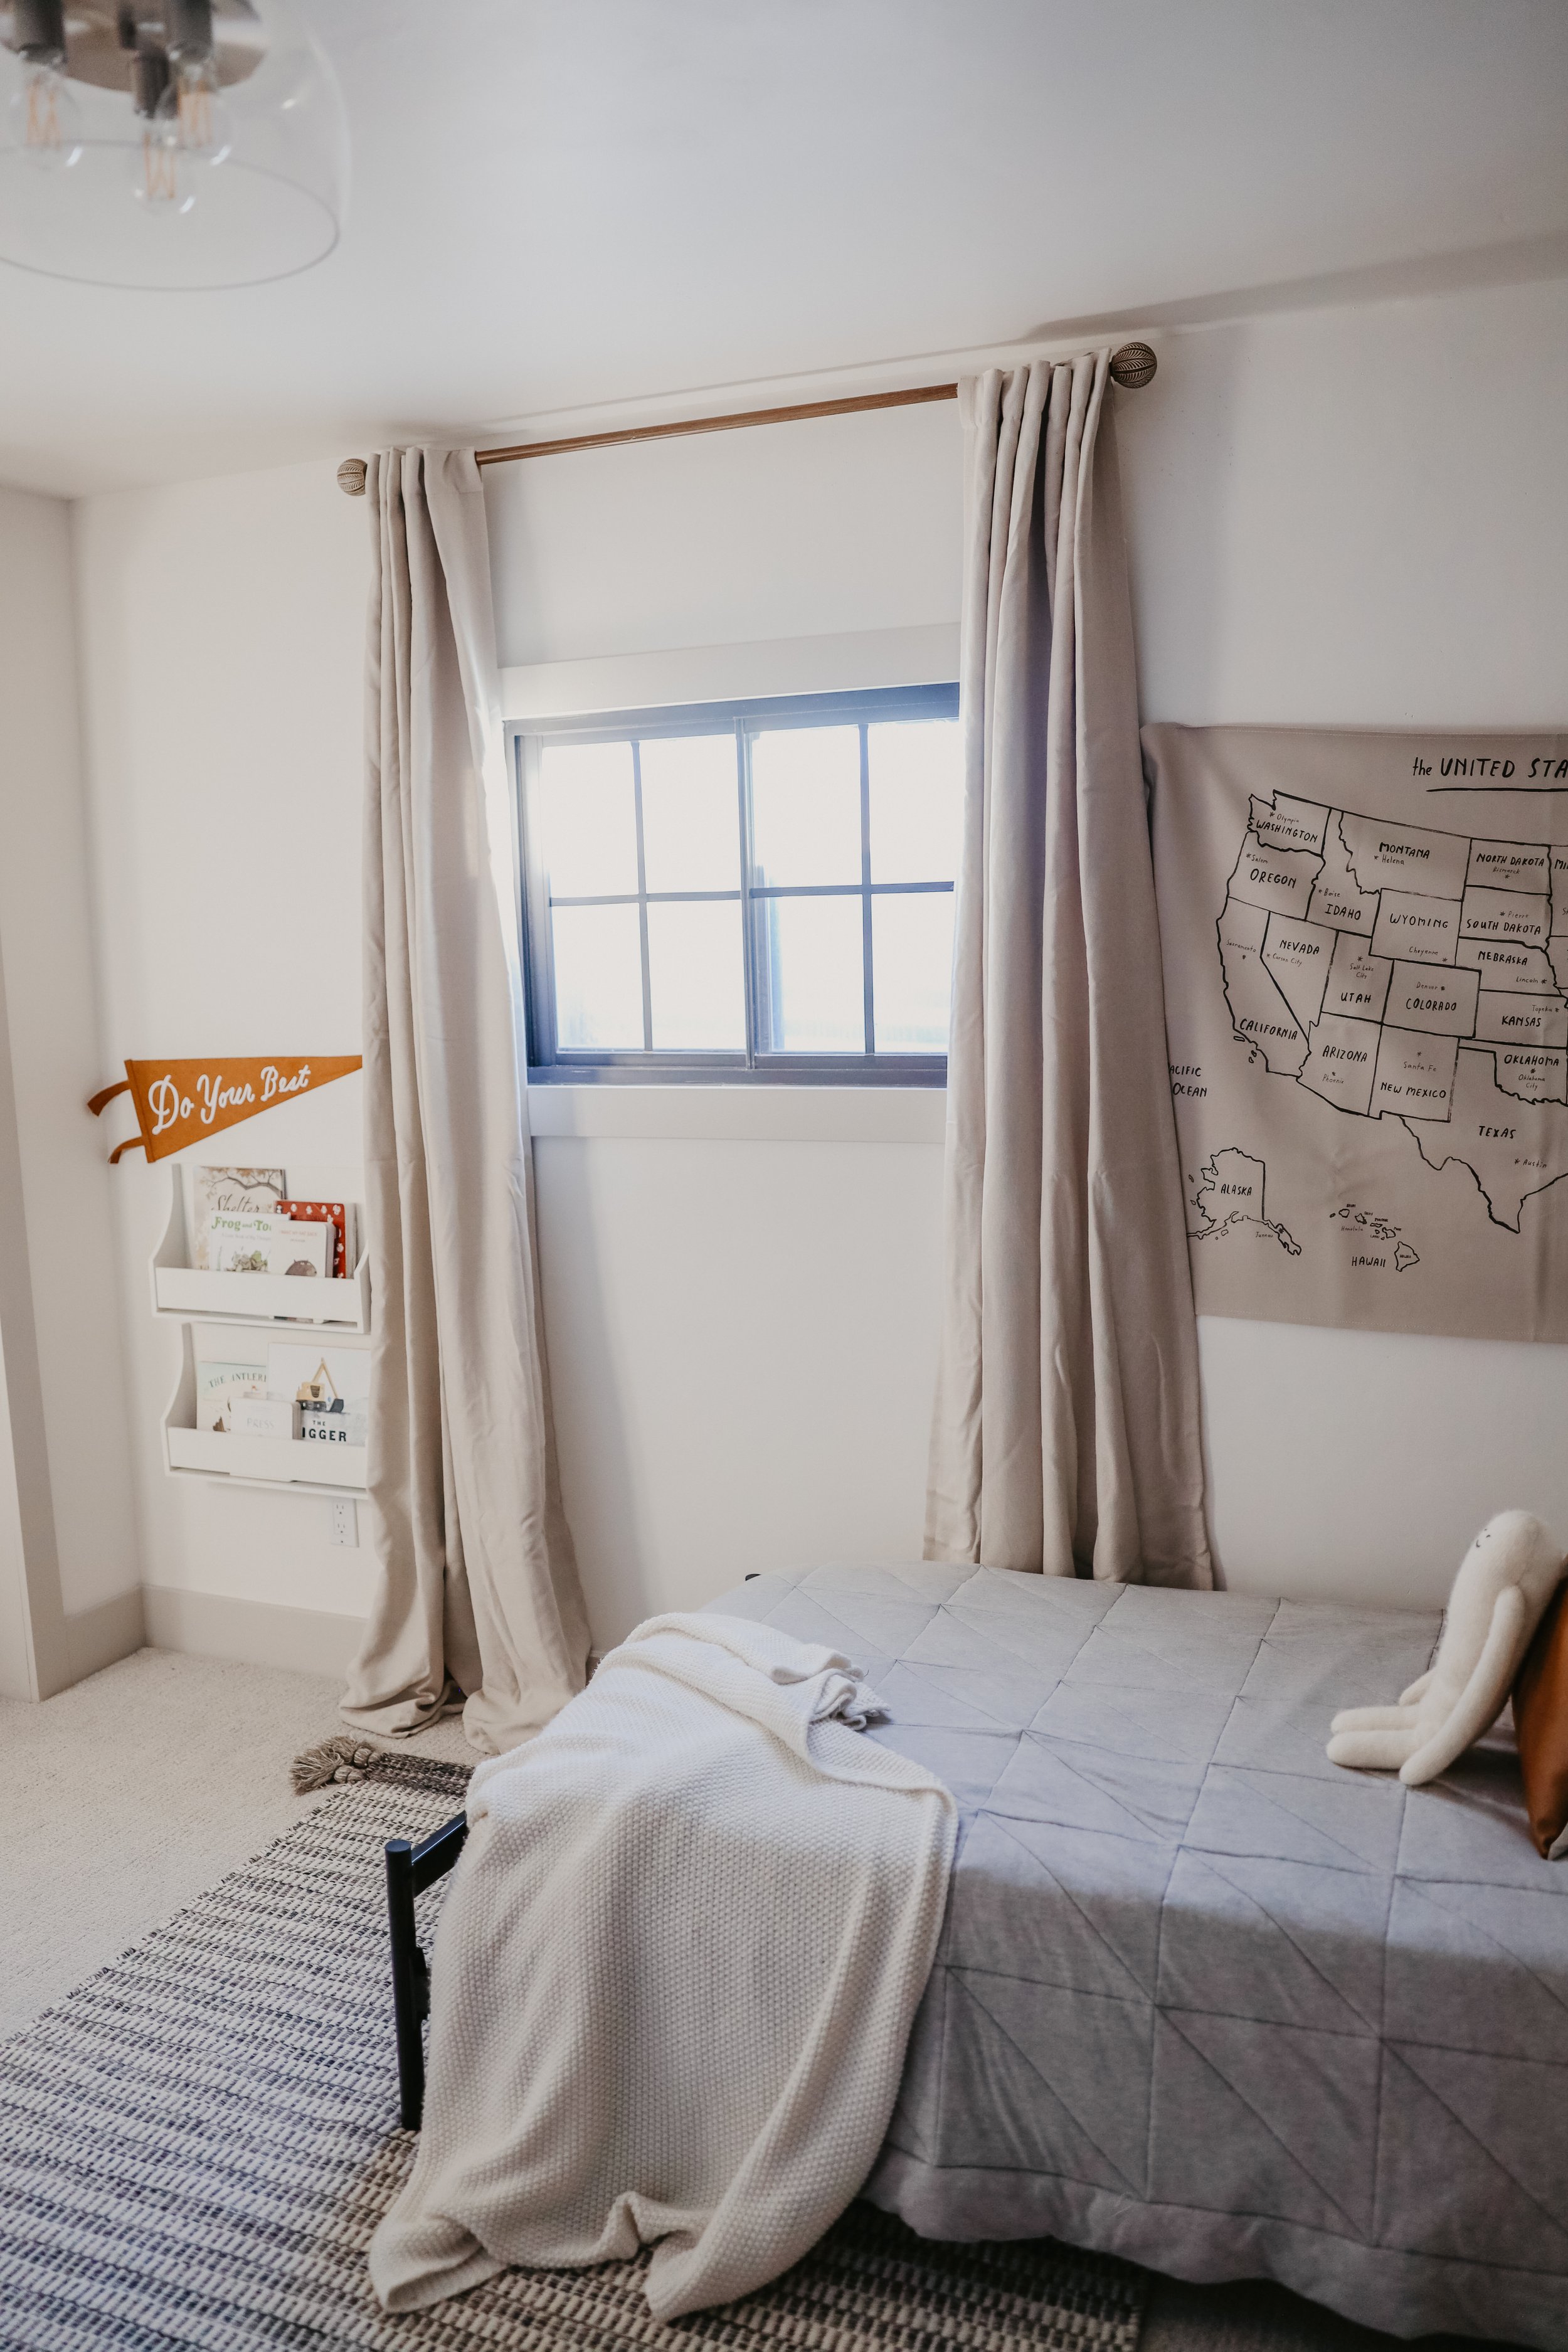
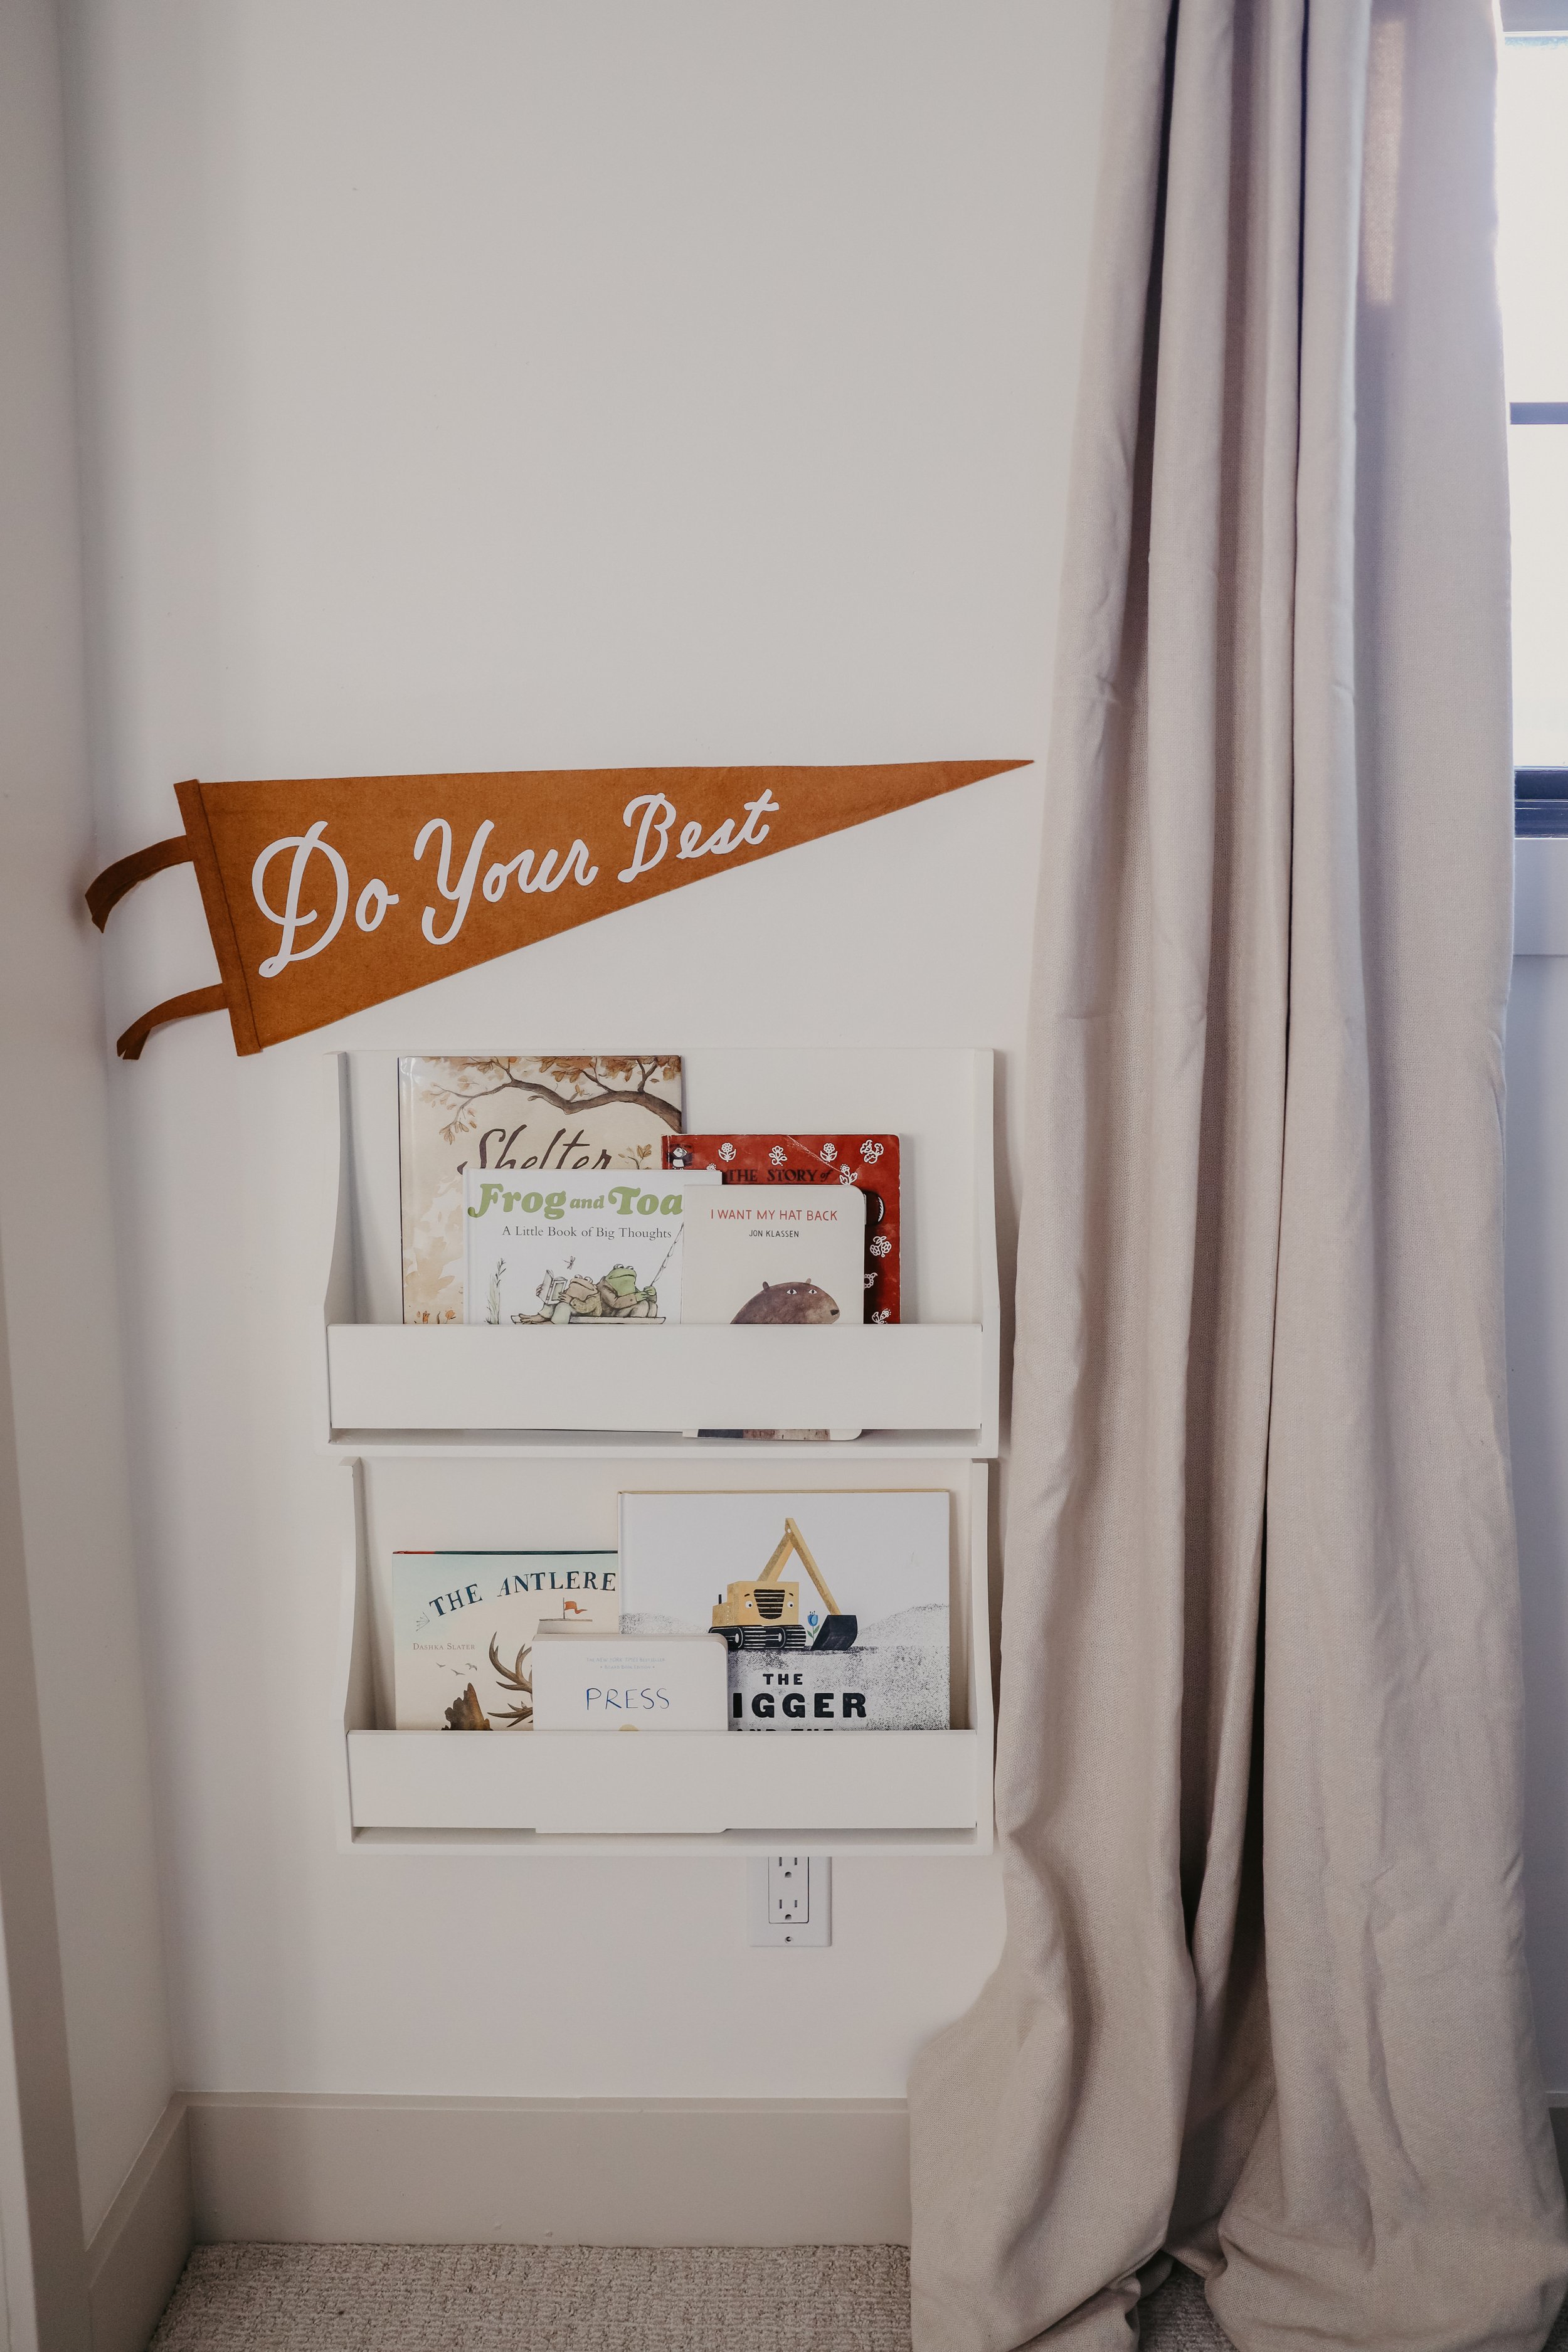
after that, we ordered new carpet, new light fixture, a new door + closet doors, & then it was time to put on the trim and baseboards and then get to the fun part — decorating! i did try to use a lot of things from his old room, but we moved him into a big bed, so i did end up buying a bedframe and nightstand.
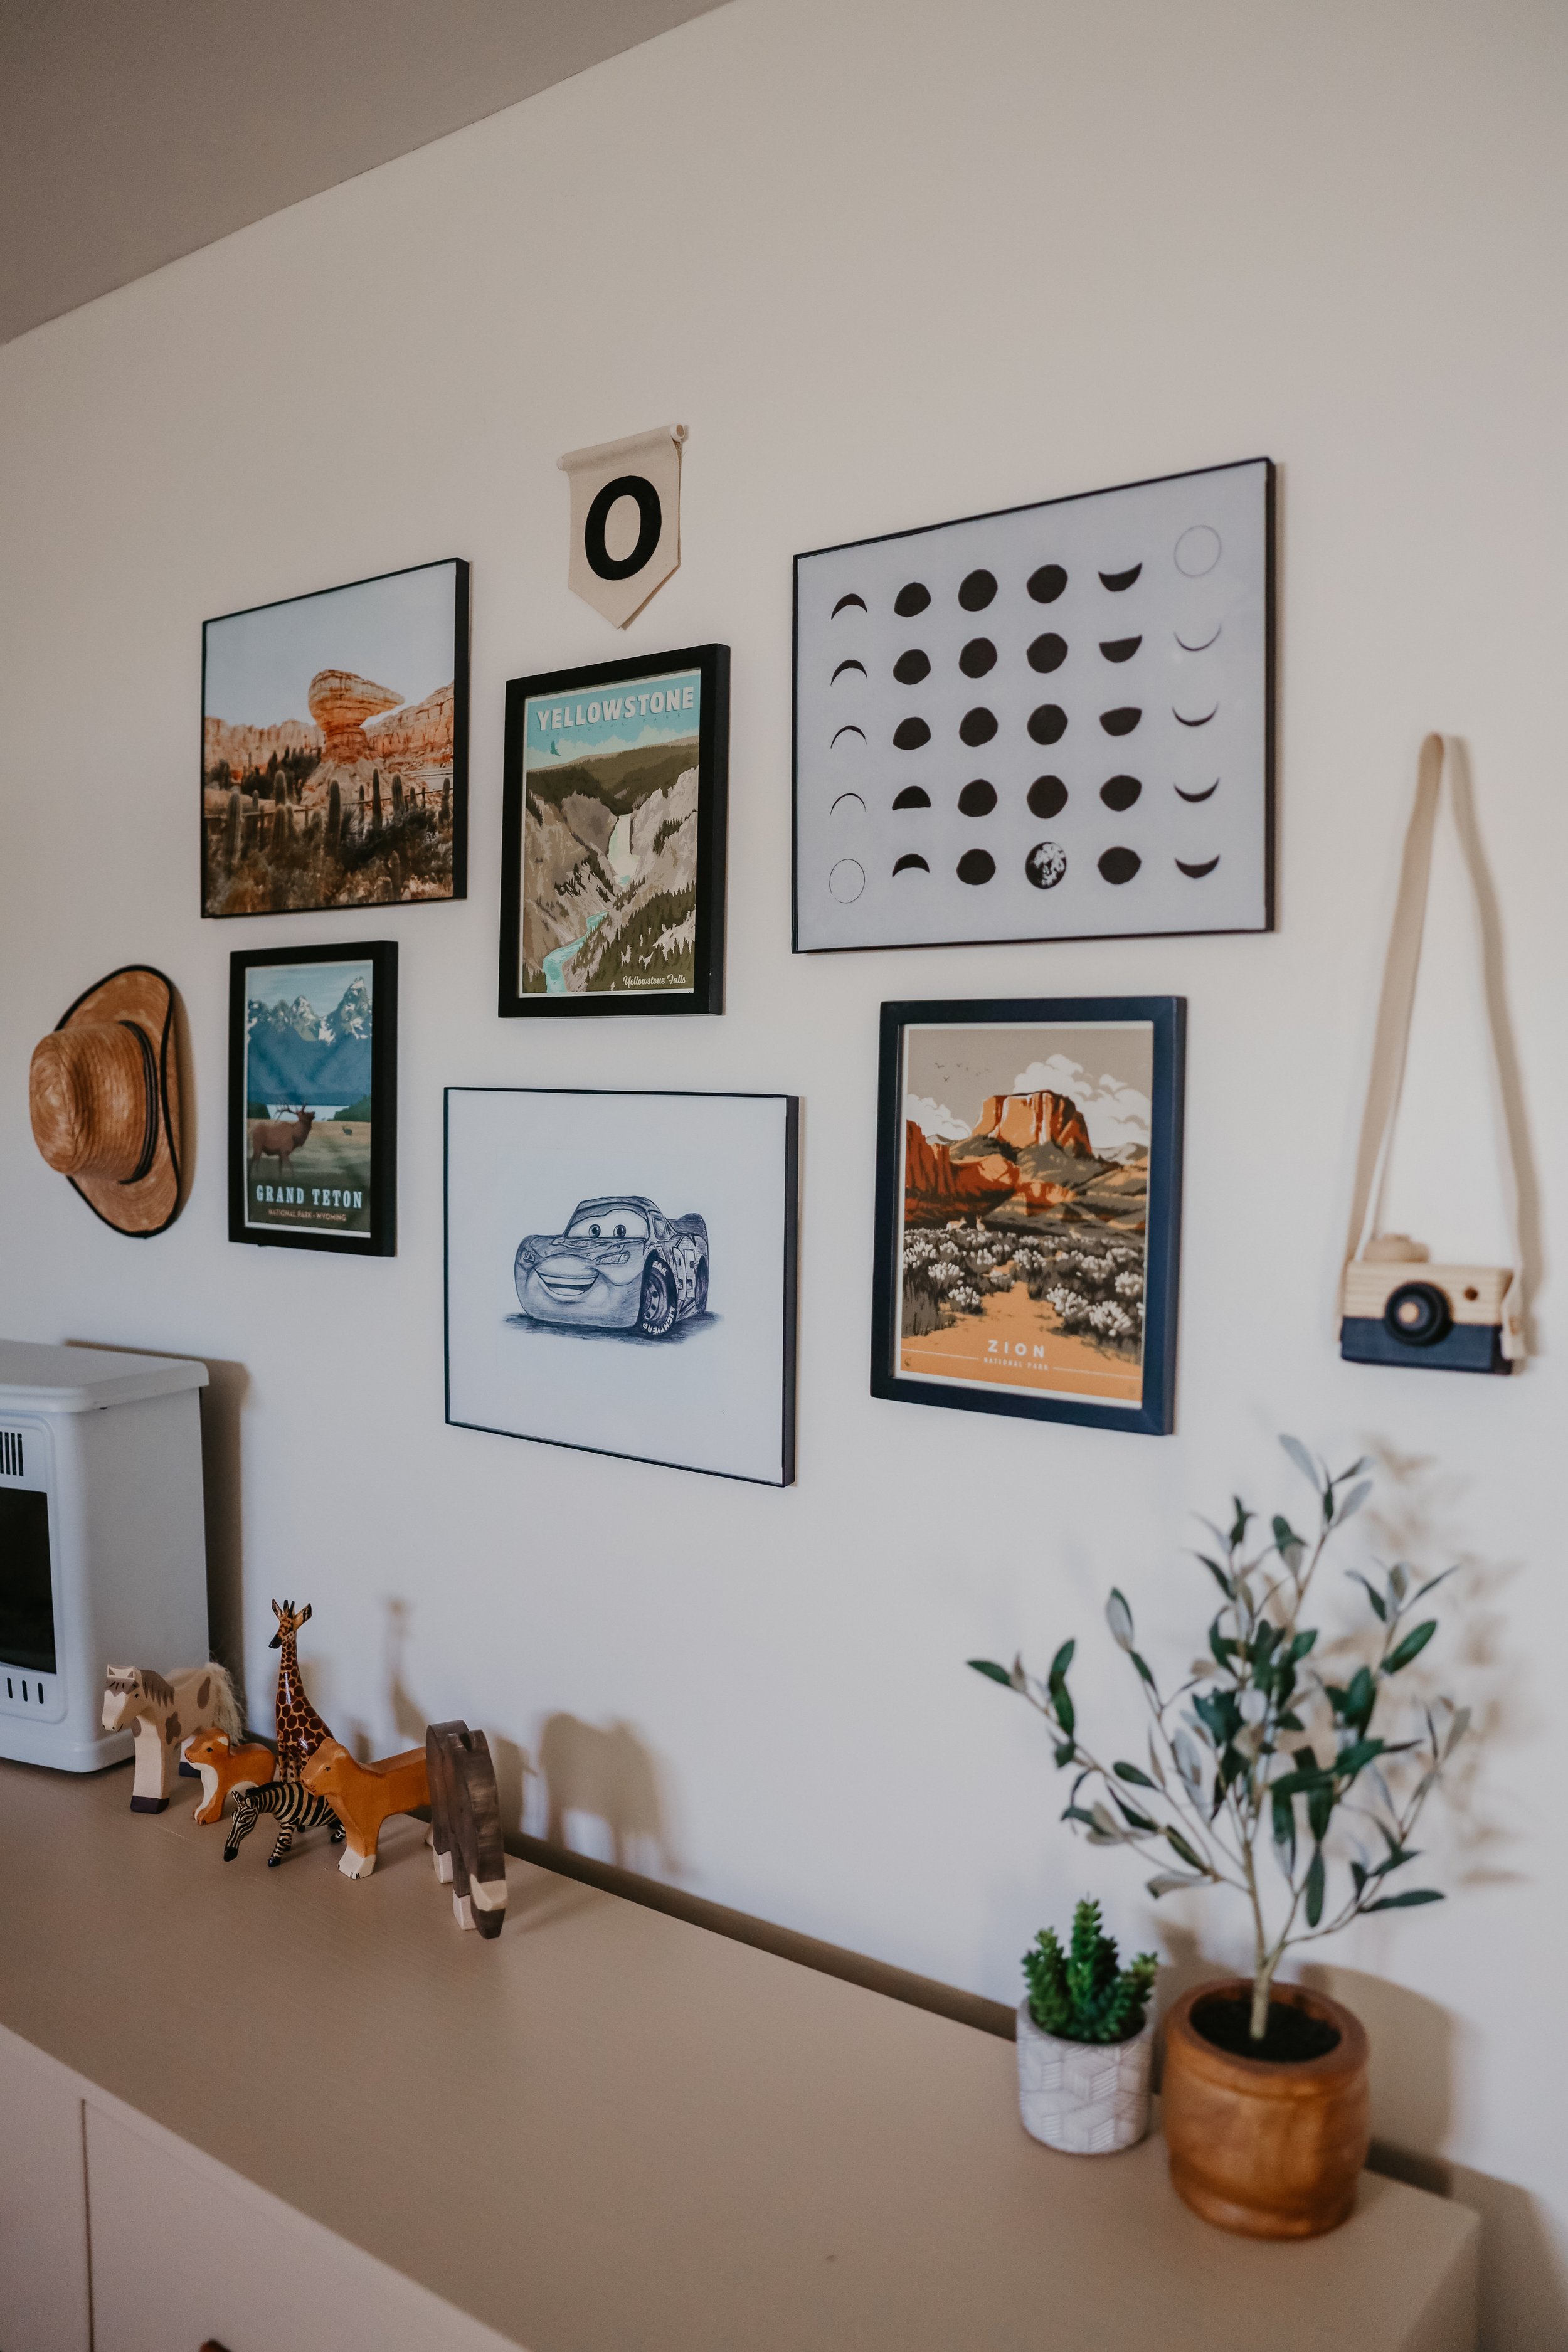
overall, everyone loves his room. it smells good, feels good + looks good. we made it fun for him with the art and colors in the room, but really he just loves that he gets to call it his own. and i’m so happy we could do this for him.
follow along on Instagram for all the details! have any questions? leave a comment below! or send me a message. and don’t forget to subscribe so you can stay in the know on projects! don’t worry, we won’t spam you :)
happy diying friends!
-xoxo, taylor