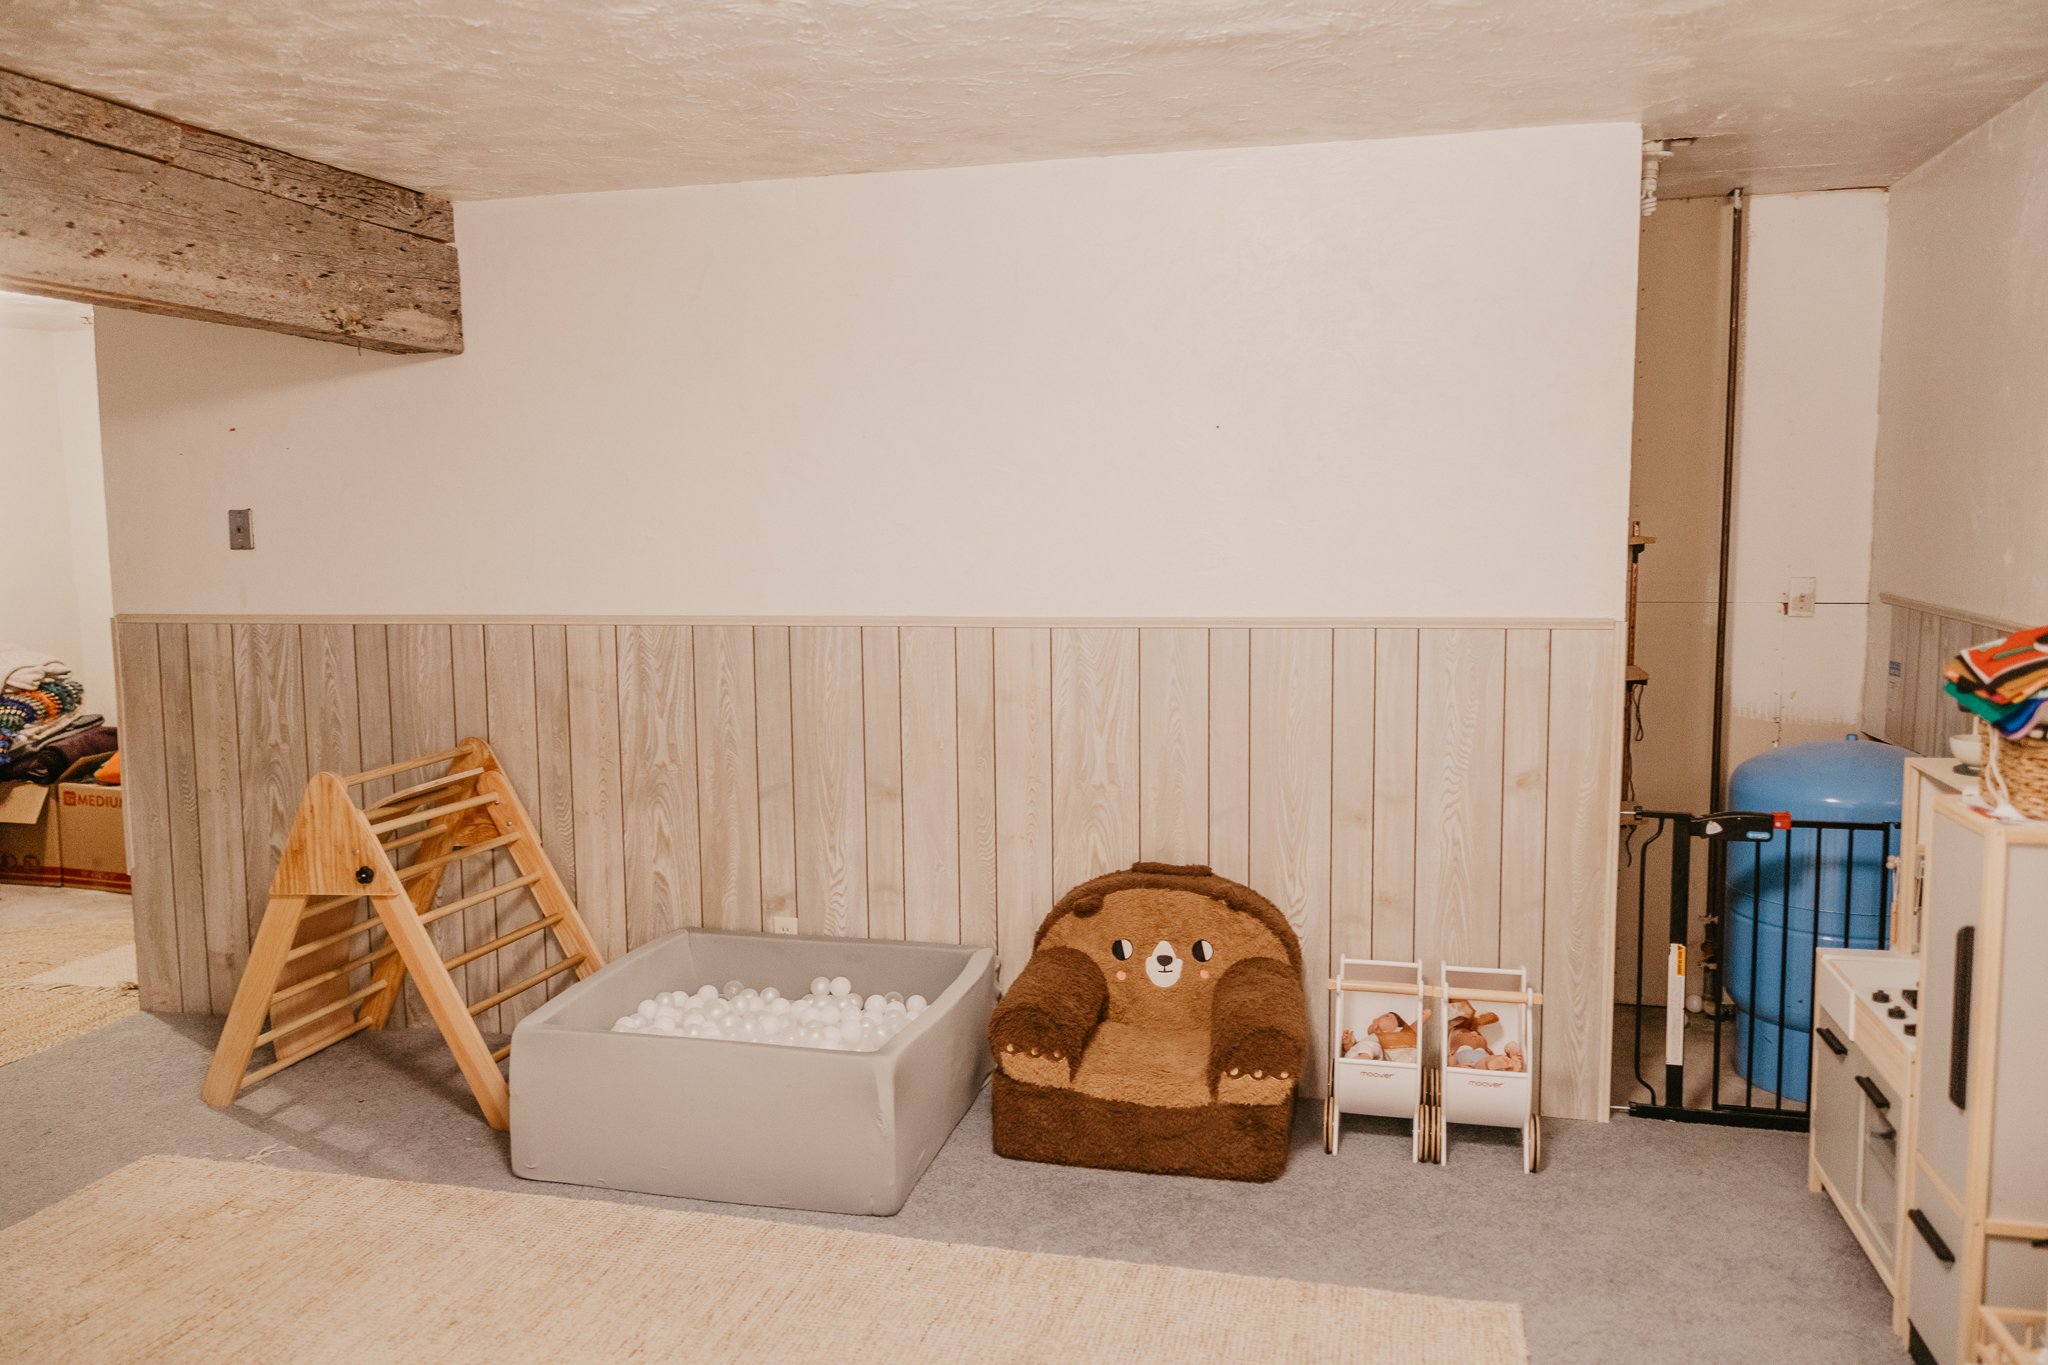
operation: playroom
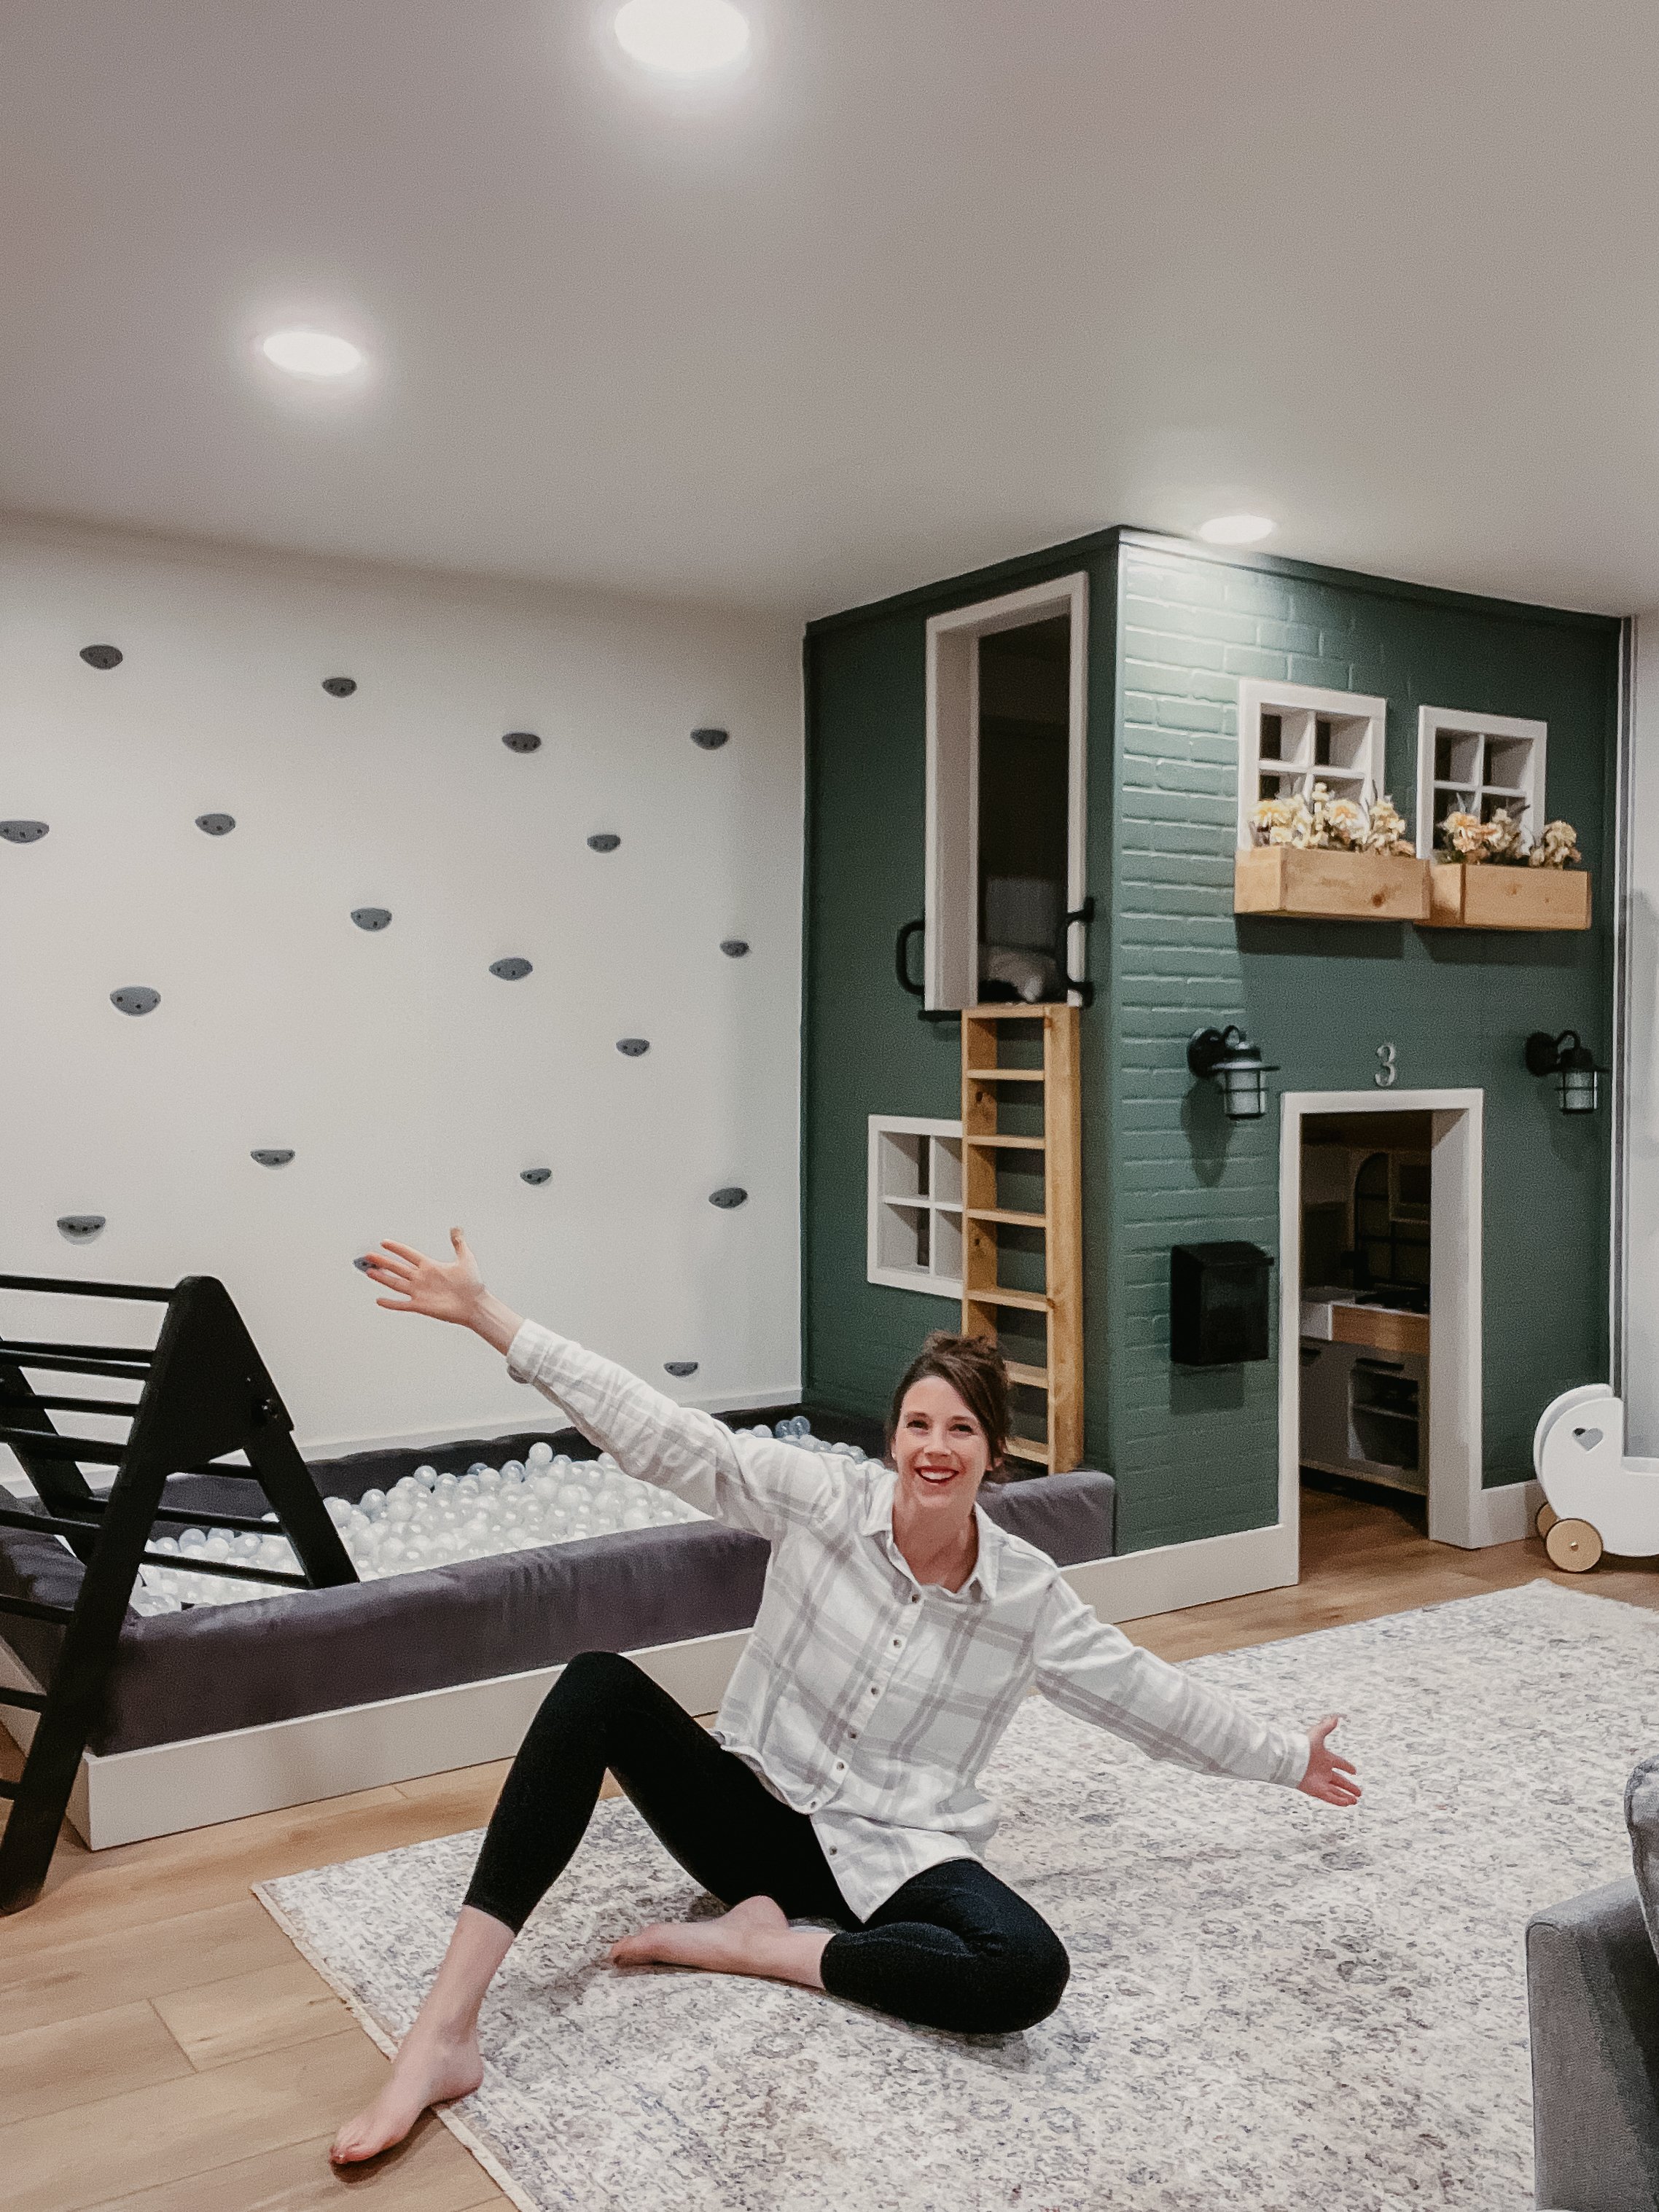
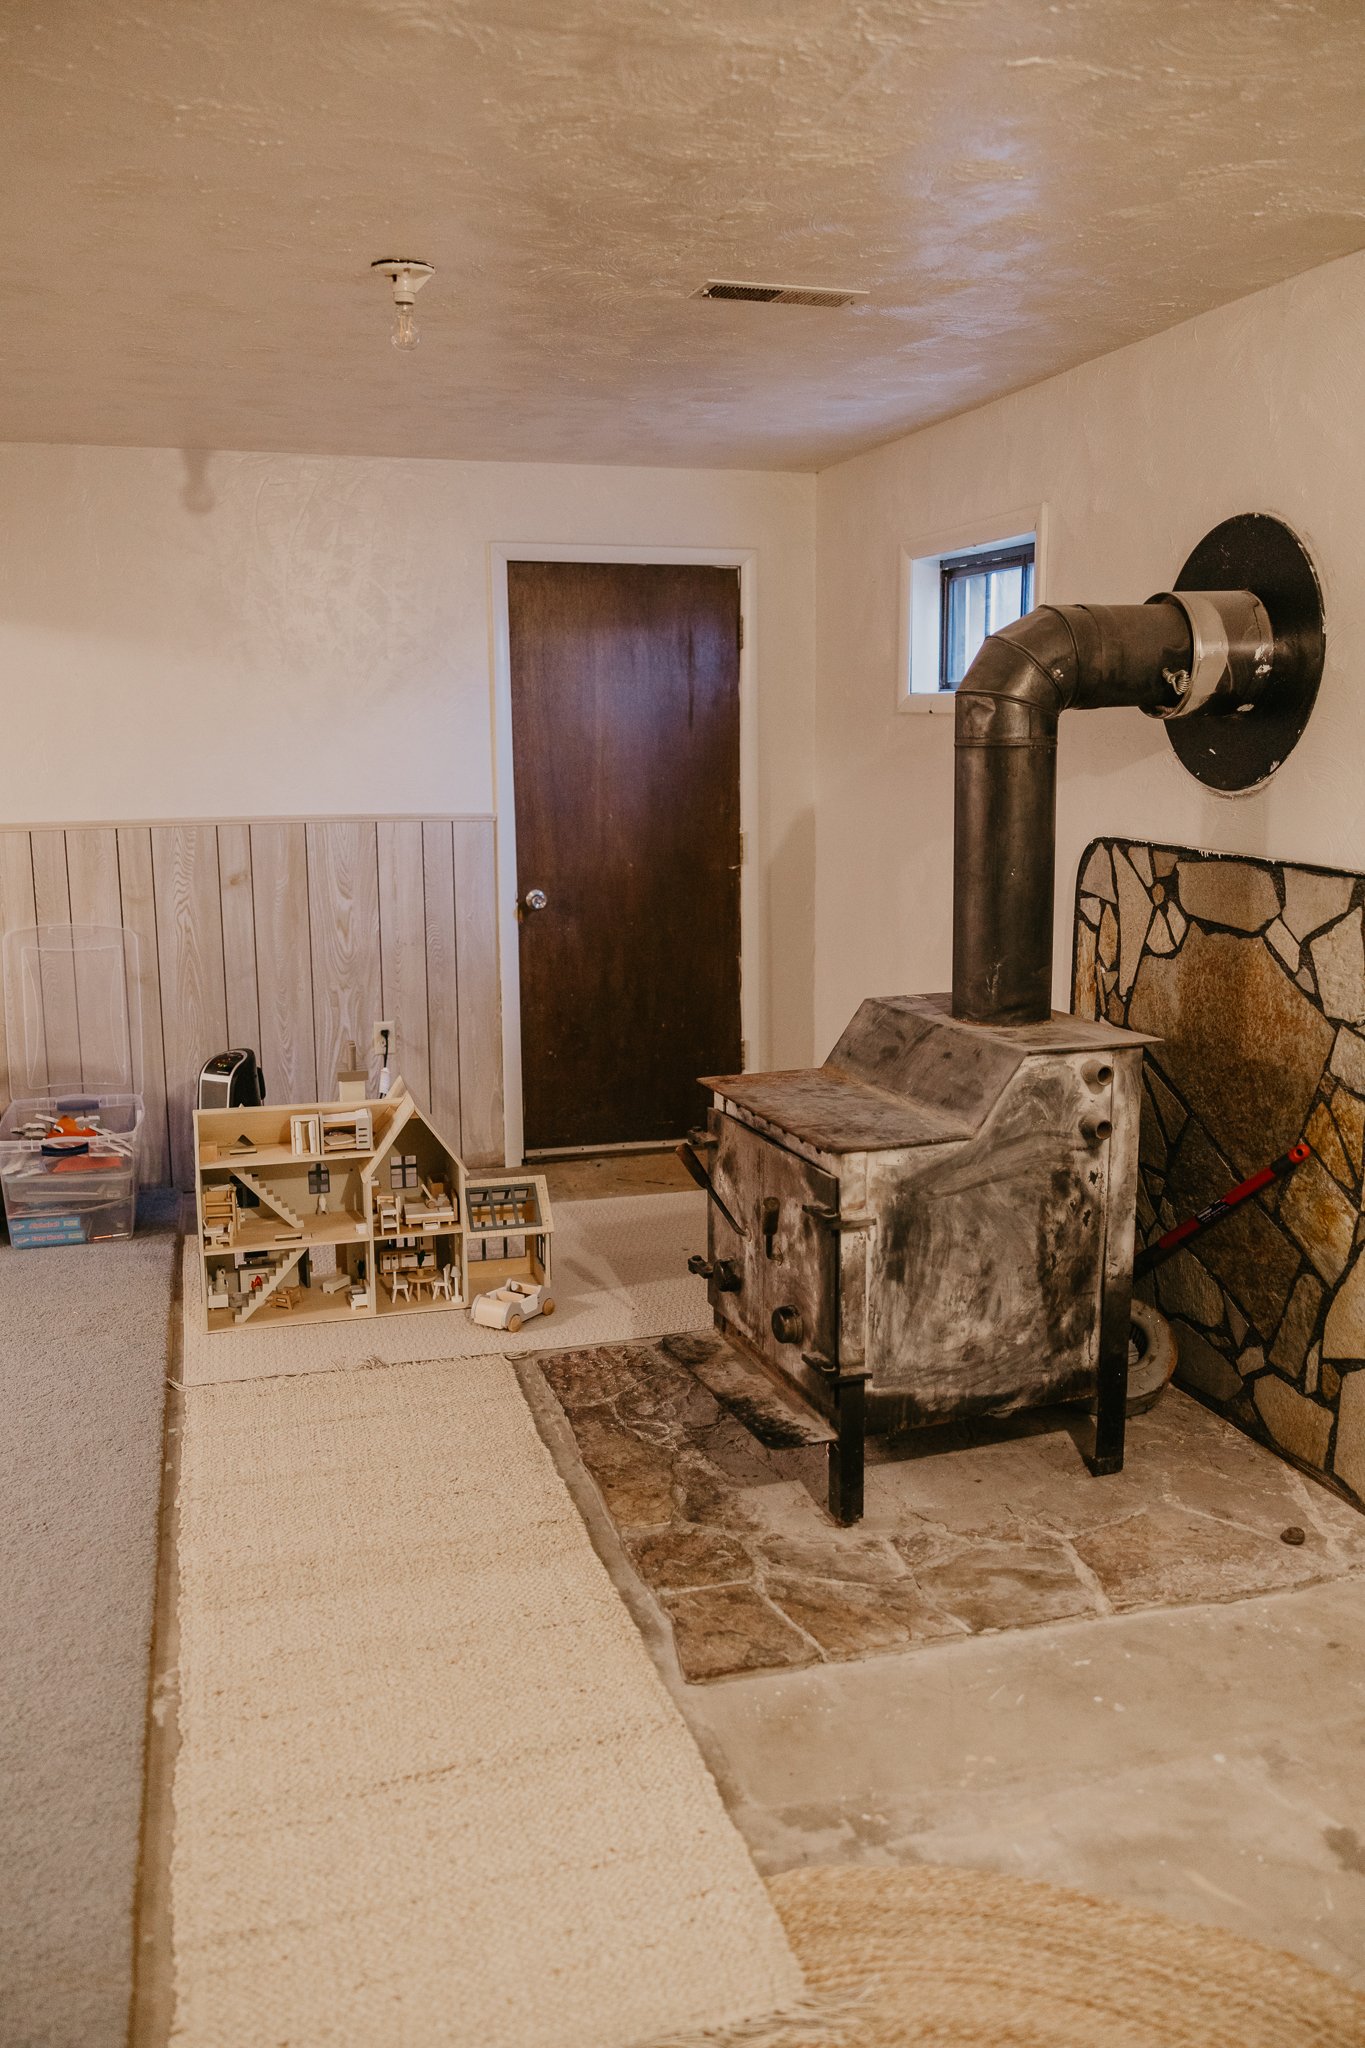
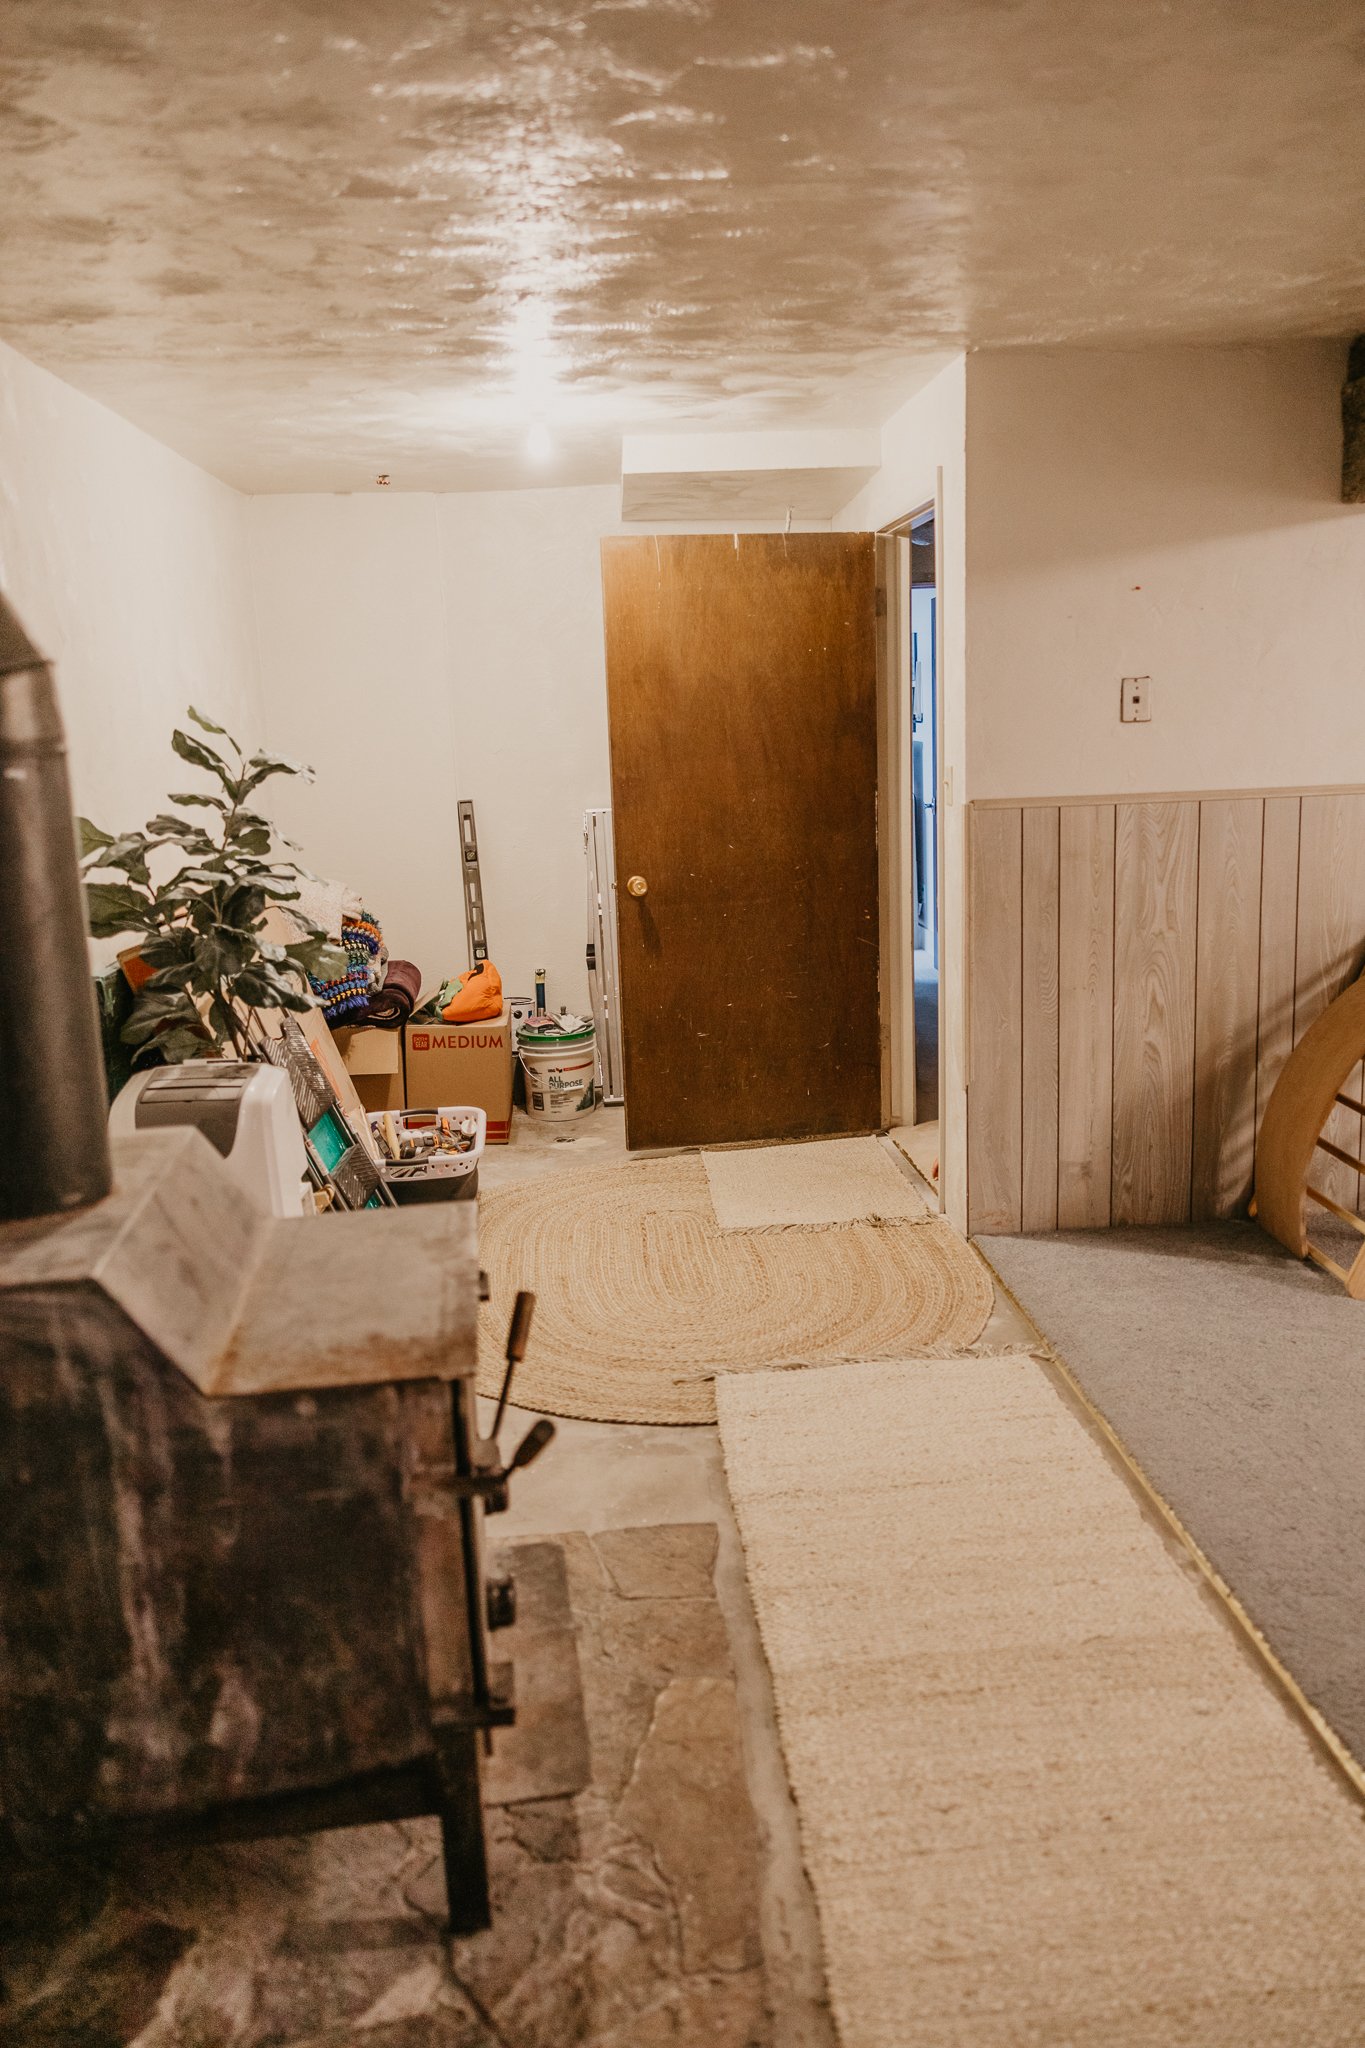
when we first looked at this house, i knew i wanted to make this the ultimate playroom for our kids. we live in idaho, so about half the year is cold + i wanted them to have a fun space to play where they could get their energy out. and from that, the playroom was born!
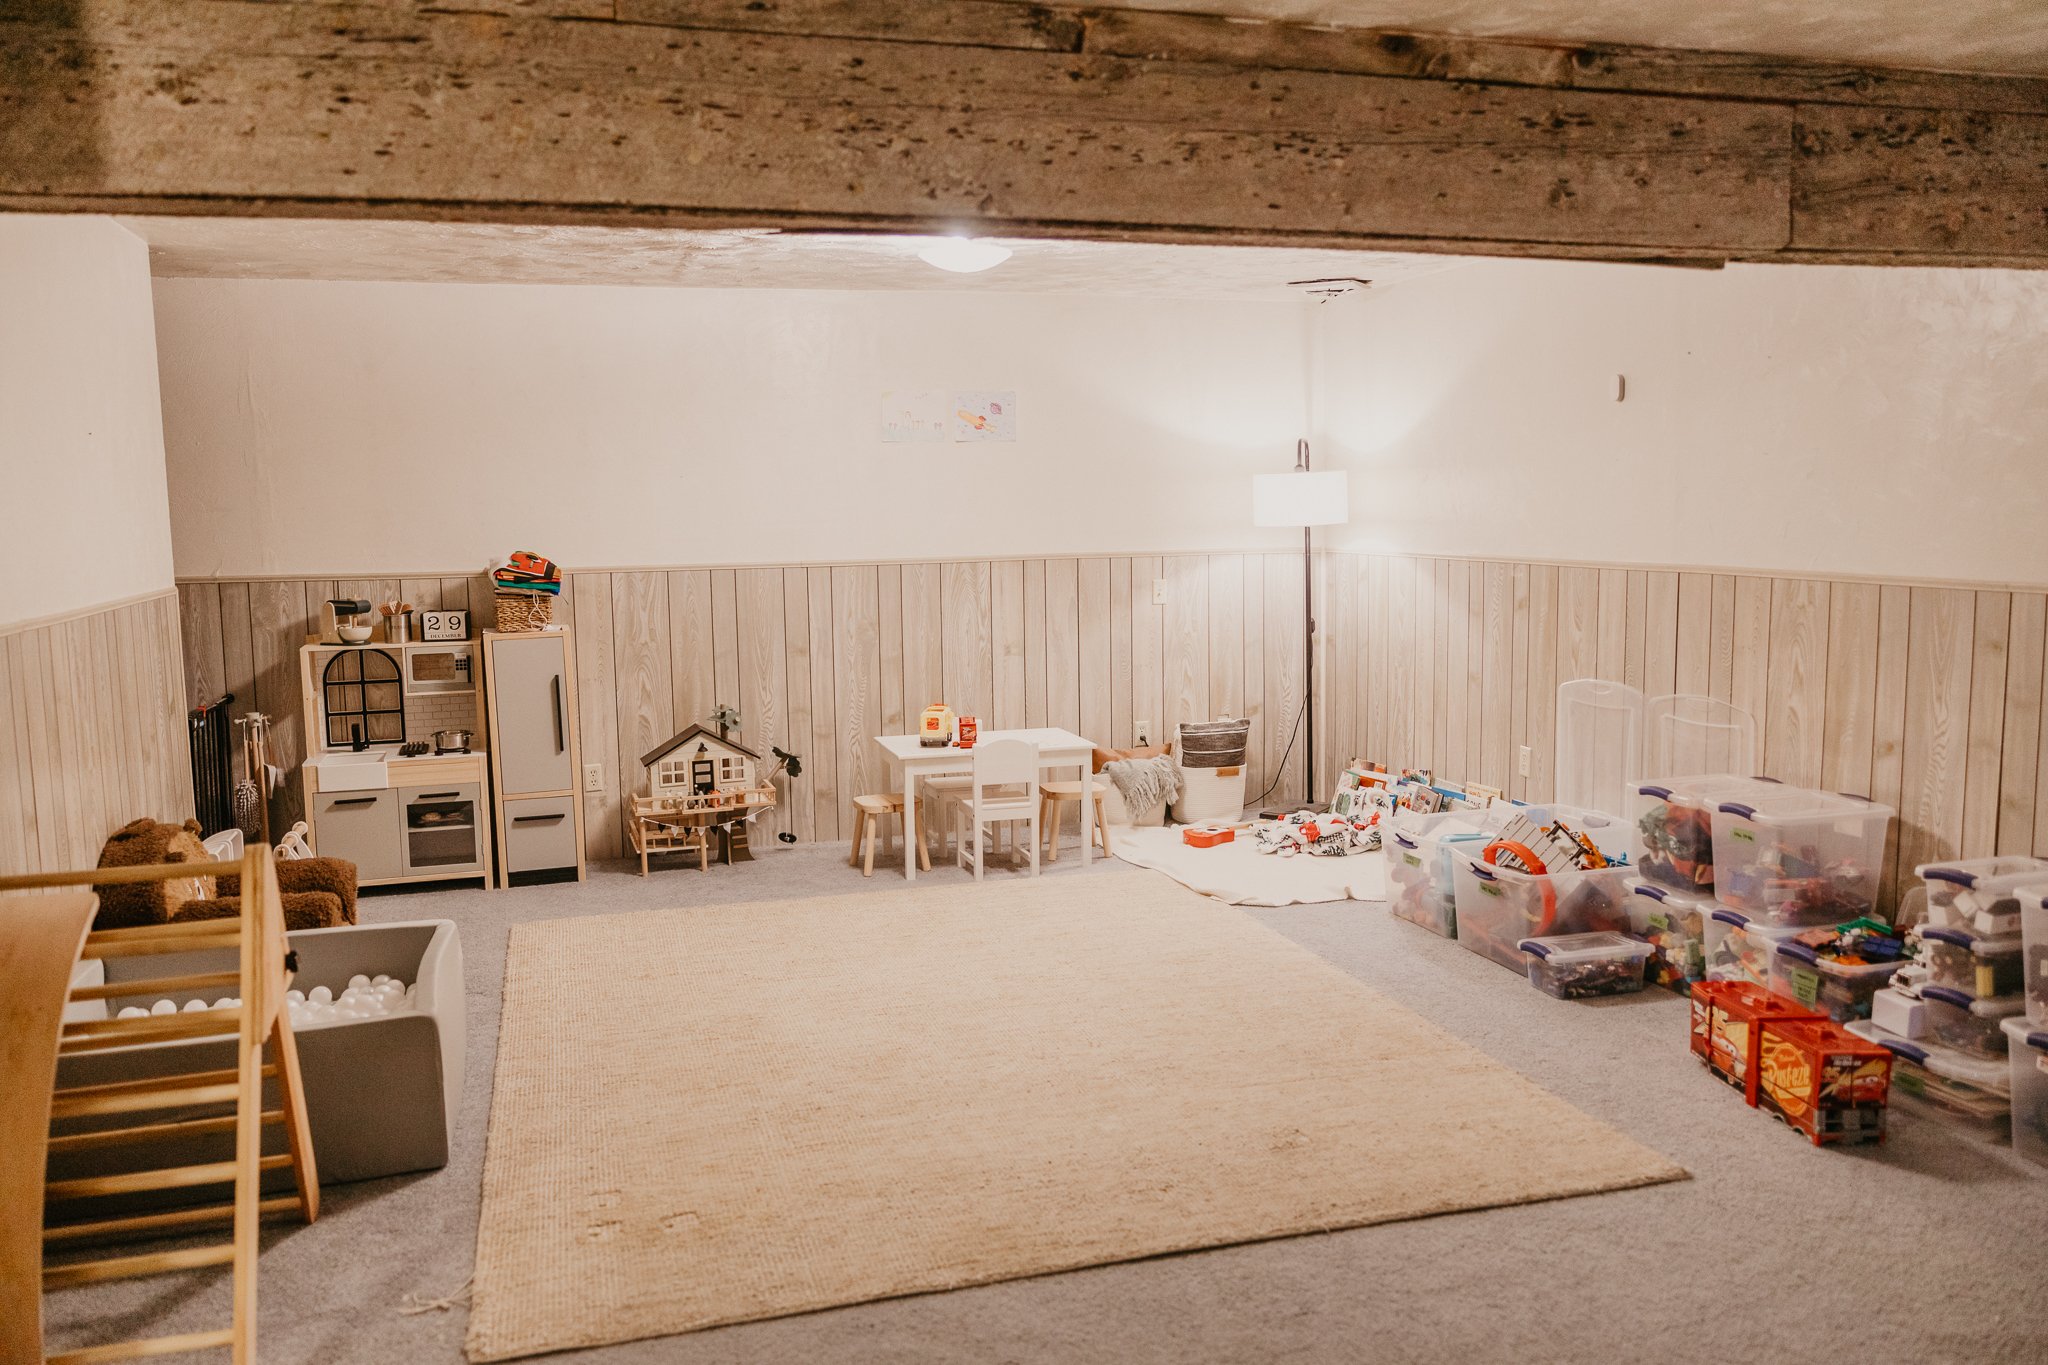
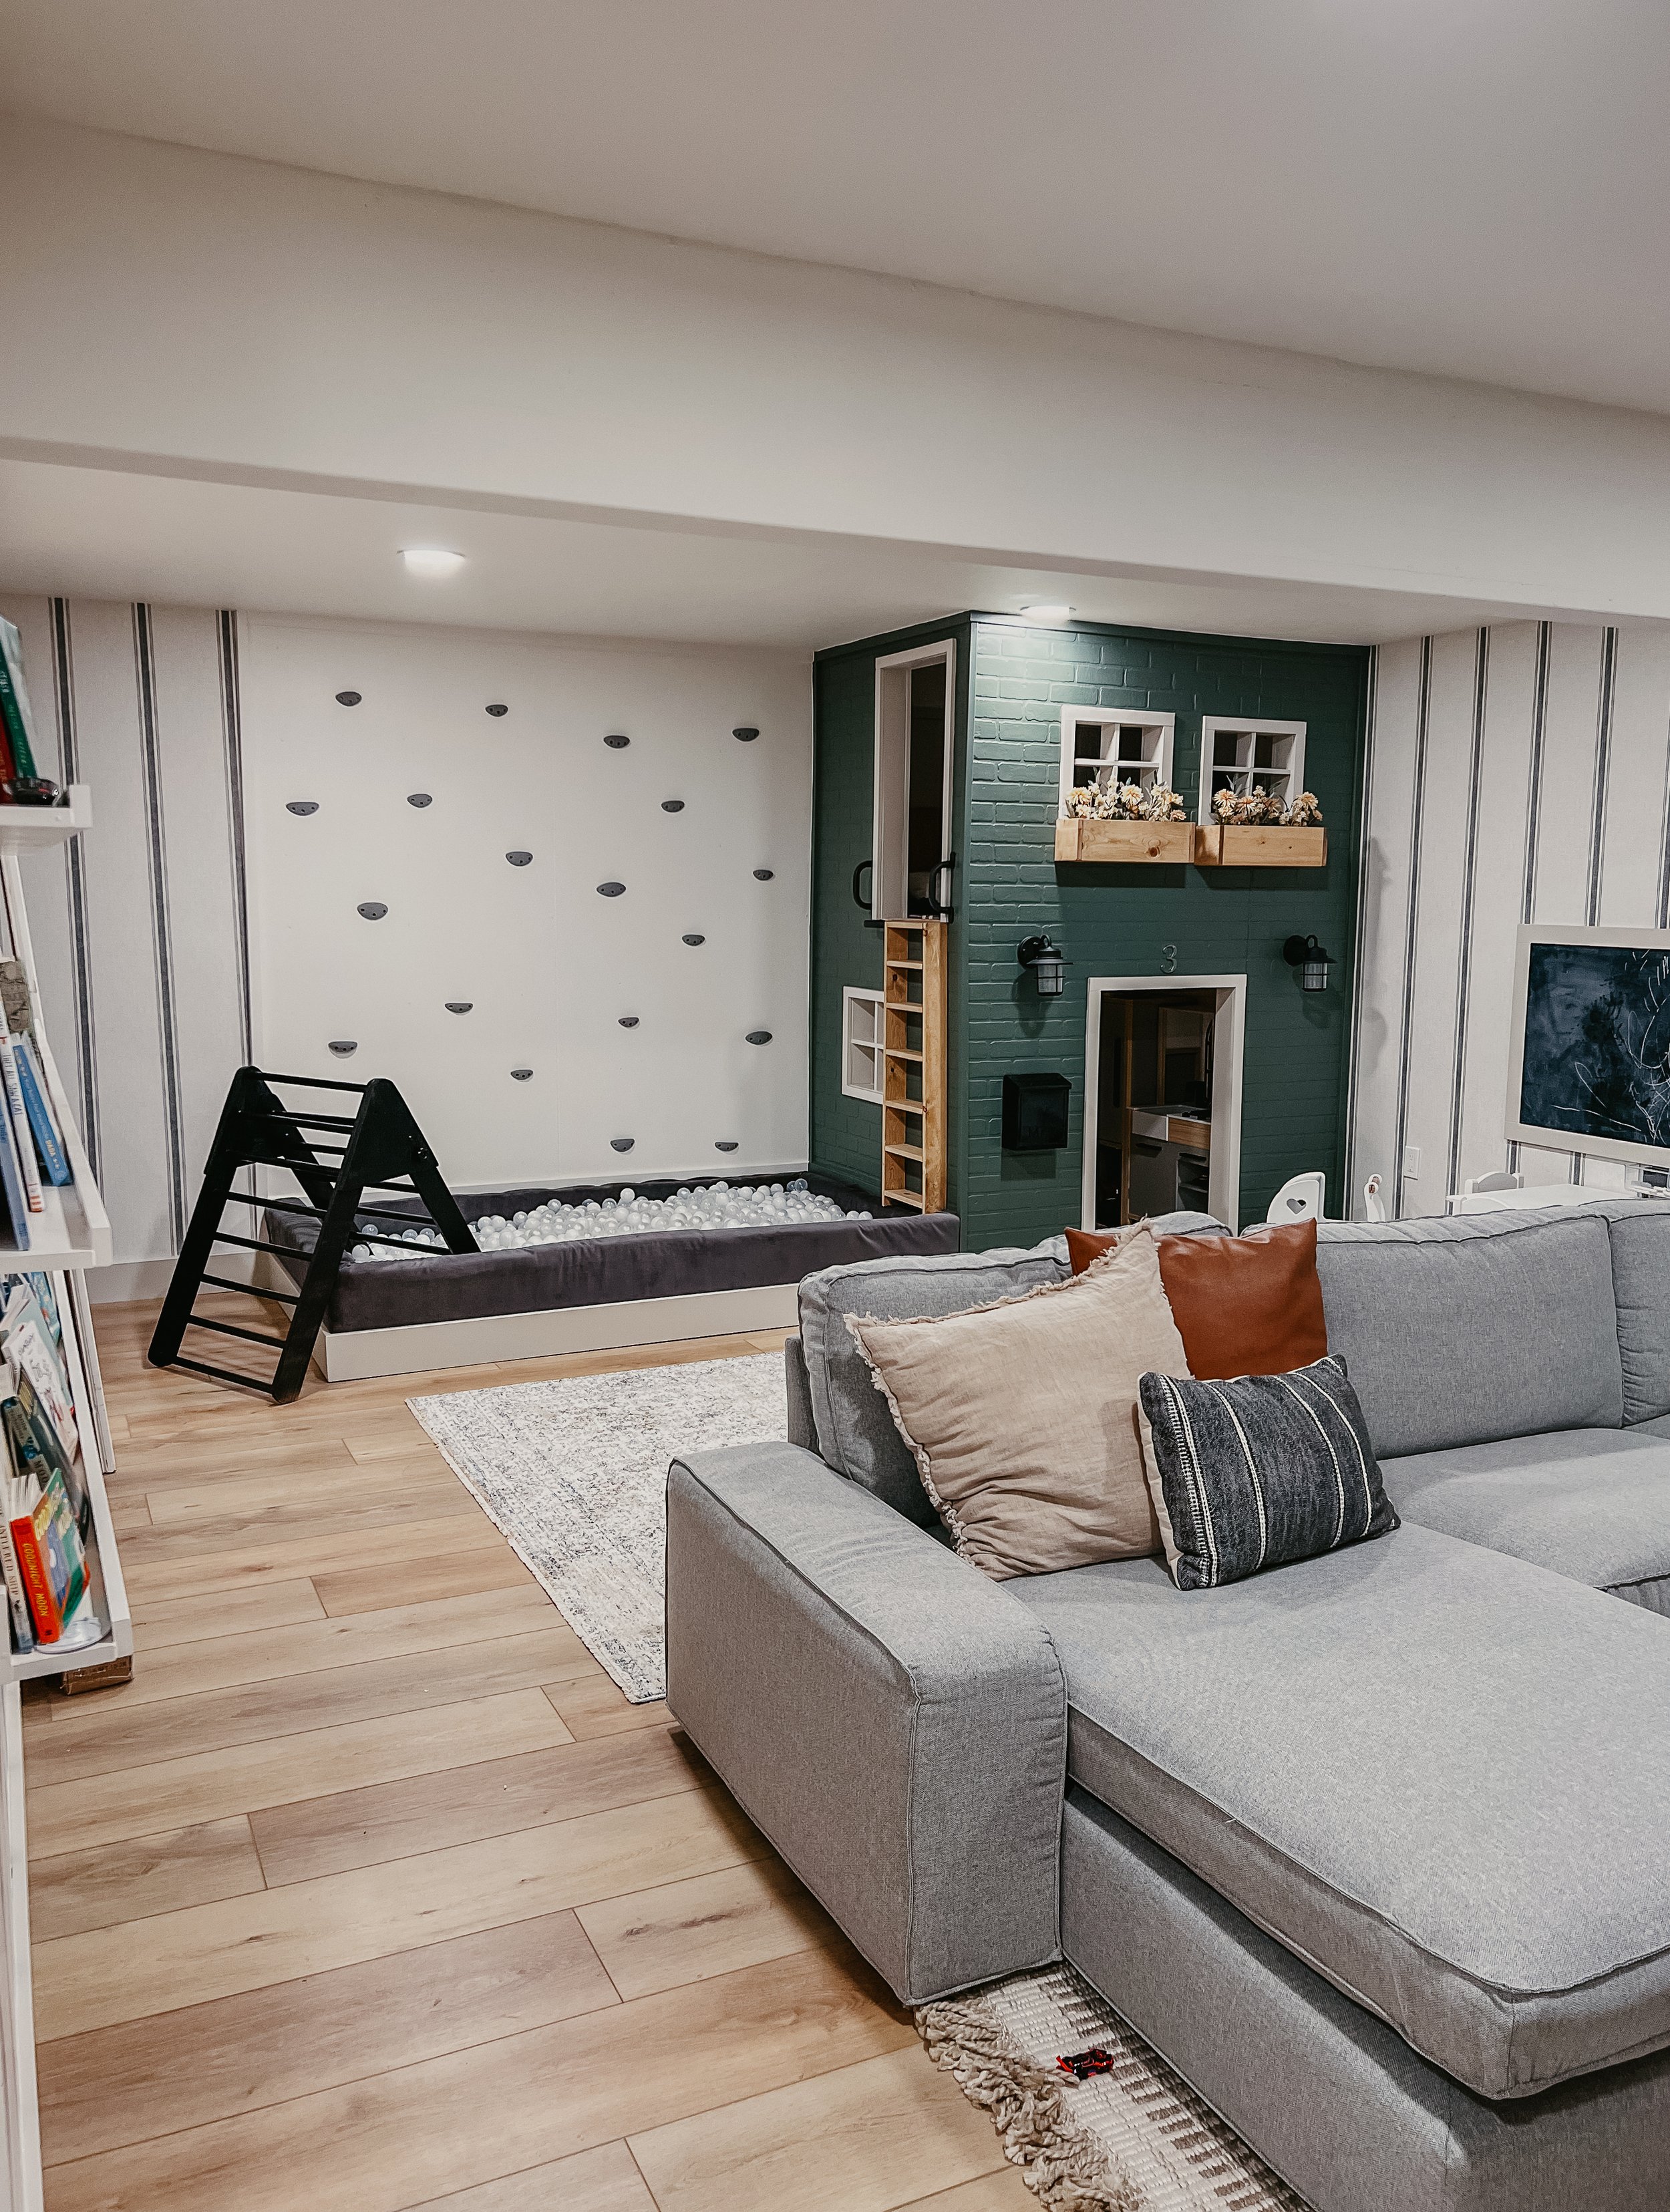
after we redid all the drywall, insulation, and flooring, it was time to get to the fun stuff! we added a gas fireplace to help heat the entire downstairs, floating shelves to display books, a chalkboard, and a two story playcenter.

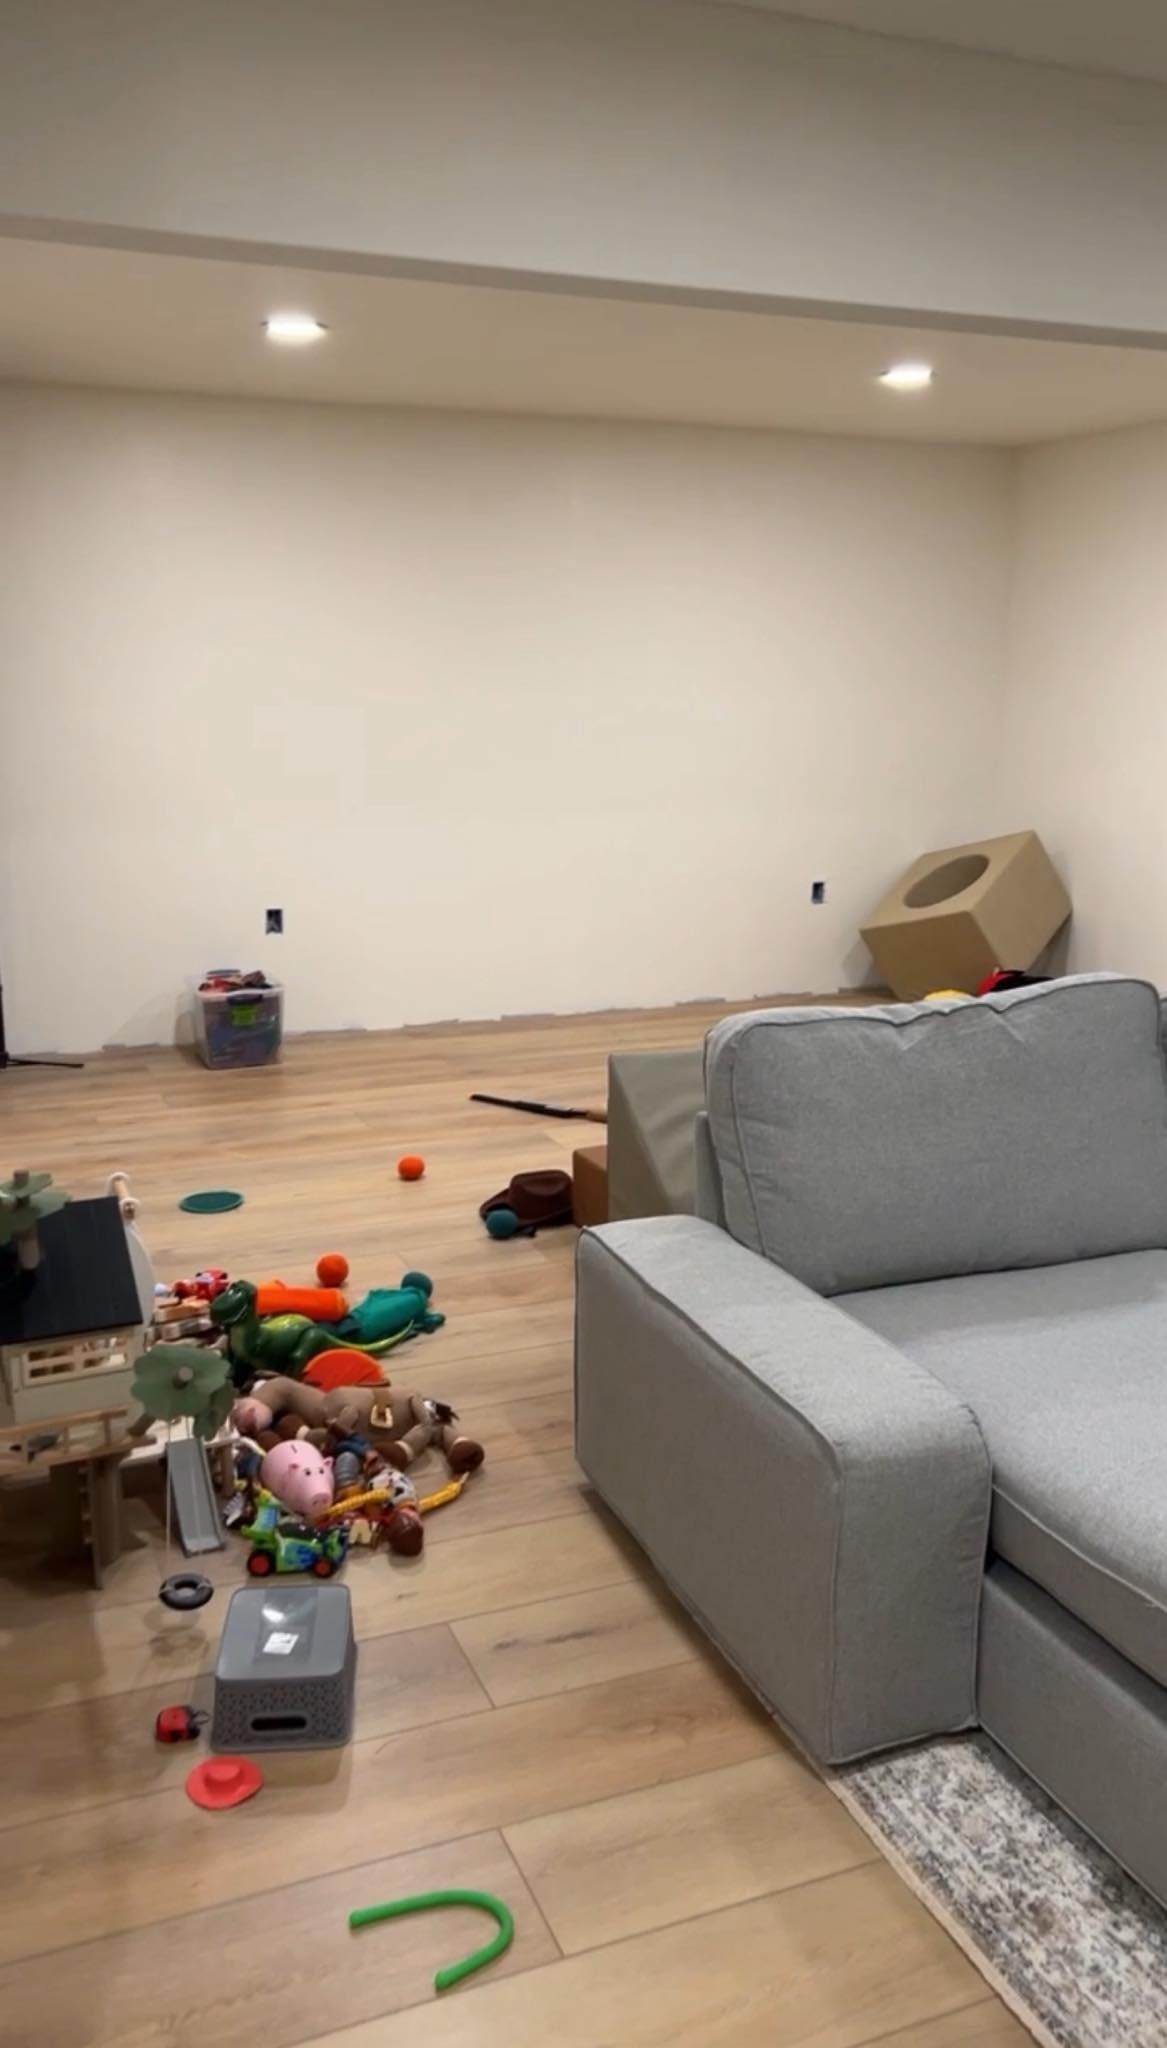
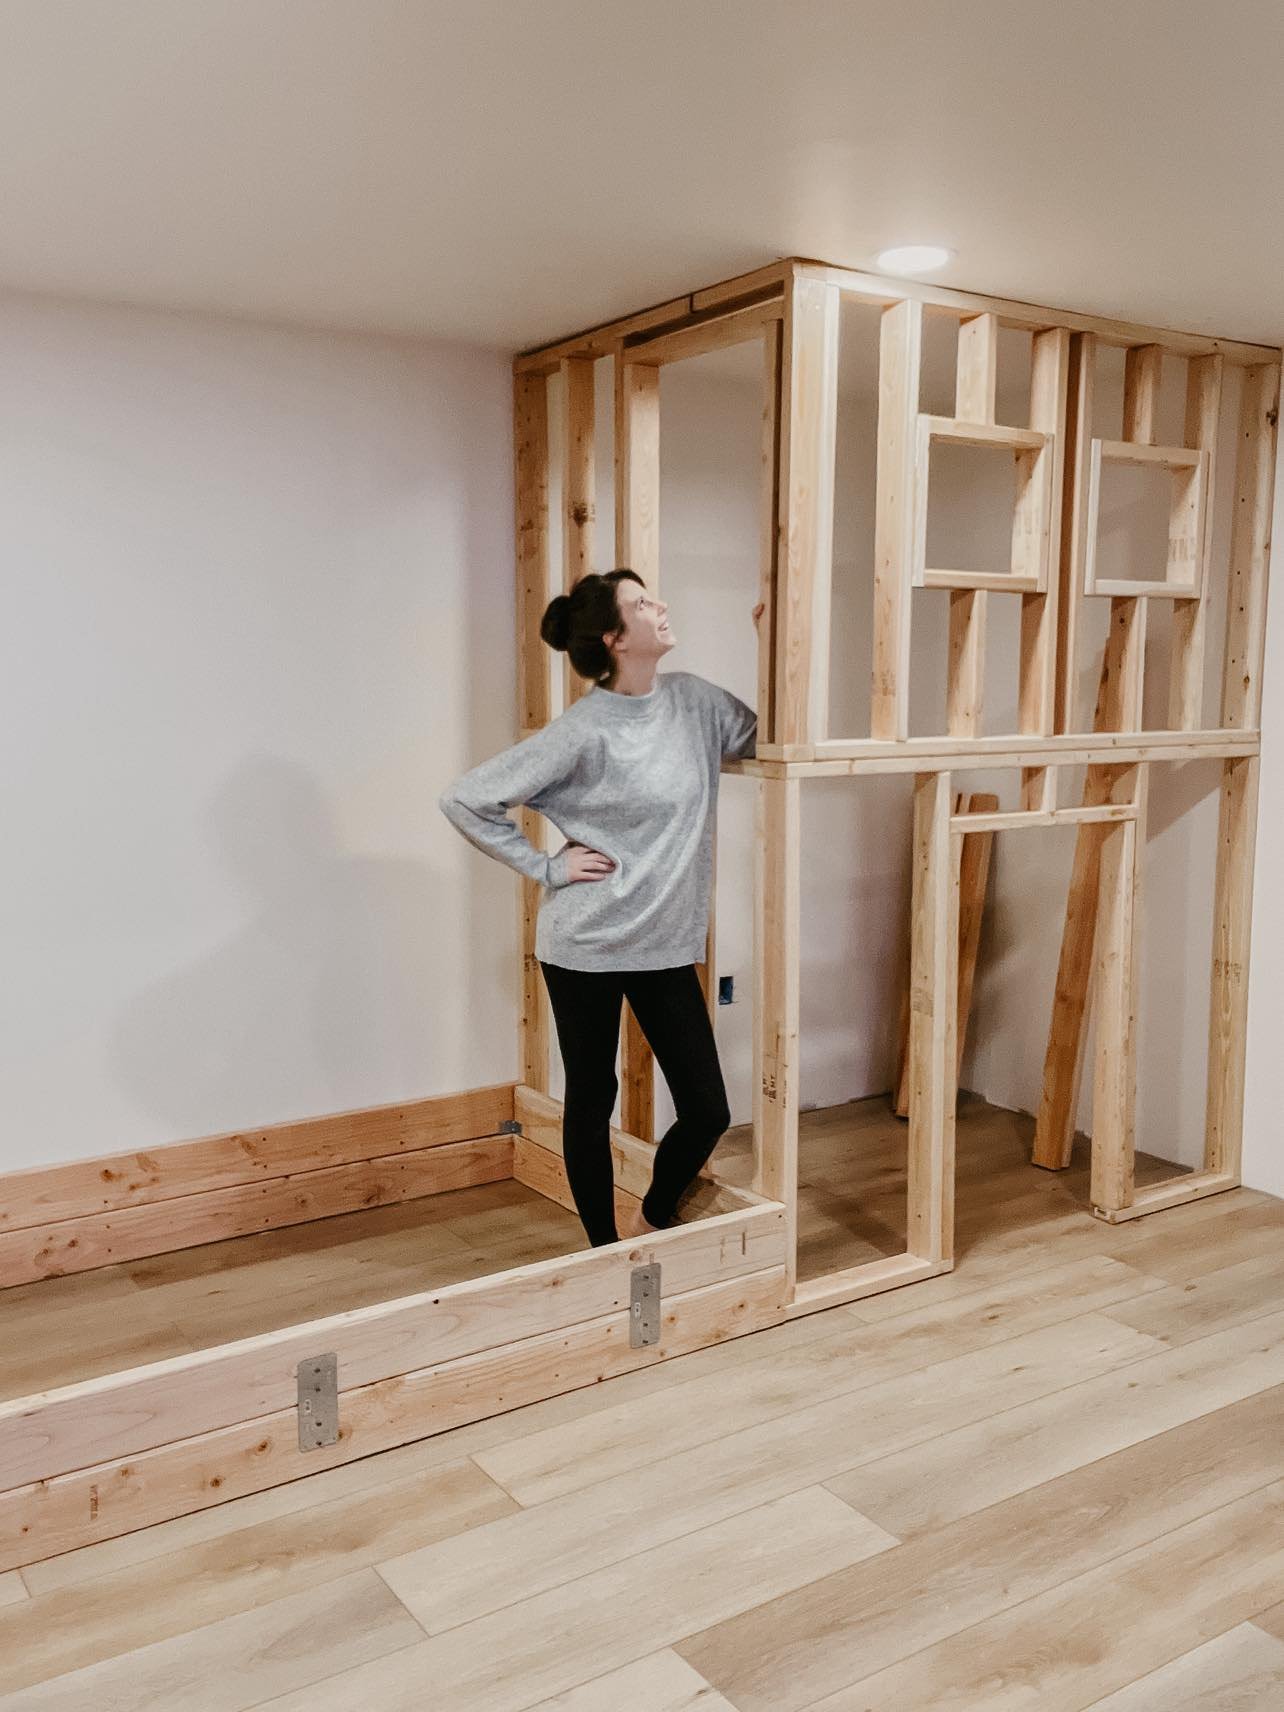
playhouse steps:the first step i took before building, was to determine the size and shape i wanted. the room is good size, about 350 sq ft, but i still wanted them to have space to play. so i settled on using the back wall. the dimensions ended up being 12 ft long, 4 ft deep and i took it to the ceiling, which is about 8 ft. i drew it out on paper, which helped me to get a visual.
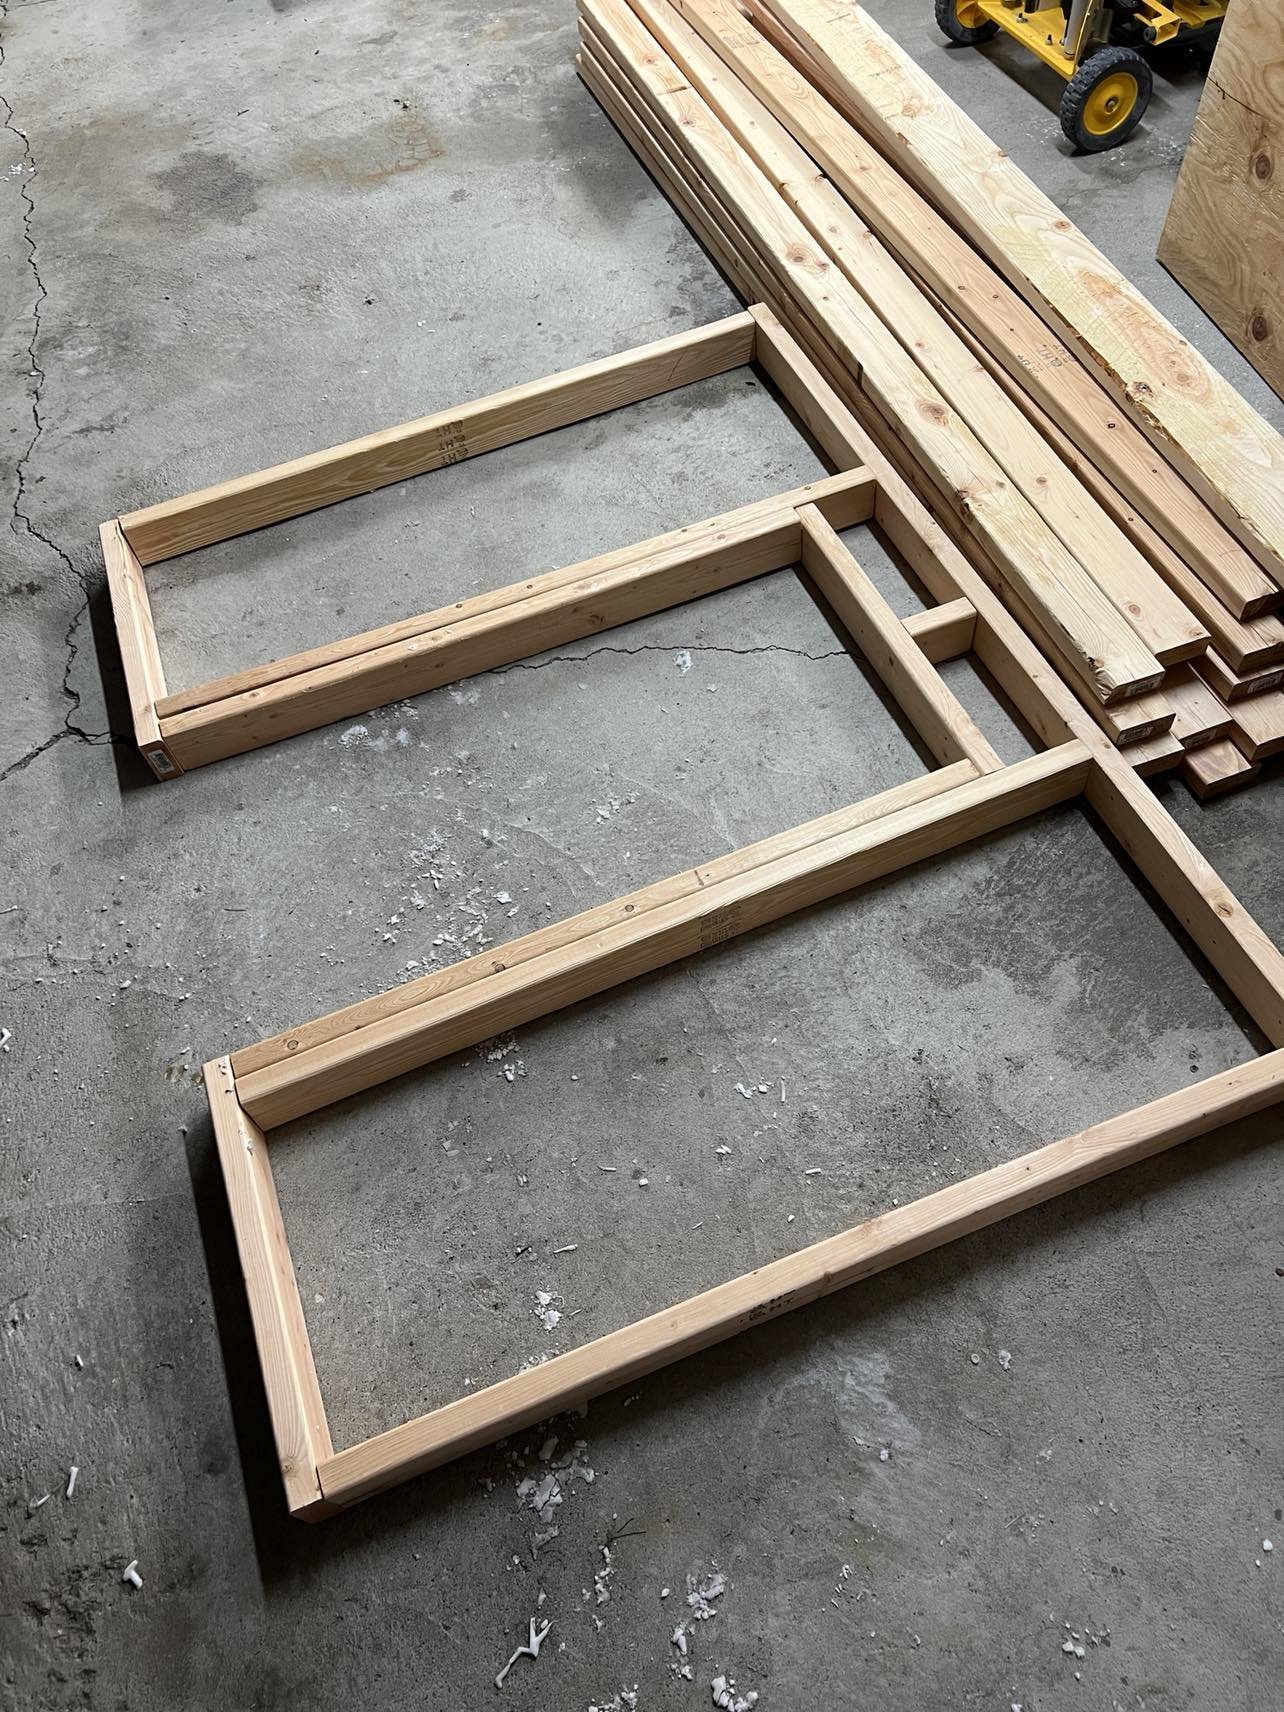
next up, was getting all the wood to build the frame. I used regular 2 x 4s and framed out the door wall first. typical studs are about 14-16 inches apart, read about how to frame a doorway here.
I built each wall individually and then brought them in. I marked my wall studs with a pencil using a stud finder. then i lined up the 2 x 4 on the frame to be secured into the wall. I made sure to use at least a 3” screw because the 2x4 + the drywall = 2.25”, leaving .75” going into the stud. i added a screw about every five inches going down, after i secured the bottom two pieces to the wall, i screwed them together at the corner where they met. then I repeated those steps for the top pieces, but i also screwed those into the ceiling joists.
now it was time for the floor between the two levels. I used stud hangers to secure the 2 x 4s to the wall studs and the frame of the playhouse. I also added braces between the studs and secured them with screws as well. I knew my kids would be jumping and putting this thing to the test, so it needed to be secure.
After the house frame was secure, I worked on the ball pit frame. i used 2 x 6s and stacked them on top of each other to get a 12” height. I secured them together with mending plate and screws. i repeated this for each side. Then i secured the back to the wall studs, and the one side to the frame of the house. the other two sides were connected to those and then screwed in at the corner.
after that, i put the ball pit together. i dirst cut up 2” foam and glued it to the wood with construction adhesive. then i wrapped batting over it and stapled it down. after that, i used velvet fabric and stapled it the the frame, making sure it was taught since this would be what every one sees. then i laid foam tiles in the bottom of the pit that secured the fabric inside. then we filled it with balls!
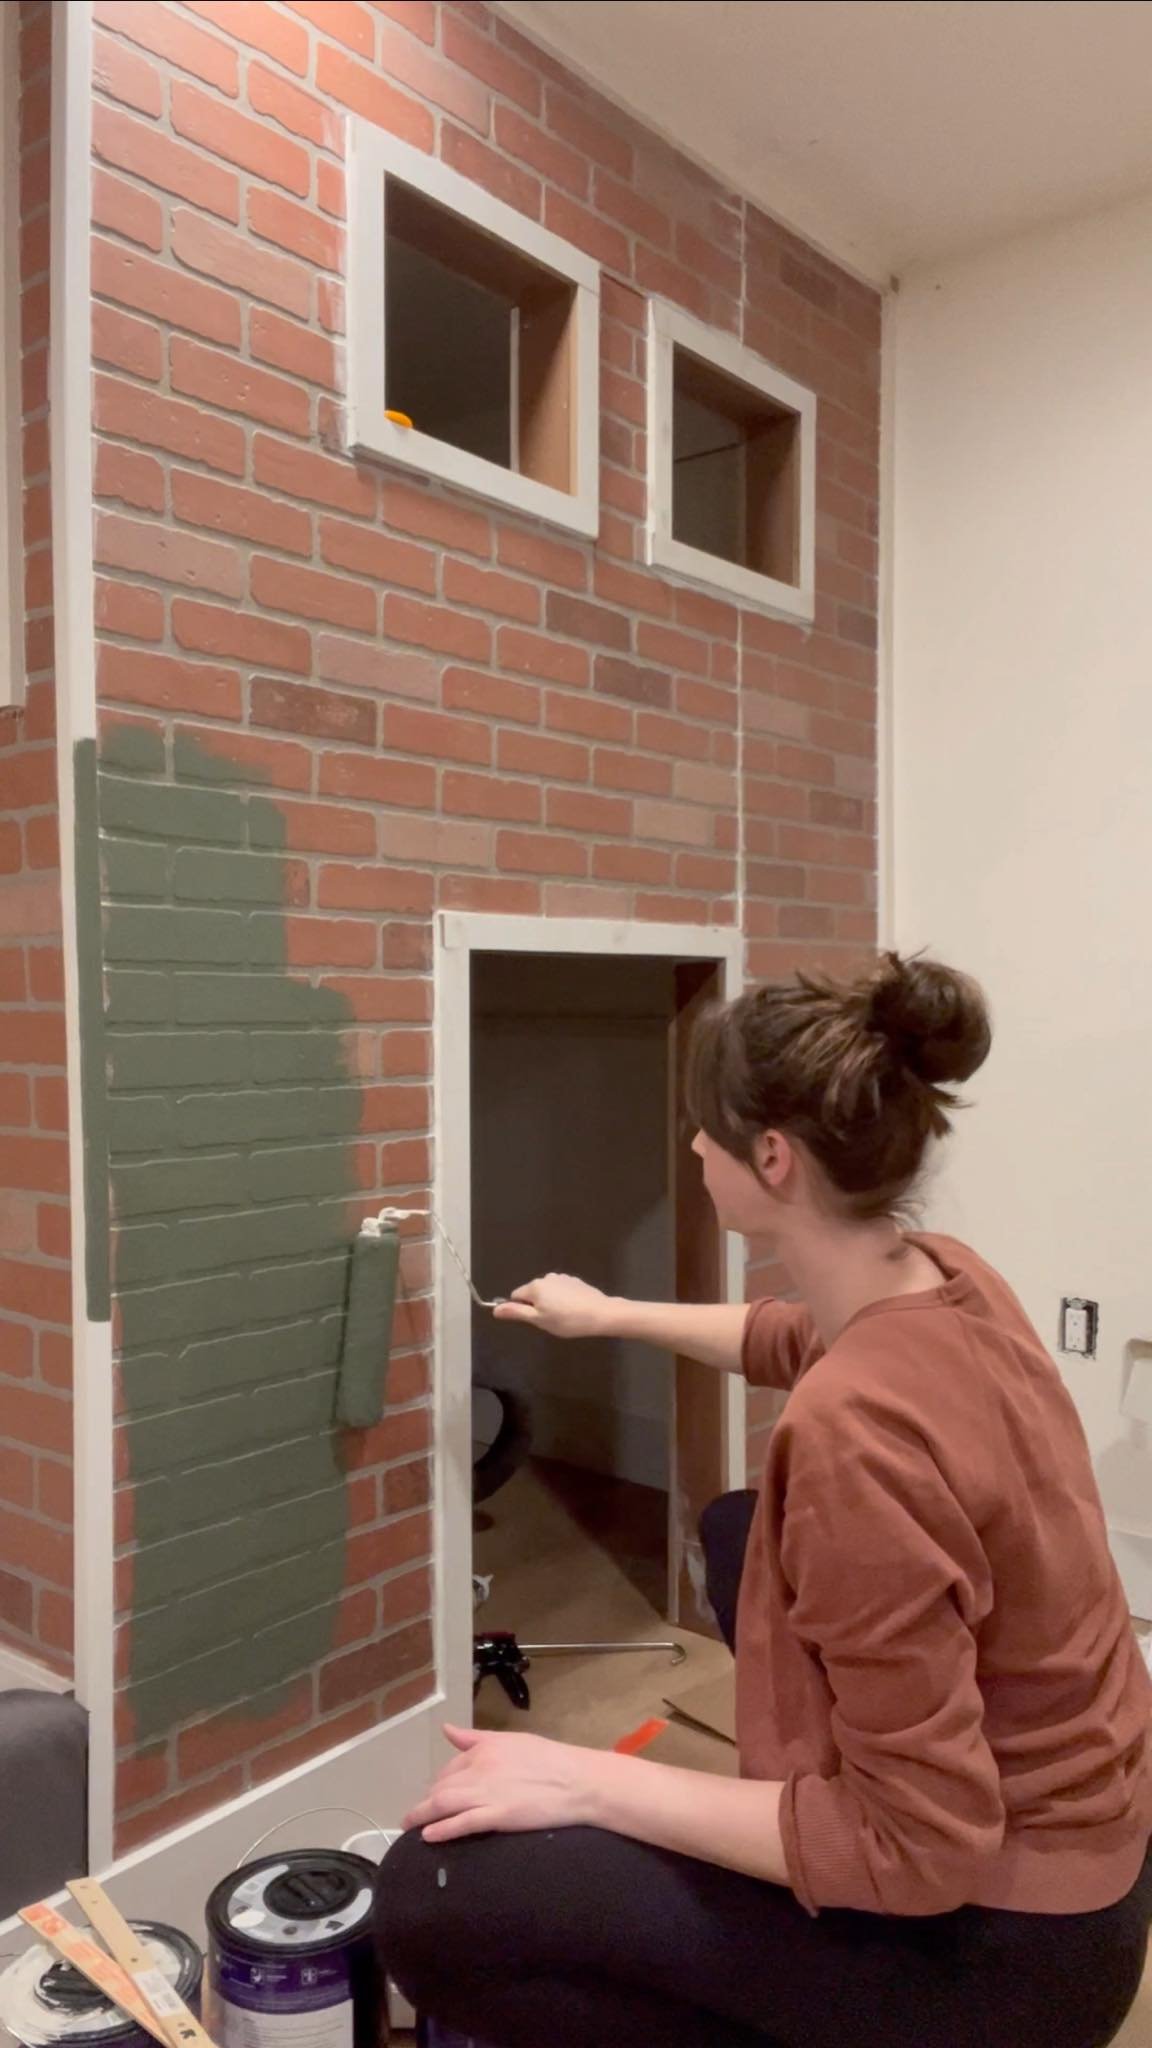
next, i moved on to the house, i used brick panels from home depot and cut them so i had as few seams as possible. then i trimmed out the windows inside with hardboard and 1 x 2 mdf. i added a window grid using 1 x 4 mdf, i glued them together and then nailed them in place in the window. after that, i repeated the same process for the doorway.
then i moved to the inside of the house. I used bead board panels and hard board. I used wood glue and brad nails to put it all together. after all the materials were on, i went through and wood filled all the nail holes and caulked all the seams. then we were ready for paint!
i used a 9” and 4” rolled to paint everything inside and outside the house. it took me a few days but i love how it turned out! then i went through and added the fun stuff, like the house number, mailbox, lights and built window boxes out of 1 x 6 pine and stained it using early american and weathered oak by minwax.
i built a ladder so they could access the upstairs. I used 1 x 4 pine and stained it with the same combo, early american and weathered oak. then i attached the ladder steps to the vertical supports with pocket holes. then i attached the ladder to the house with pocket holes into the studs of the house.
lastly, i added the rock wall. I used two 4 x 8 sheets of 3/4’ plywood and screwed it into the wall studs. then i trimmed it out with 1 x 2 mdf and caulked and wood filled. then i painted it swiss coffee. after that was dry, i added rock hand holds directly to the plywood. it has held up great!
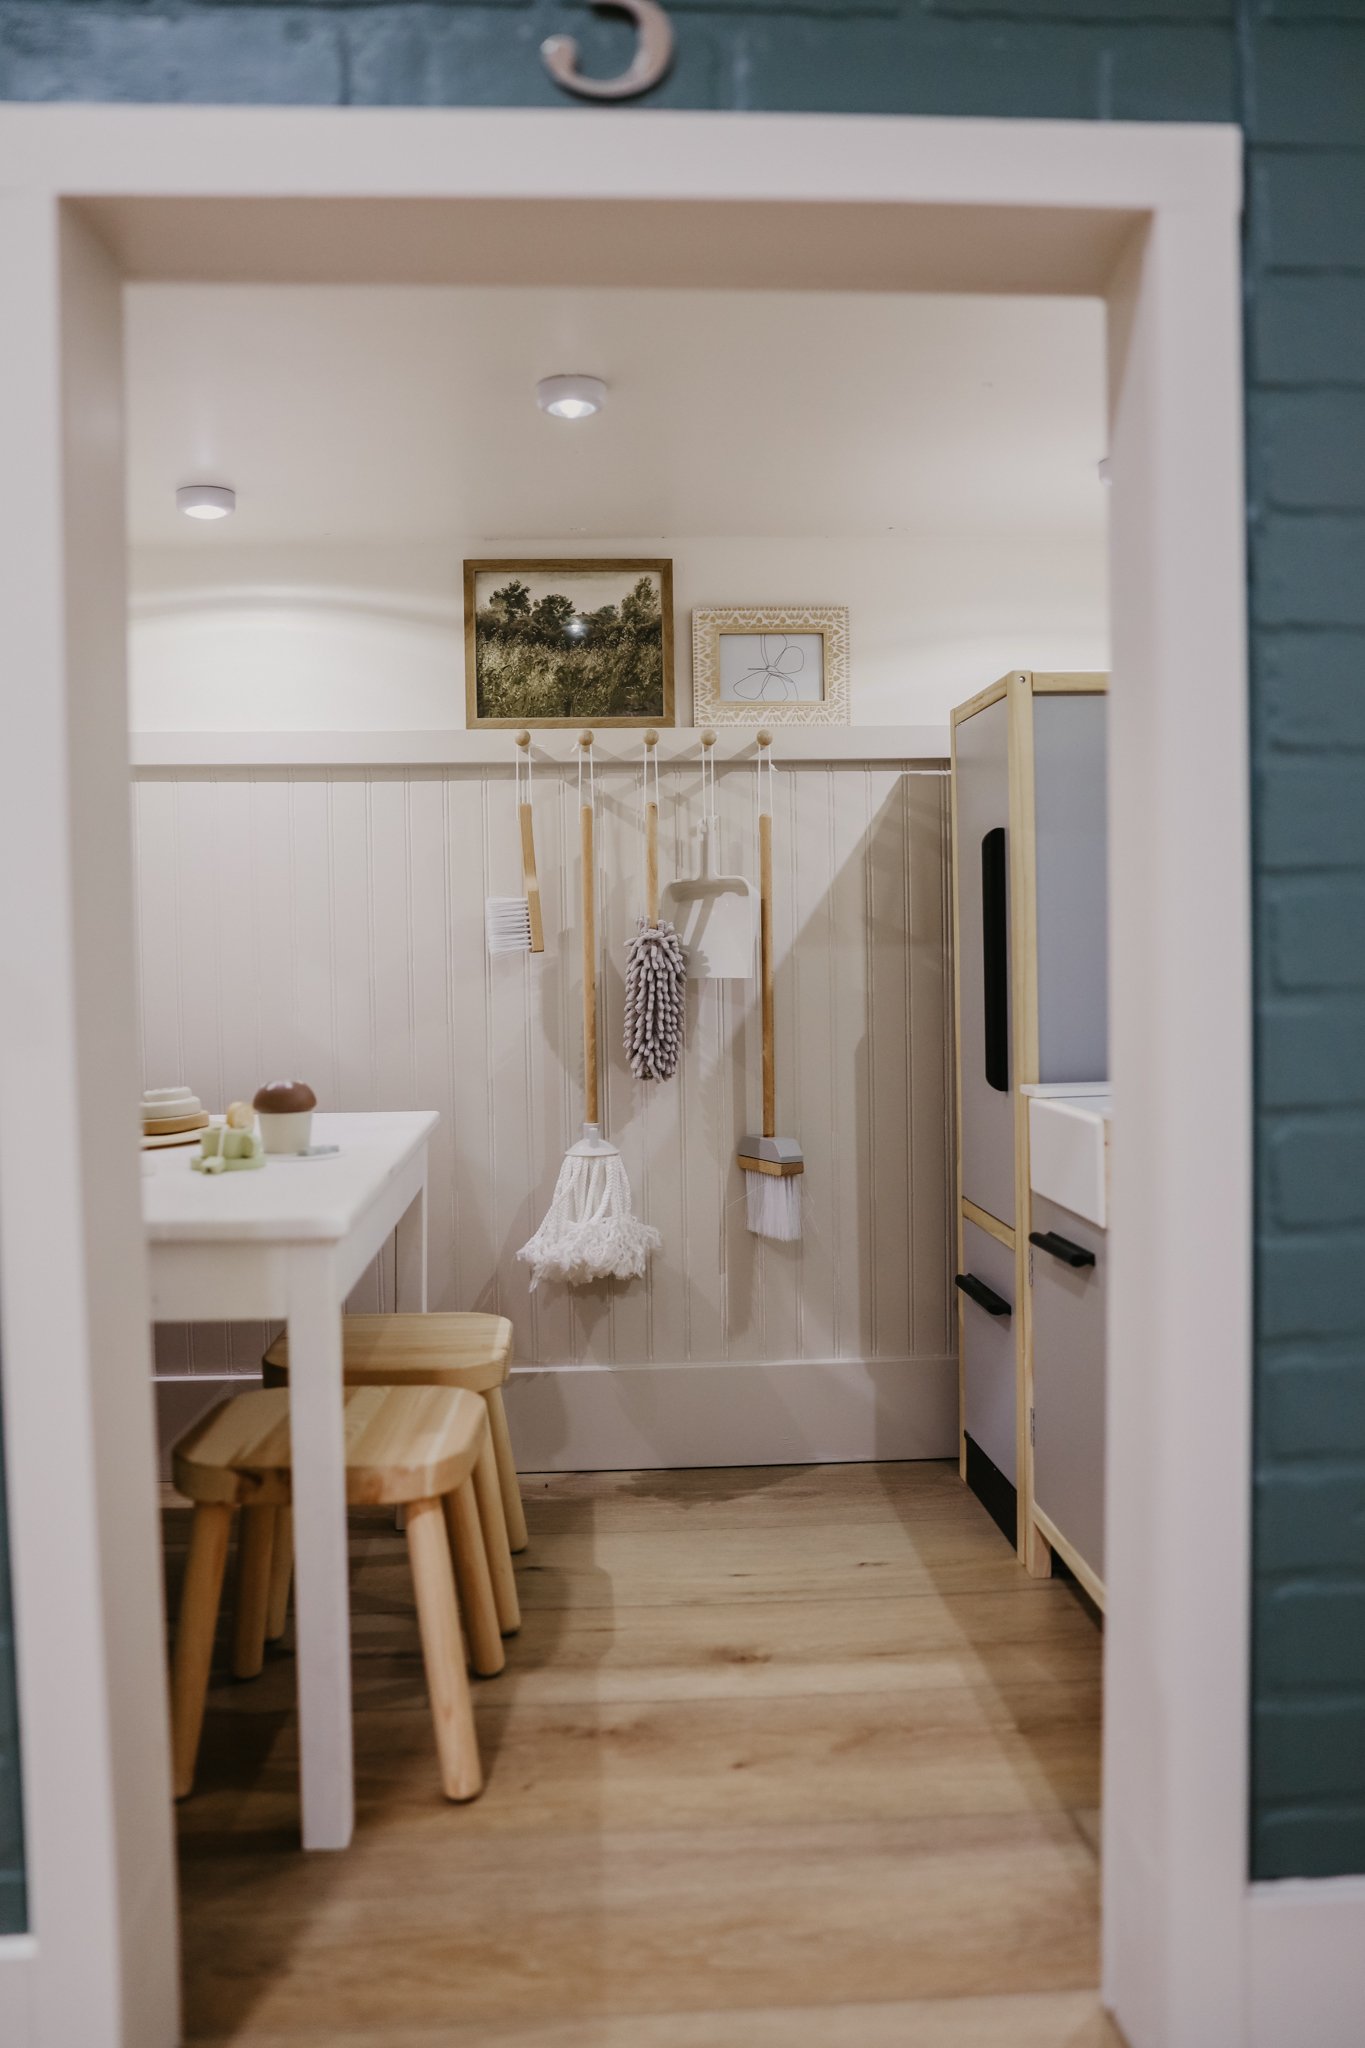
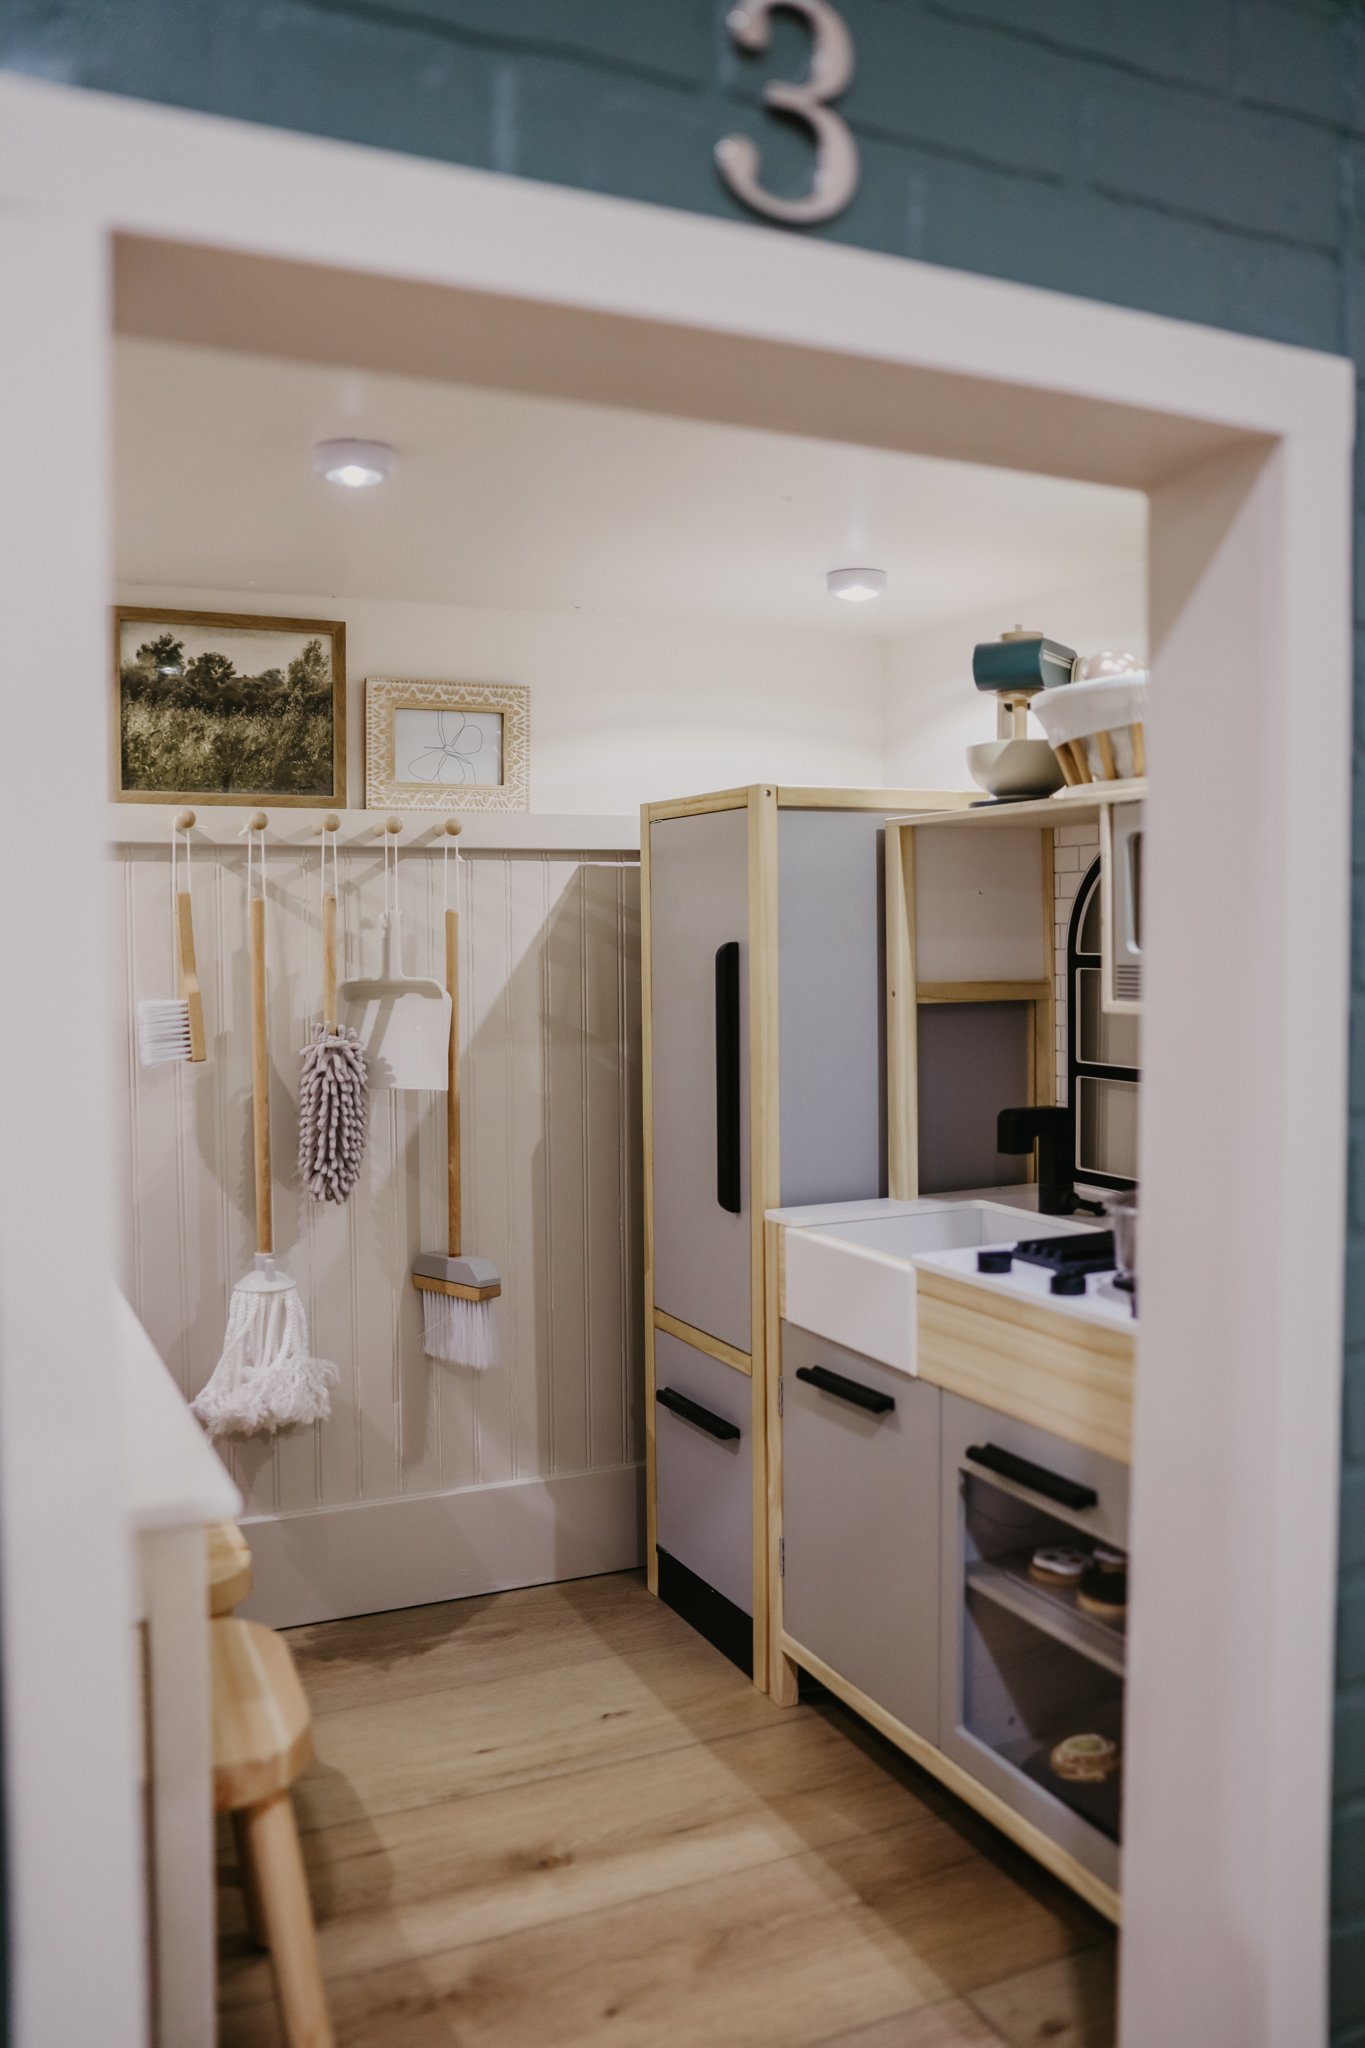
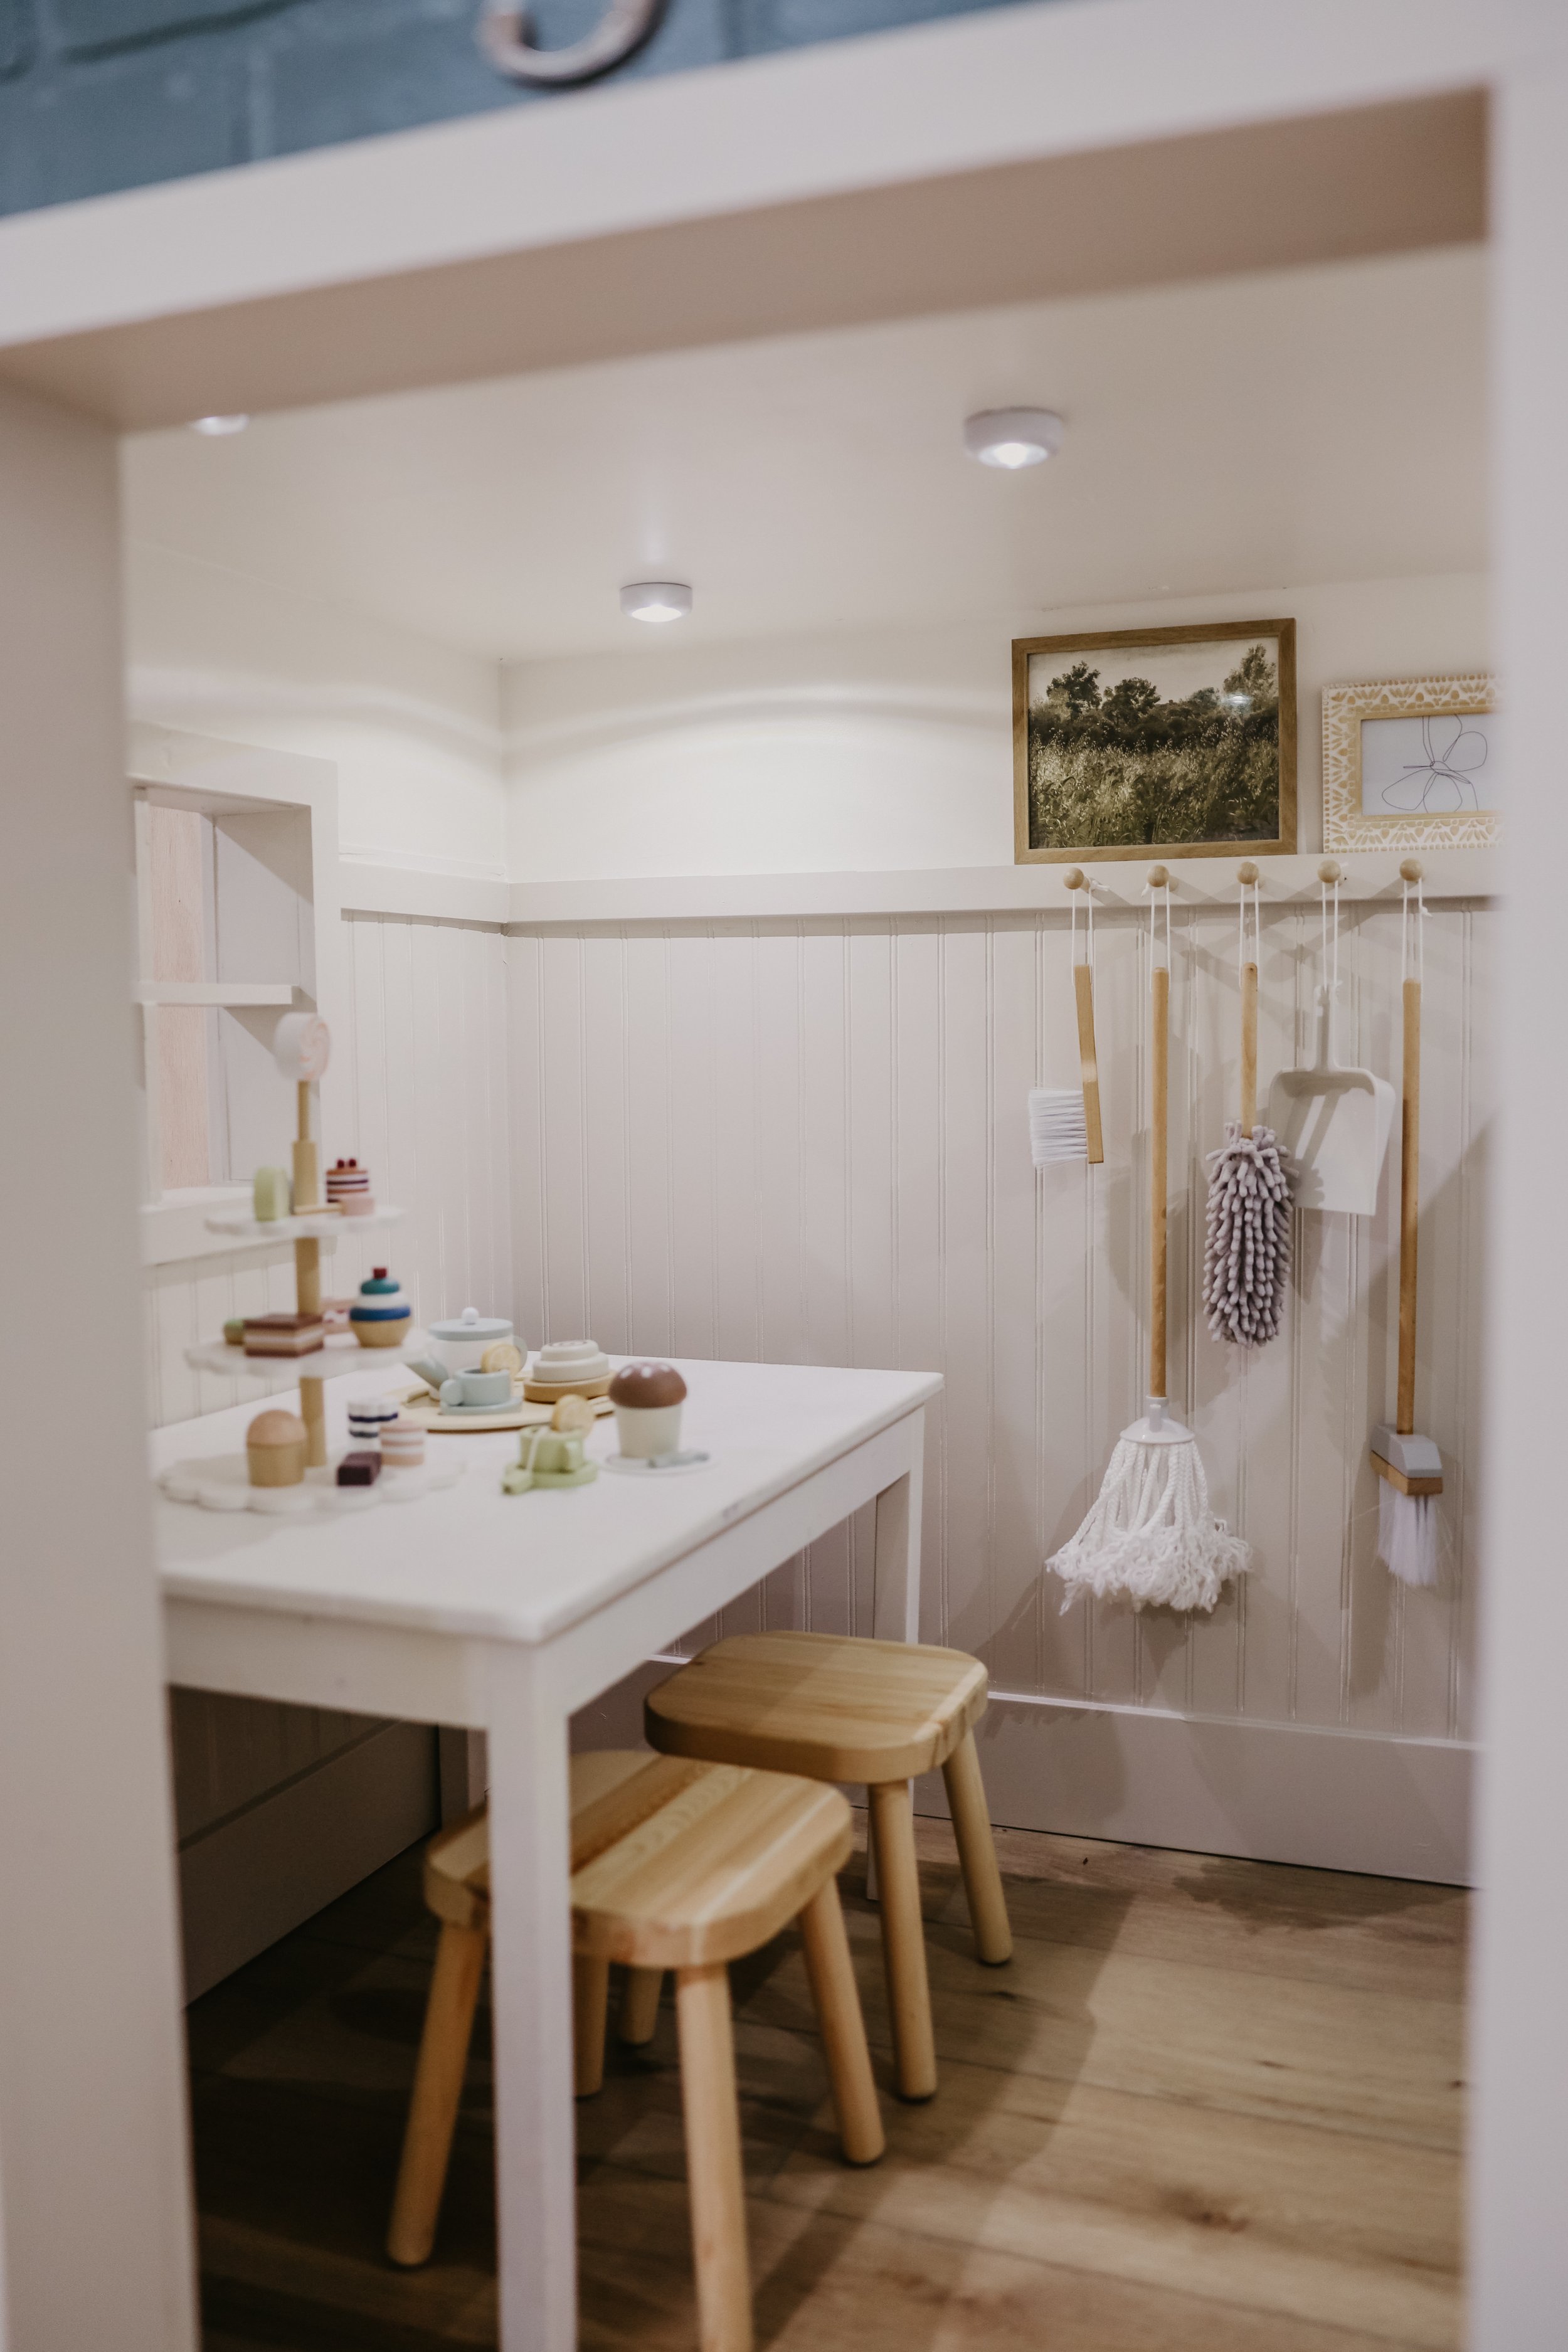
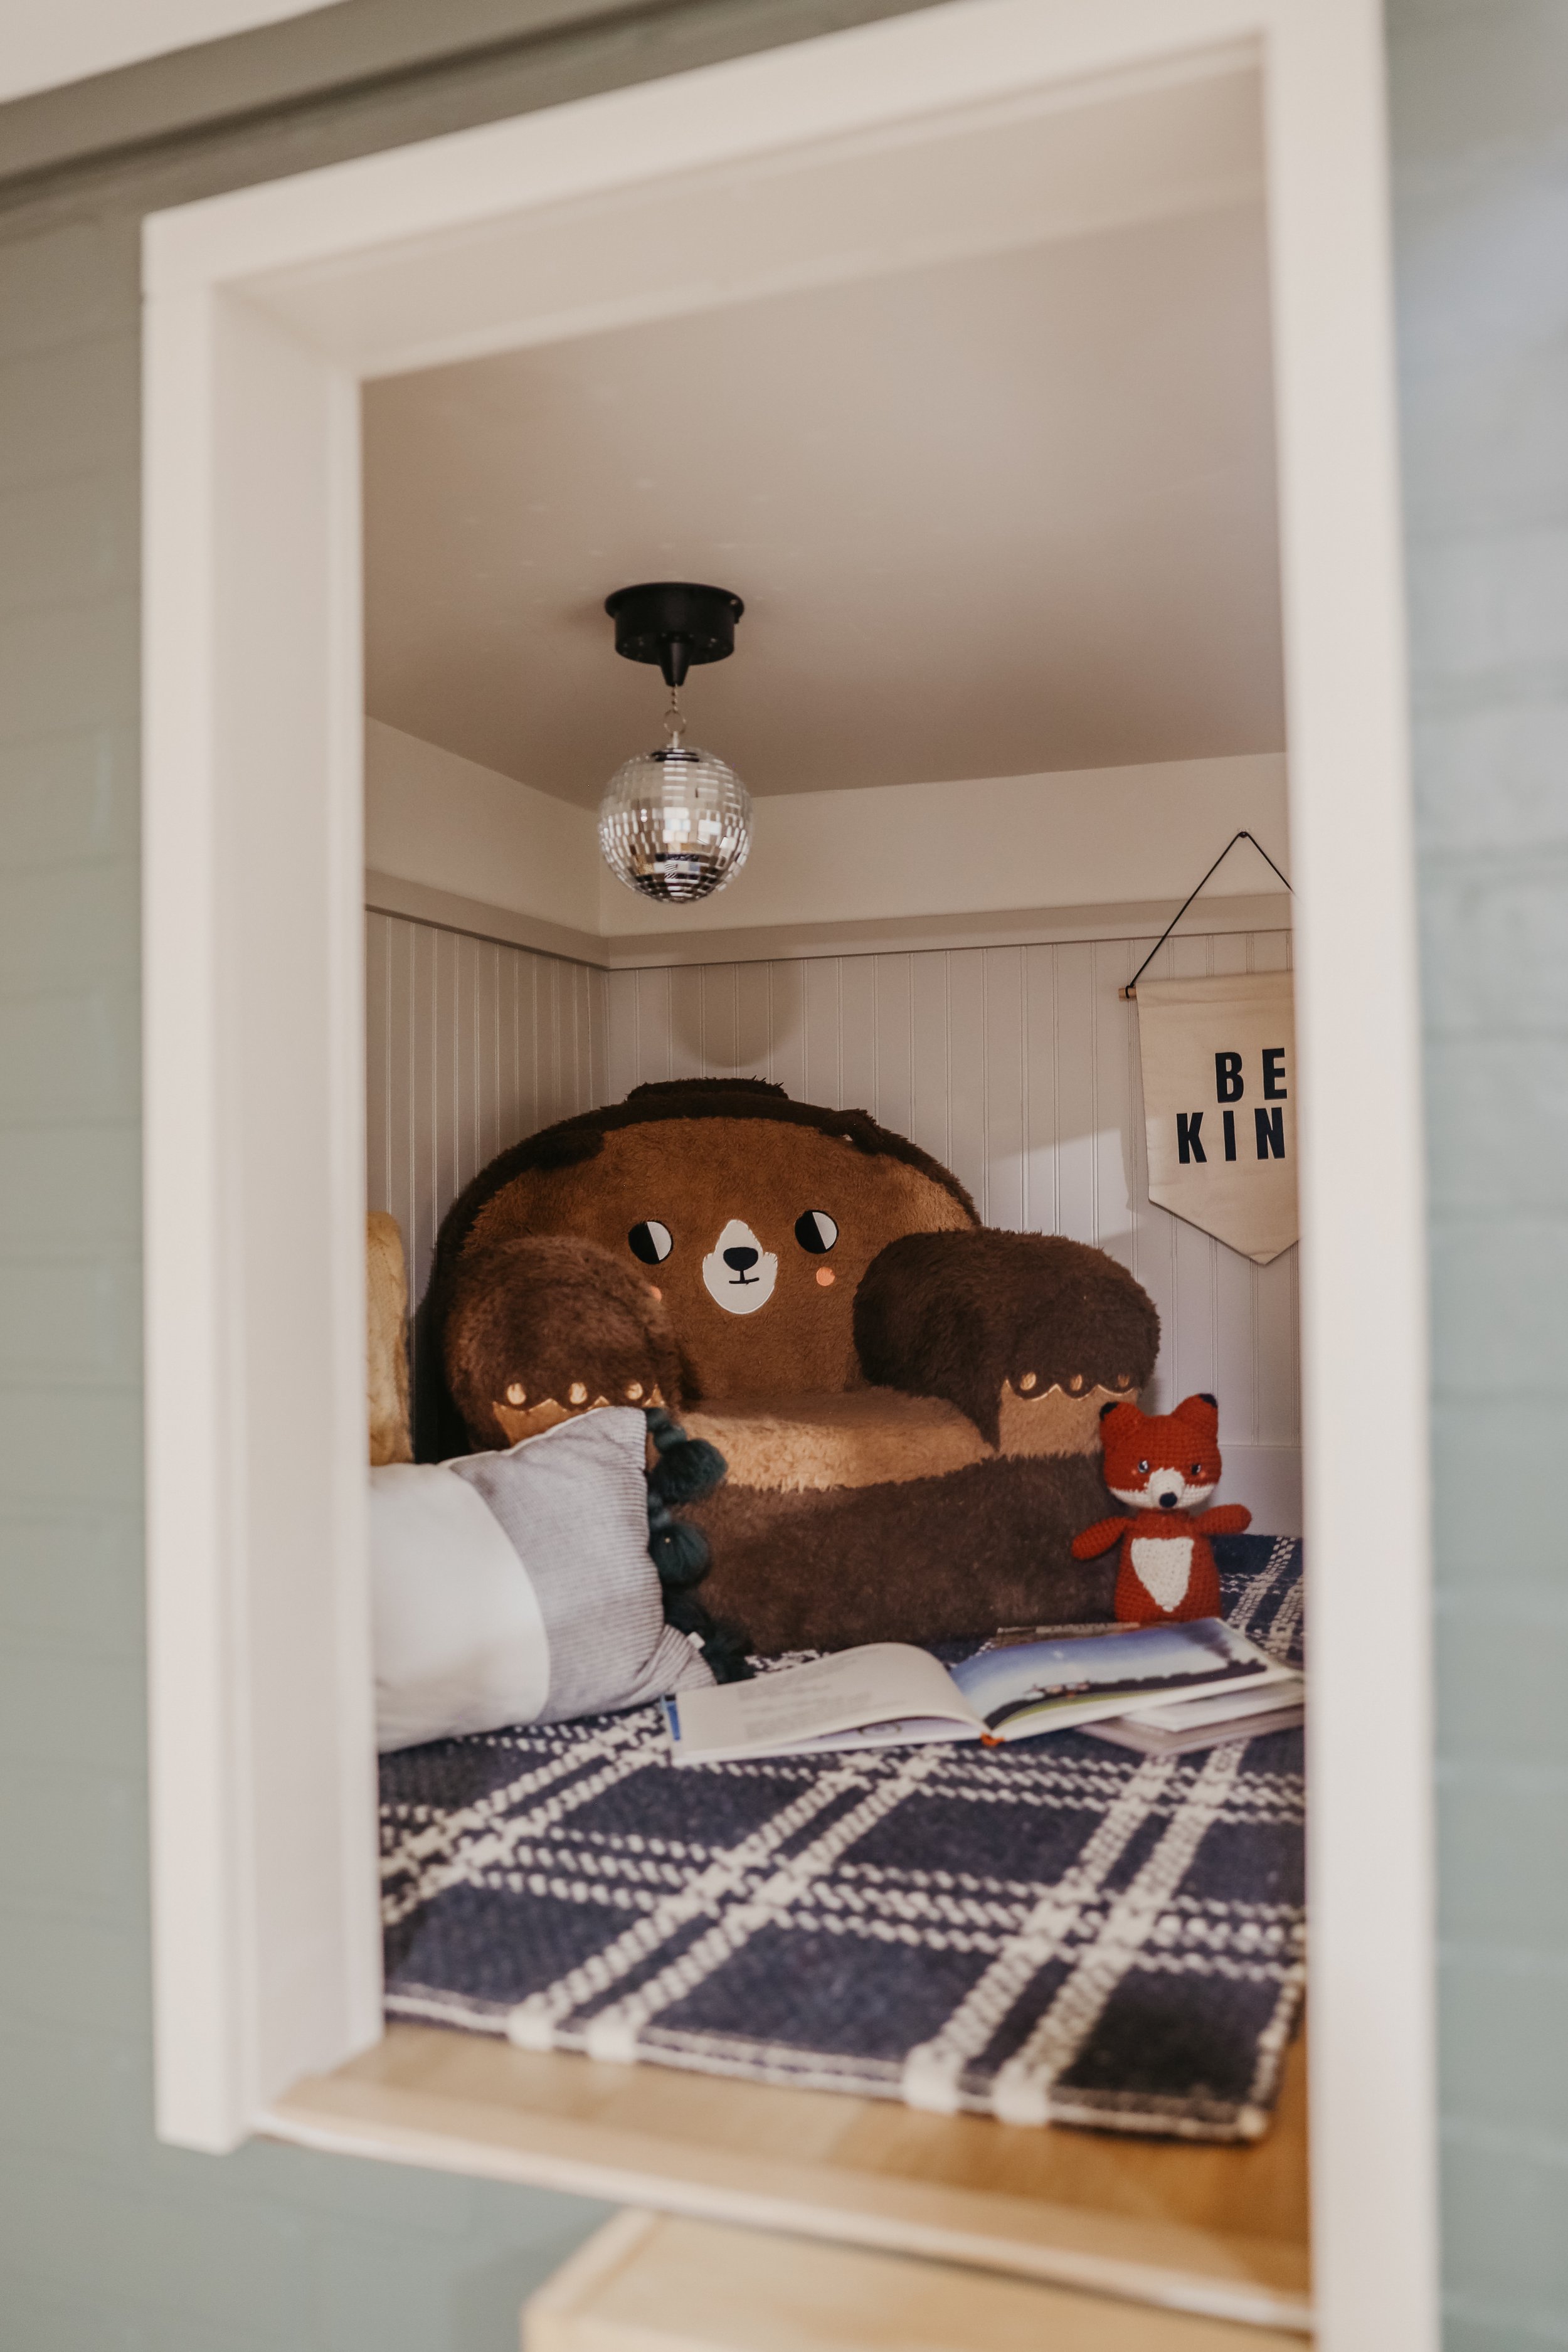
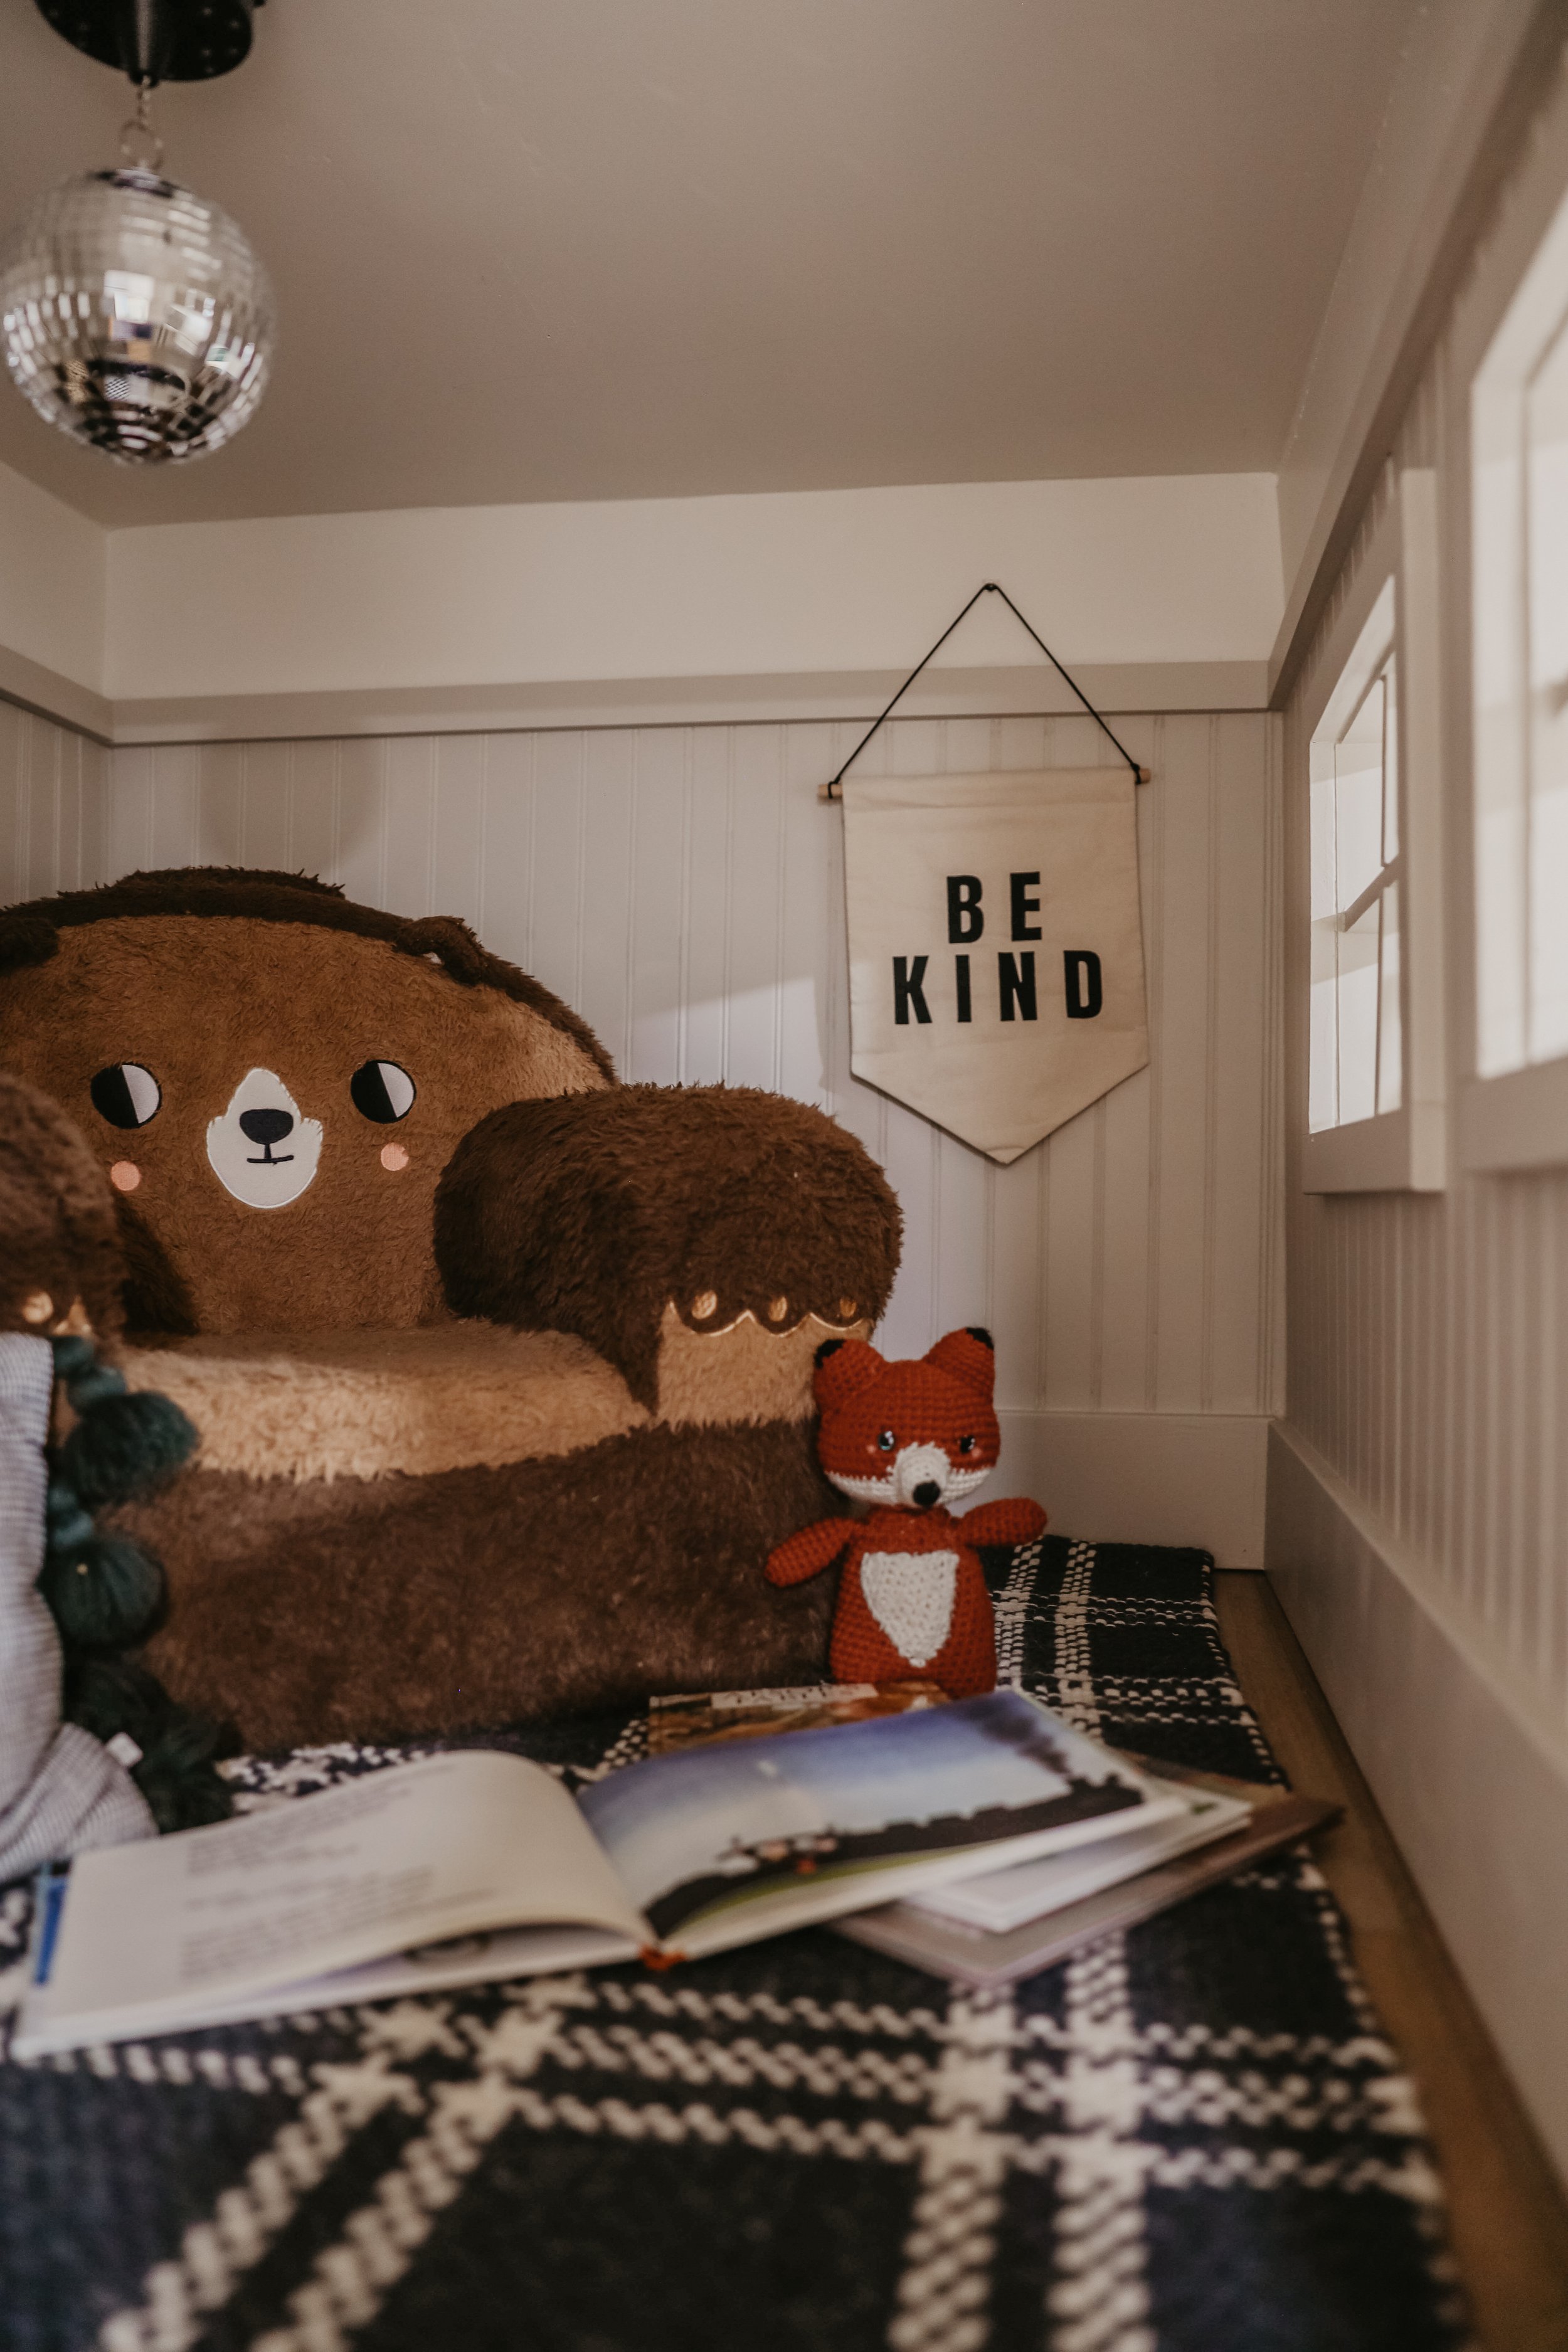
then we added all the fun kitchen stuff and cozy rug and chair upstairs. my kids are in love and still use it every day!
paint colors:pinecone hill by behr
aged beige by behr
swiss coffee by behr
supplies:-brad nailer
-2 inch brad nails
-miter saw or circular saw
-caulk
-caulk gun
-wood filler
-2” angled paint brush
-9” roller brush
-4” roller brush
-1 x 6 mdf
-1 x 2 mdf
-4 x 8 brick panels
-2 x 4s
-batting
-2” foam
-foam tiles
-velvet fabric
-staples
-rock hand holds
-4 x 8 sheets of 3/4” plywood
-1 x 6 whitewood
-beadboard
-3” wood screws
-1.5” screws
-level
-stud finder
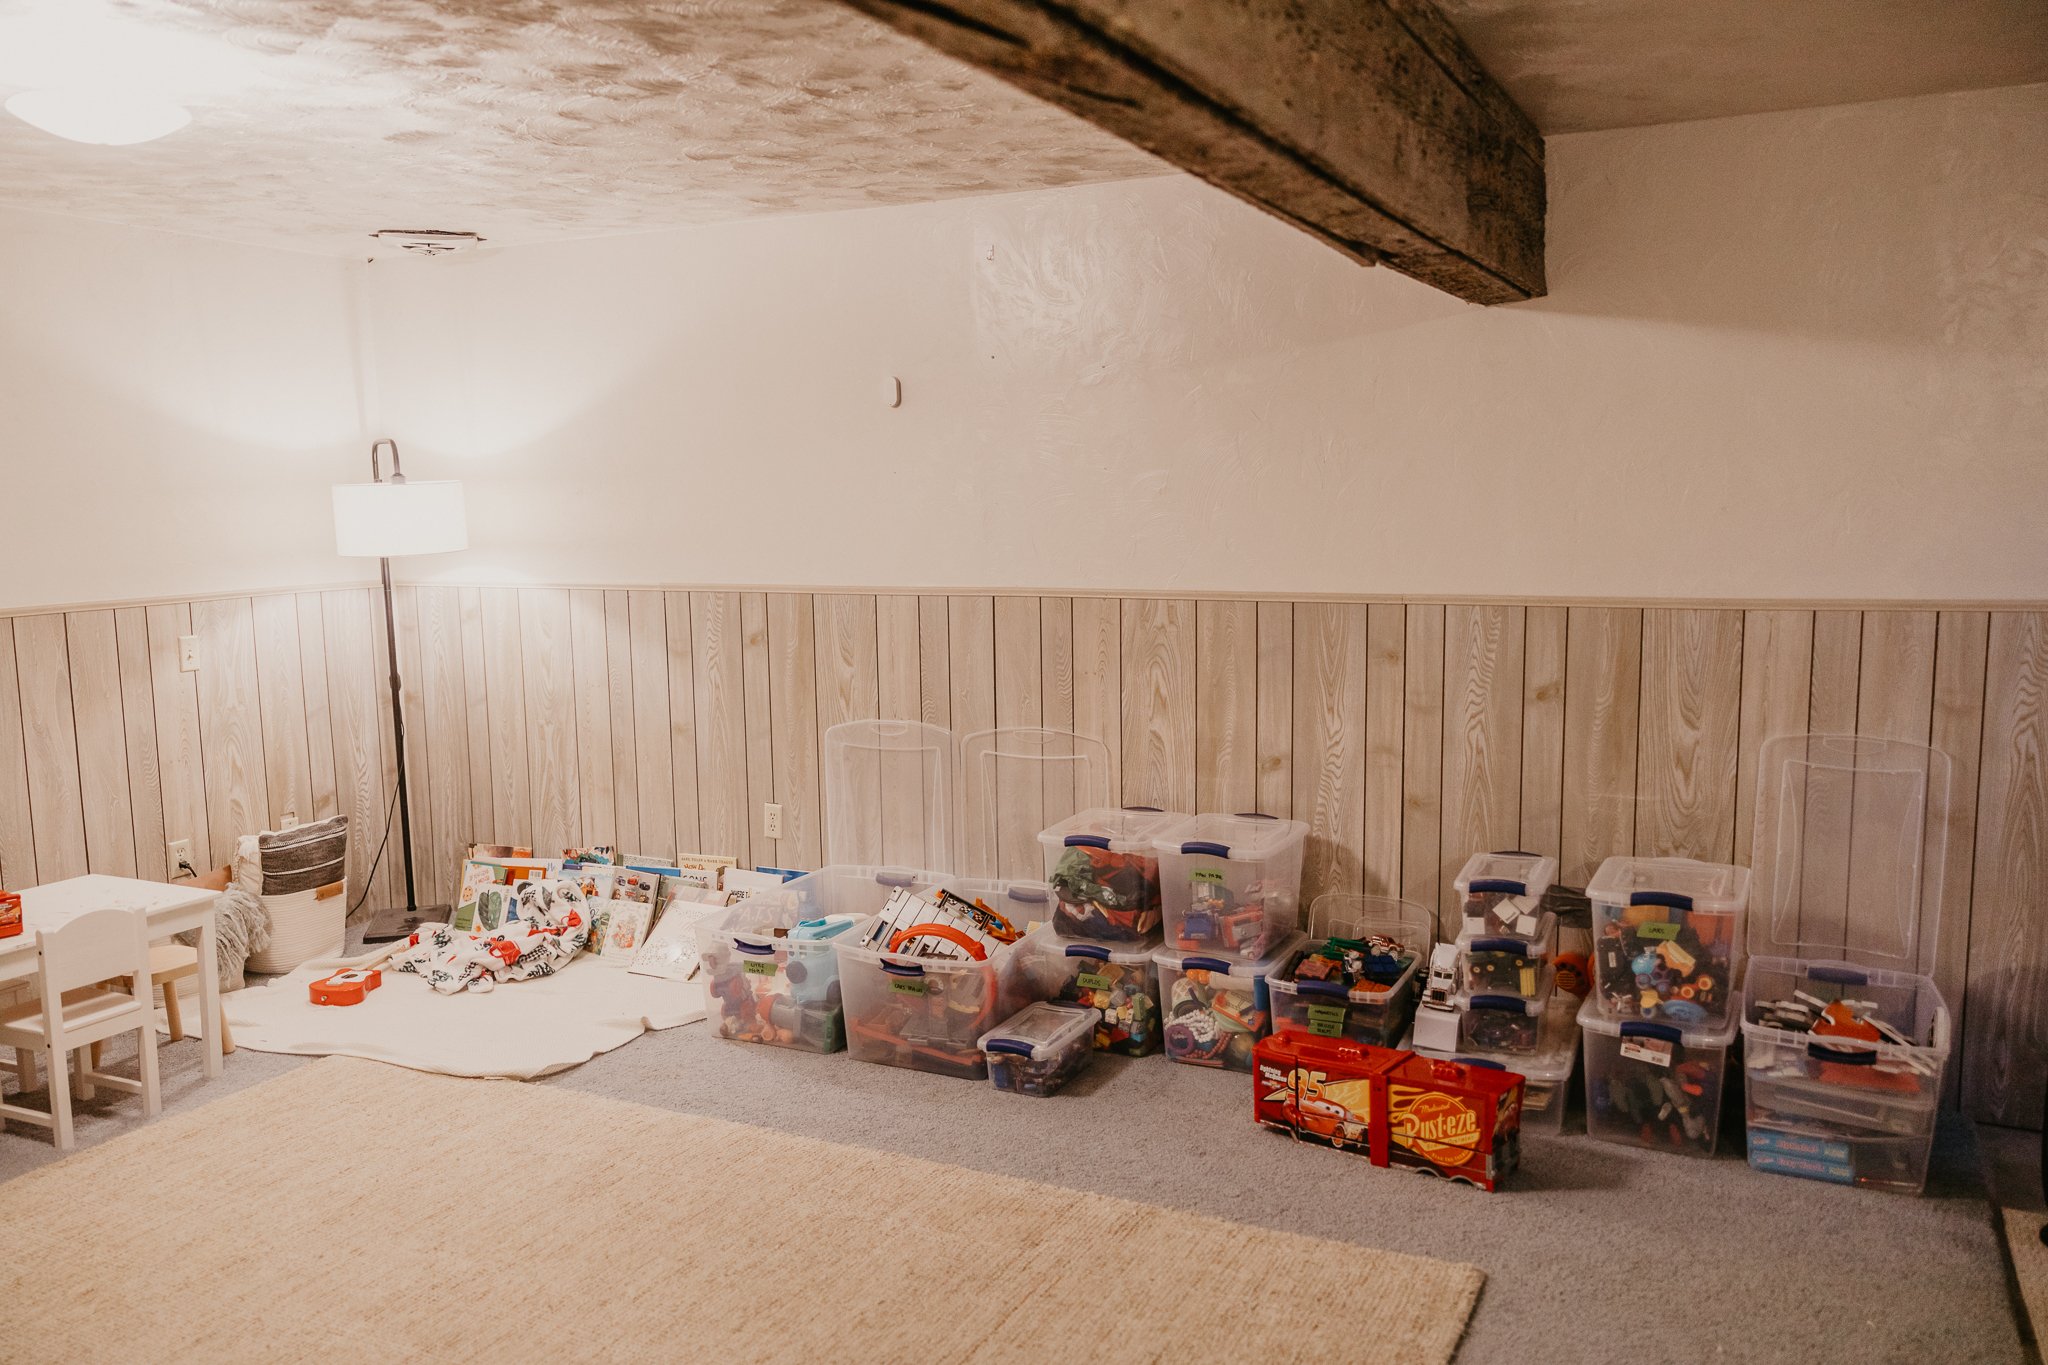
book display steps:these book ledges are so easy to make and they are a great way to display books for easy viewing! i used 1 x 2 mdf and 1 x 3 mdf pieces to build these.
i made them 8 ft long because i had the wall space. i attached the 1 x 3 for the back to the 1 x 3 for the bottom with wood glue and brad nails. then i added the 1 x 2 to the front with glue and brad nails.
after the dried, i caulked the inside seams and filled the nail holes, then i painted them swiss coffee.
next it was time to mount them. I countersunk them into the wall screws and then wood filled those holes and painted over them. that’s it!
each shelf holds at least 20 books and my kids can see them all!

diy chalkboard:this was something really easy that you could add anywhere. i used a 2 x 4 sheet of 3/4’ plywood. I painted it with primer first, then i rolled three coats of chalkboard paint on top of that. after it was dry, i mounted it to the wall with brad nails, and trimmed it out with 1 x 3 mdf.
then it was ready to use!

happy diying friends!
xoxo-taylor
