DIY office built-ins| custom home office
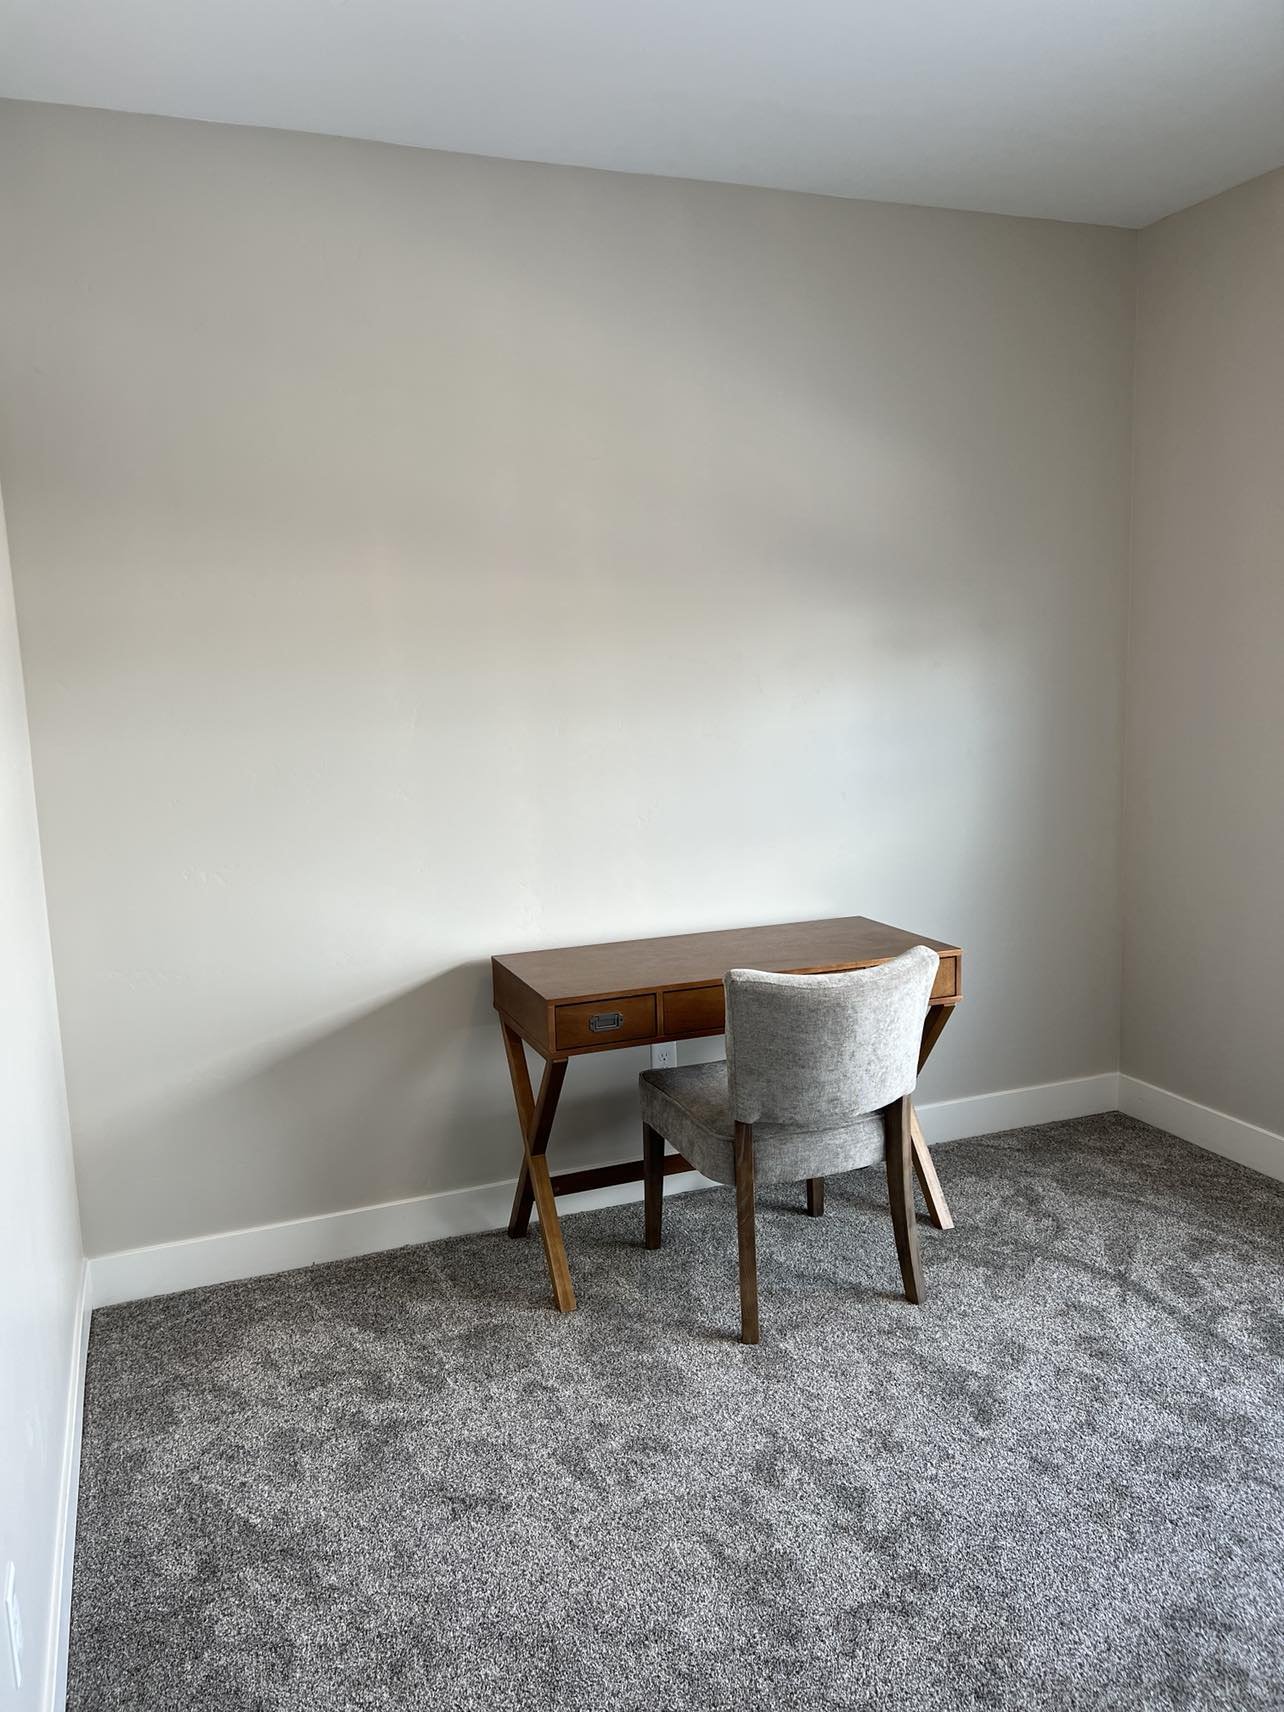
my step-mom works from home now + she was wanting an office upgrade, so we made it happen! The room is pretty good size, about 12 x 10 ft. and the ceilings are 9 ft. we decided this back wall was the best place for the built ins because it didn’t have a window or door. the first step was removing the baseboards so we would have a flush wall to attach the cabinets to. i decided to use pre made cabinets for the base and build the shelves for the top mostly to save time + money. Also i am still learning how to build cabinets and drawers, so there’s that too. detailed steps and supplies are below!
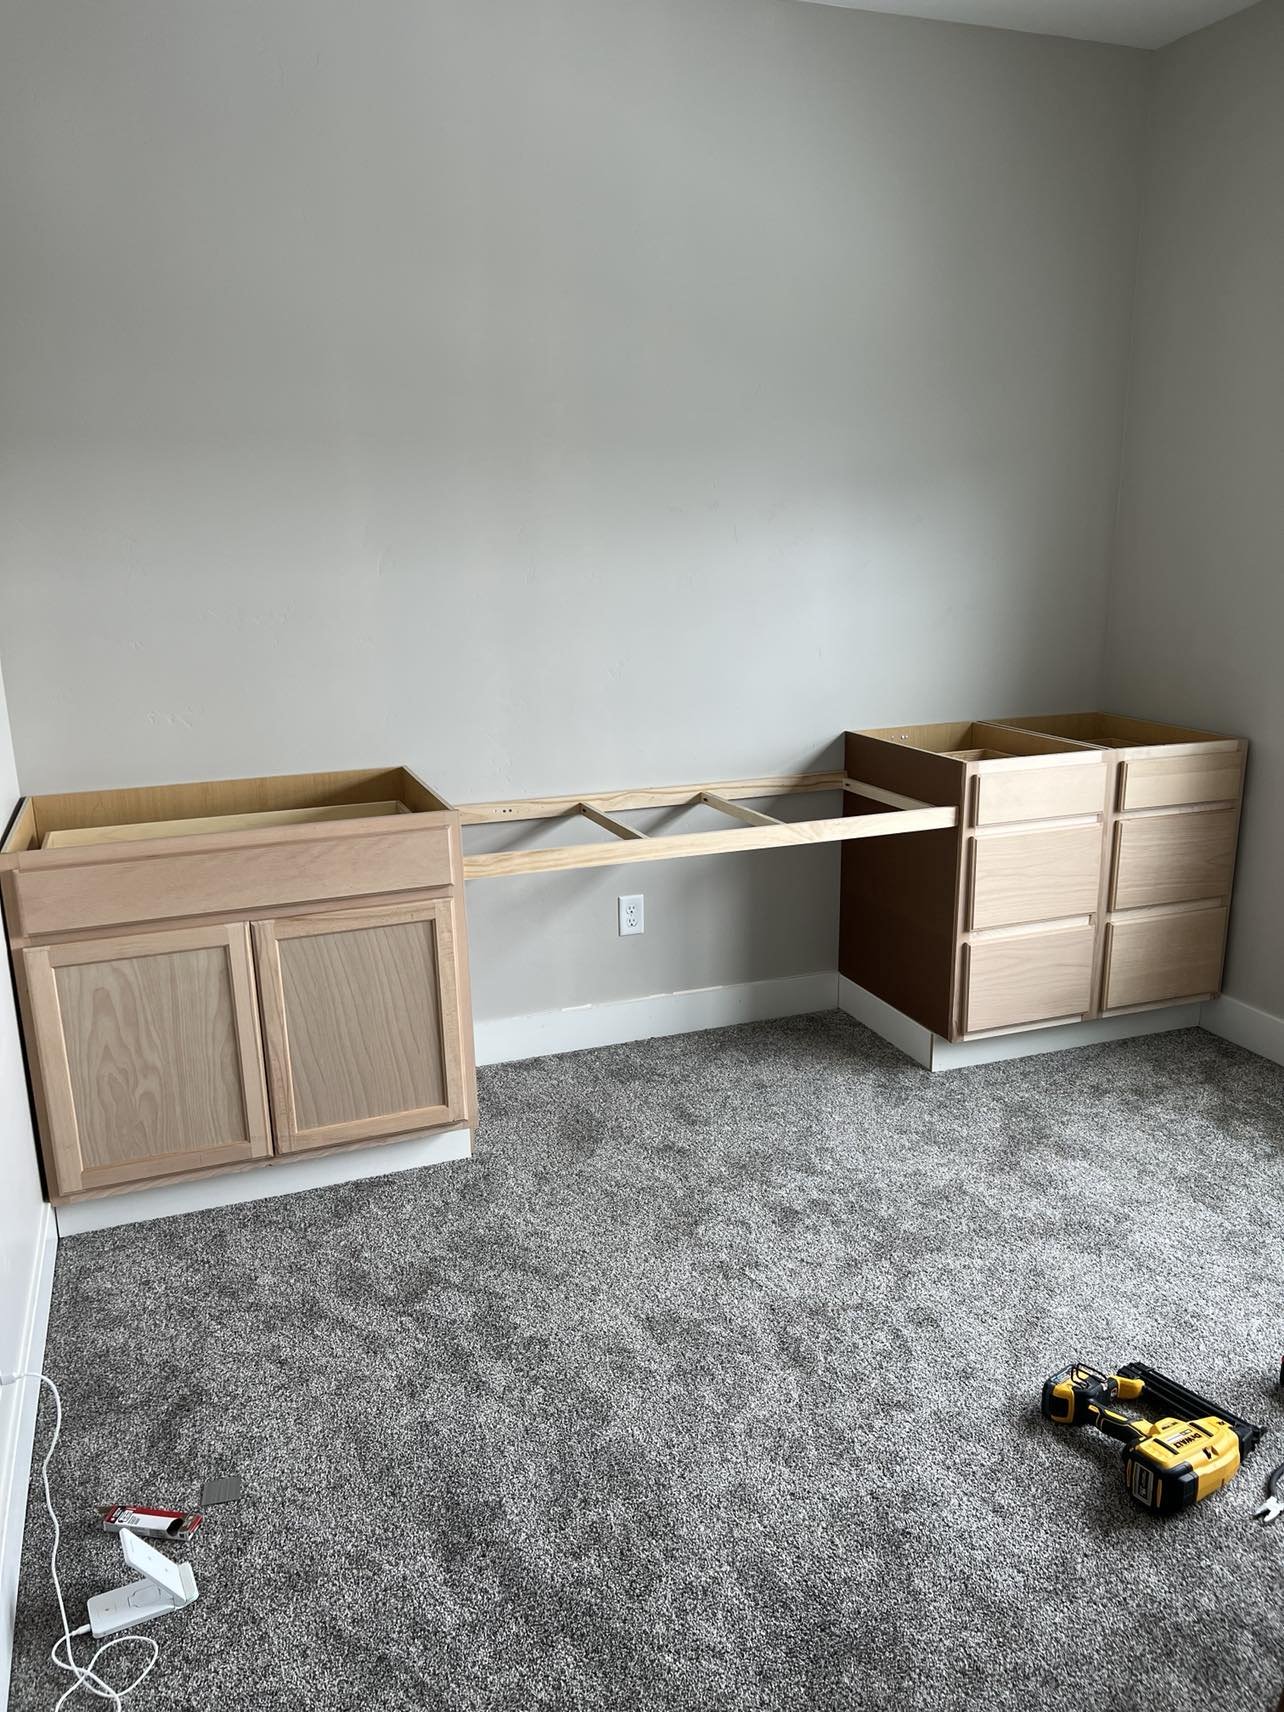
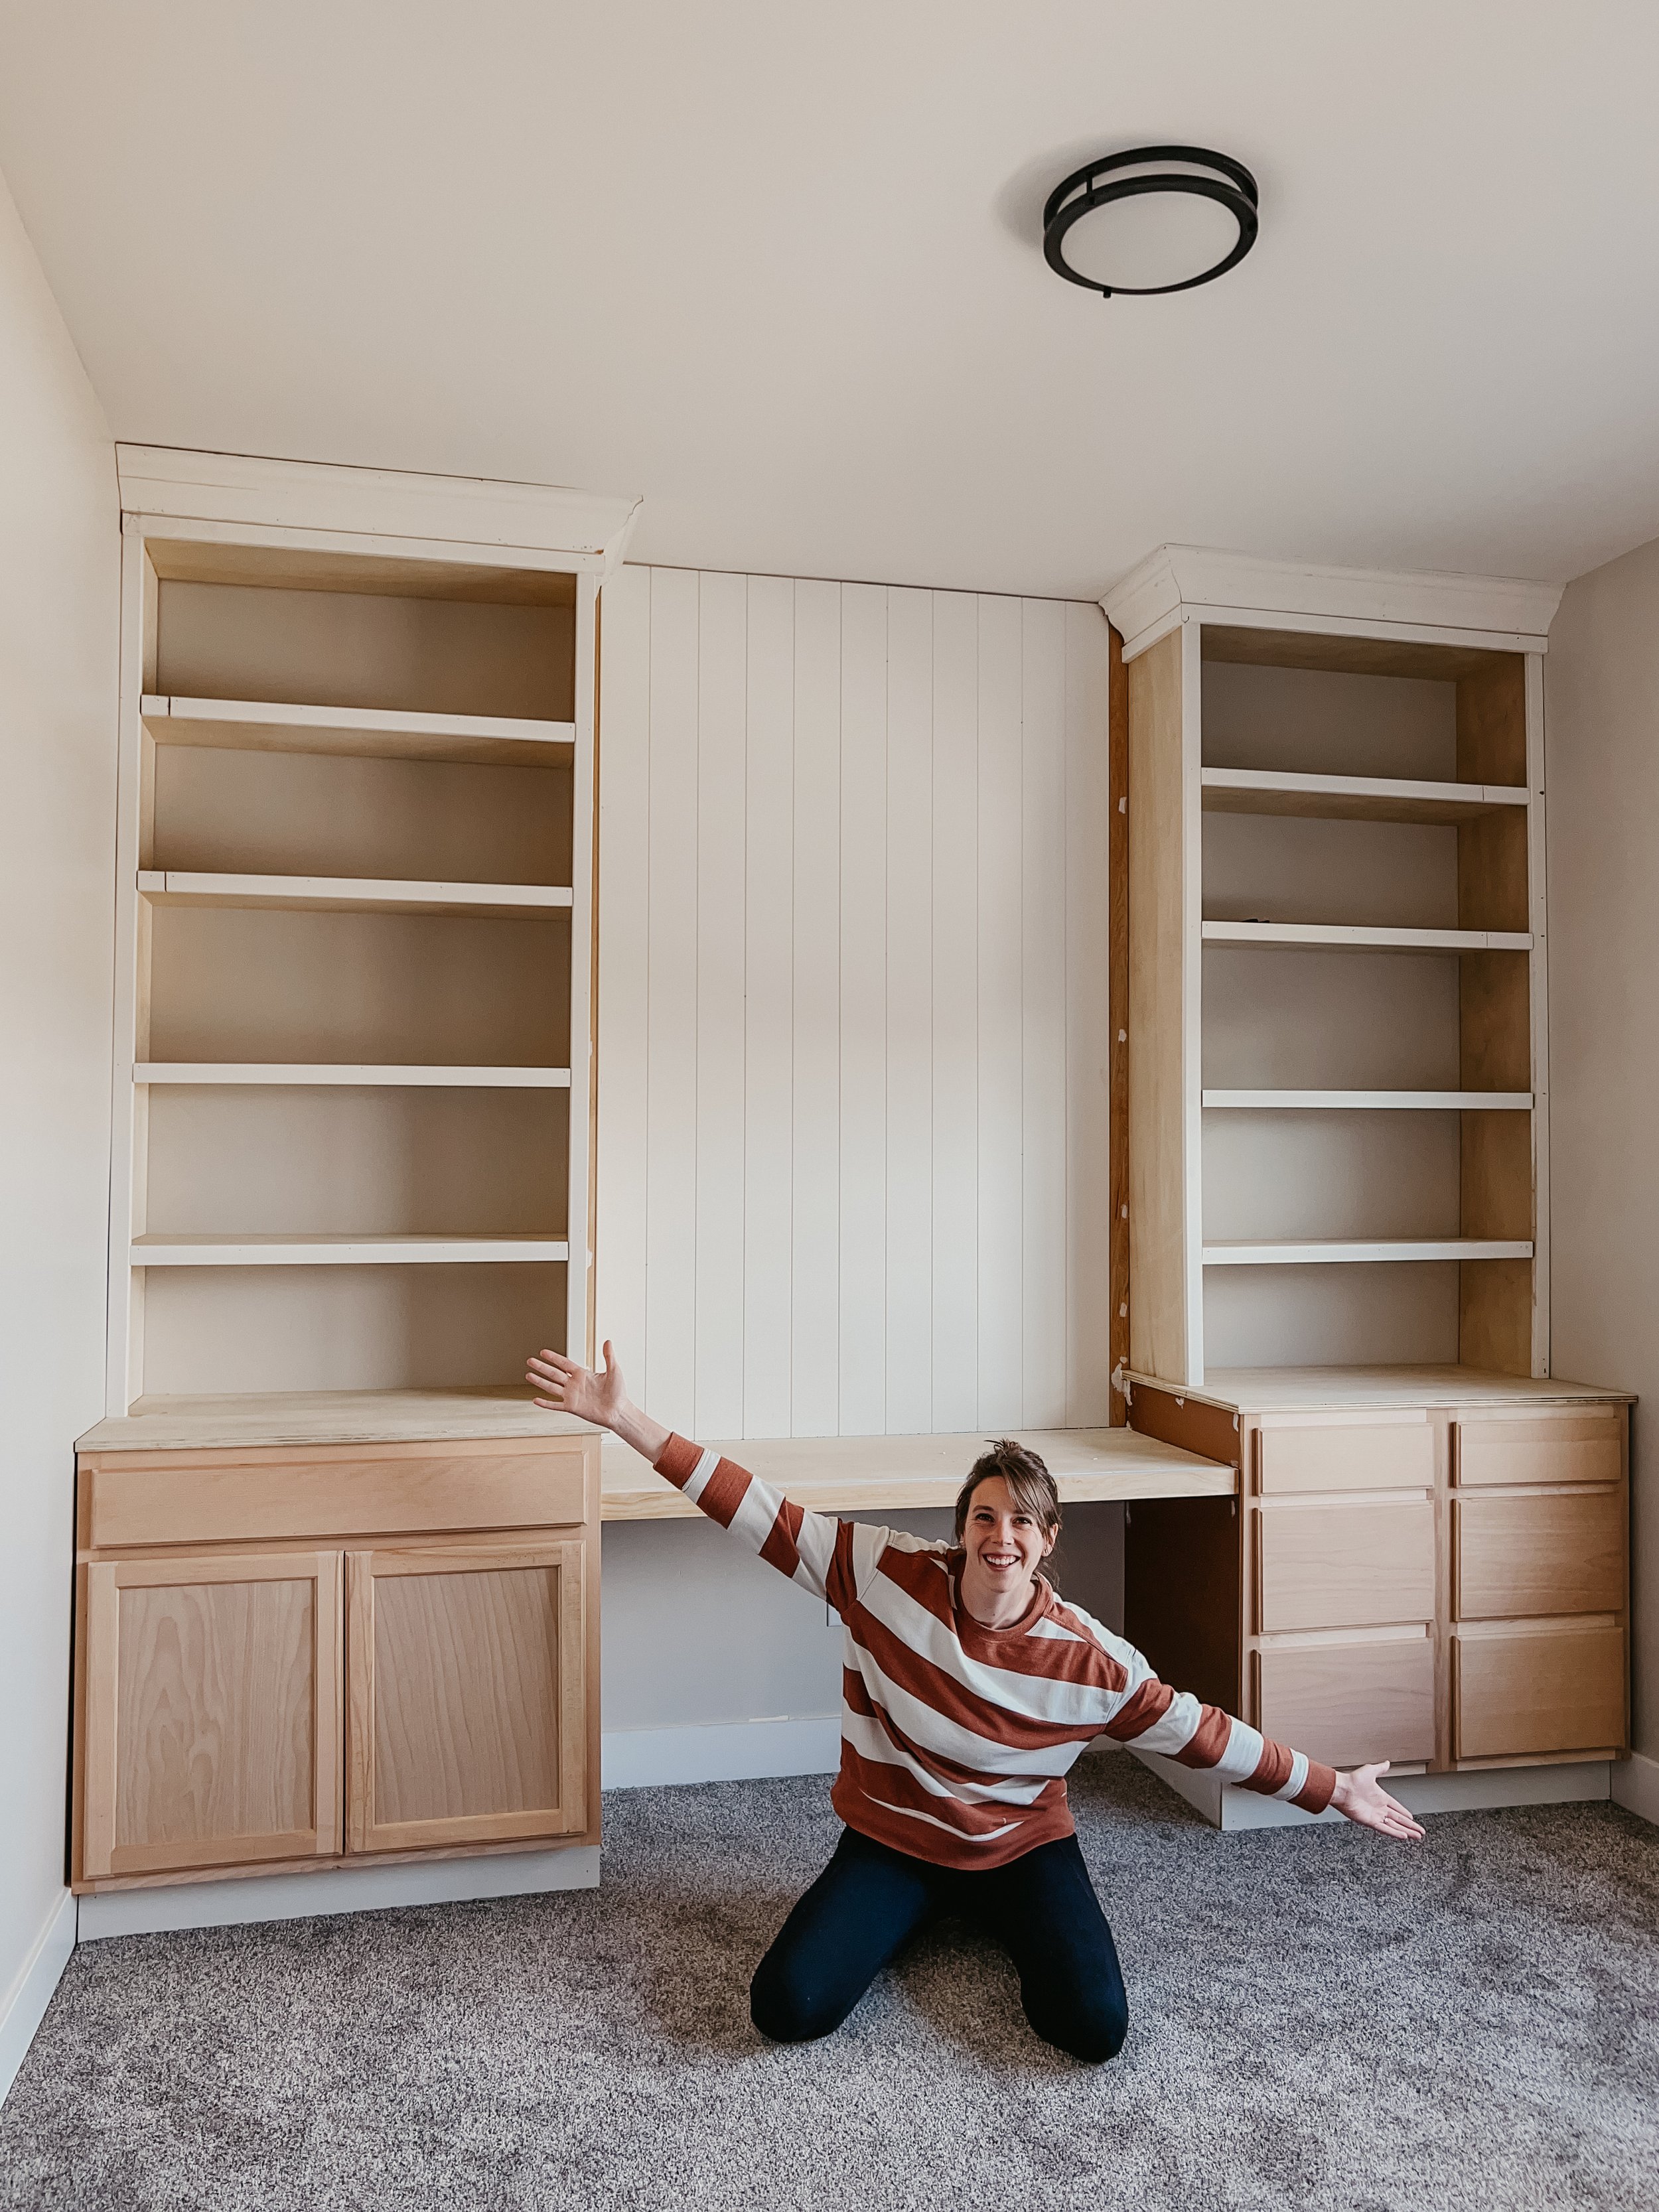
steps:the first step in this process it to first measure, and then plan out what you want your built ins to look like based on the size you have. I decided to use a premade cabinet + premade drawers as my base. the cabinet is 36” wide and then i used two 18” drawer towers and connected them to make it look like they were one unit. then we made the desk the width of the empty space in the middle.
I removed the baseboard by scoring the caulk first, then pulled it off with a crow bar and mallet. I wanted to reuse it so i was careful not to damage it when removing it.
then its time to attach the base cabinets to the studs in the wall. Using a stud finder, i marked inside the cabinets where they needed to go. then i used a countersink bit to drill holes for my screws. then i used a 3 inch screw to go directly into the stud. i used four of these on each side of cabinets.
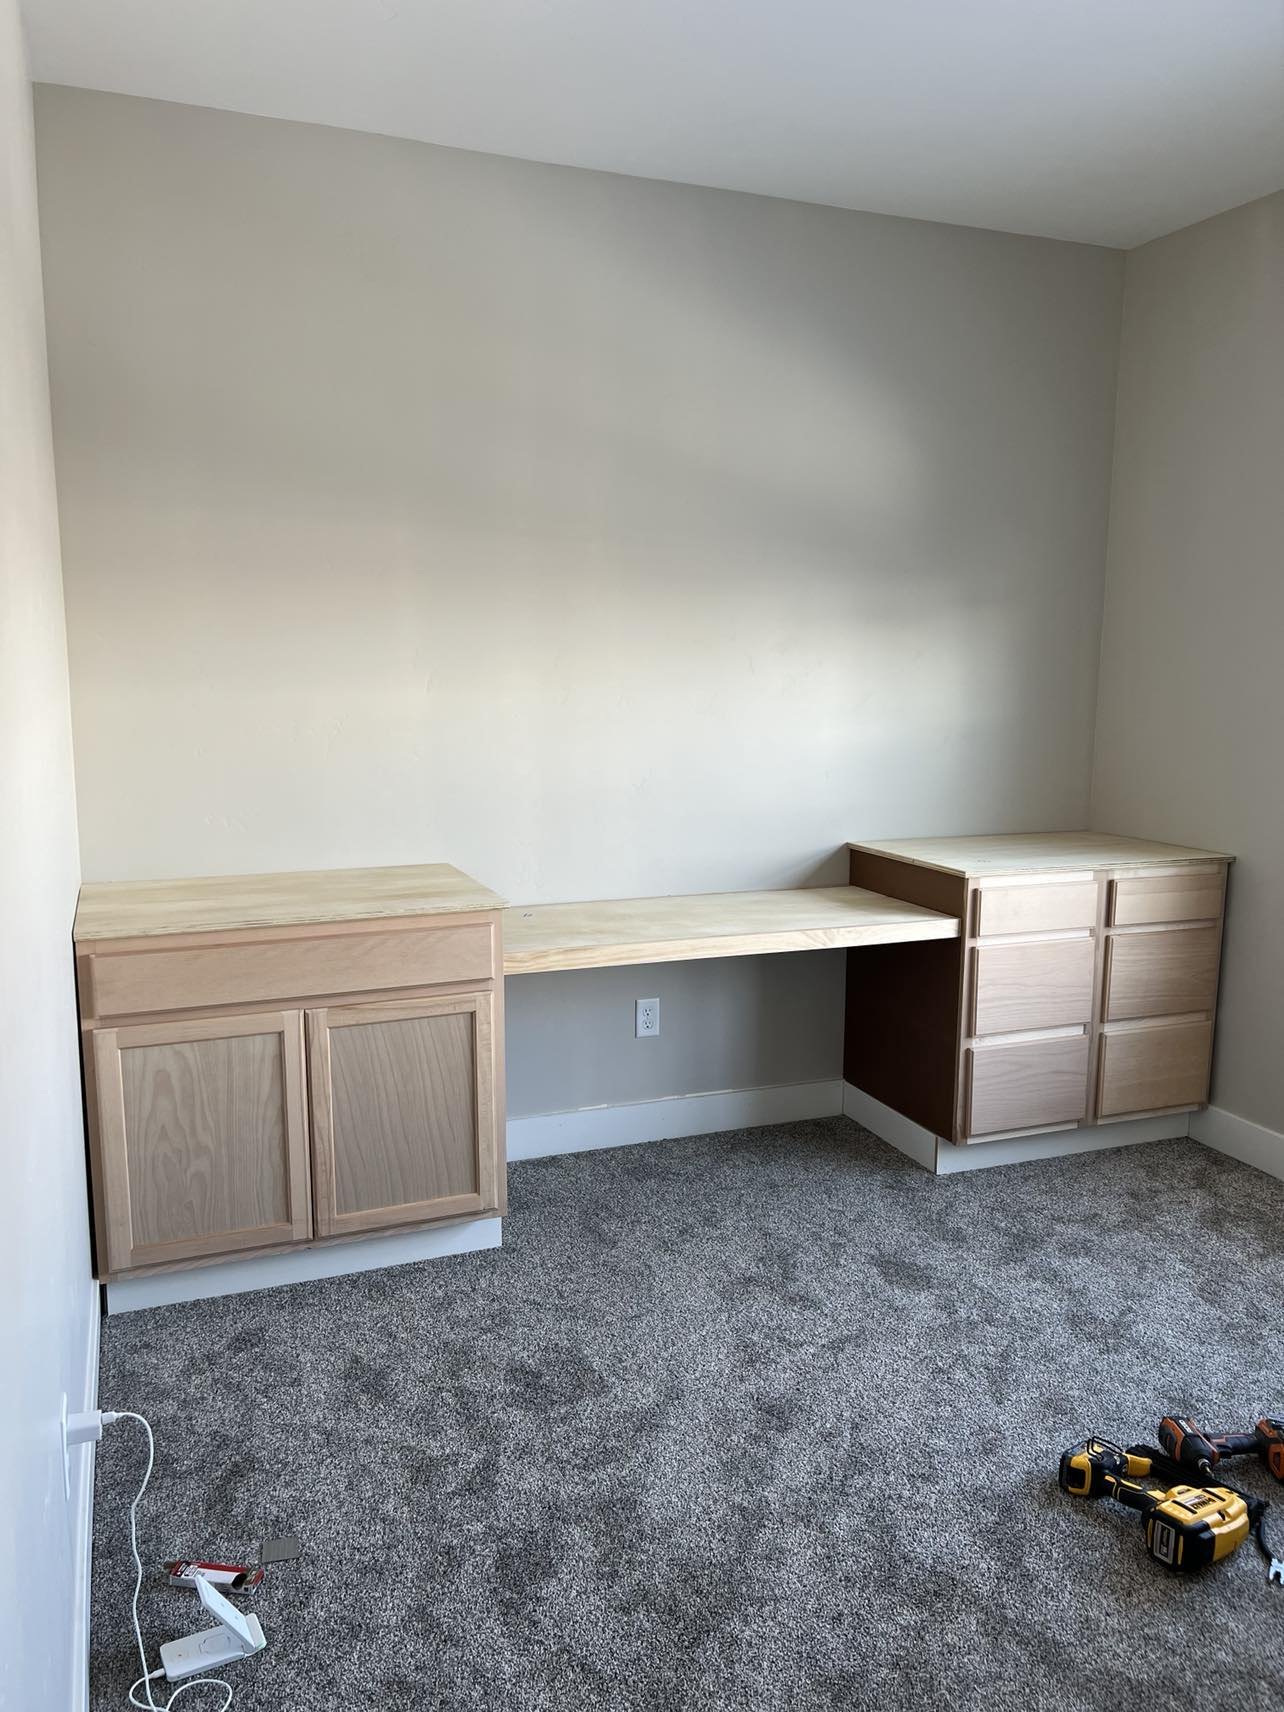
After that was nice and secure, I built a frame out of 1 x 3 poplar for the desk base. I used pocket holes and glue to attach and assemble this. then i screwed it into the sides of the cabinets, using a 1 inch screw and then the wall studs as well with 3” screws. the desk is about 51” wide by 24” deep, making it the same as the depth of the cabinets. It sits about 28” high, which is standard desk height.
After the base of the unit was secure, i used 3/4” sande plywood for the tops of the cabinets and the desk. I just measure the length and width, ripped down the plywood with my circular saw, and then used 1.5” brad nails to attach them. then i used the baseboard i removed, cut it down, and wrapped it around the bottoms of the cabinets and reattached it to the wall all with 2” brad nails.
next it was time for the shelves! I used the same 3/4” plywood for these, ripping them down with the circular saw too. The shelves ended up being about 72” x 11.25” x 36”. I attached them with pocket holes and wood glue as well, making sure to measure and space out each shelf between my total height. my shelves are about 14” apart.
After the shelves were assembled, i also attached these to studs in the wall with brad nails on the sides of the unit. I angled my gun and shot nails through the sides into the walls.
next, we added a shiplap panel to the middle vertically. this was sold at my local home depot in the wall panel section. you could also create this look with individual shiplap boards.
lastly, we added the crown molding, which is a beast itself. I recommend getting the kreg crown molding jig if you plan to add a lot of it around your house.
after all the pieces were on, i spent a lot of time wood filling nail holes and caulking all the gaps and seams. this really adds a profesional look to your project even though it is time consuming. don’t skip it!
then it was ready for paint! i love using a 4” foam roller for all cabinet painting projects because the finish comes out really smooth. first, i cut it the edges with a 2” angled brush, zibra is my favorite brand! then i roll two coats of cabinet grade enamel paint. i usualy use sherwin williams emerald or behr cabinet and trim enamel paint. you can always ask at the paint counter if you are unsure.
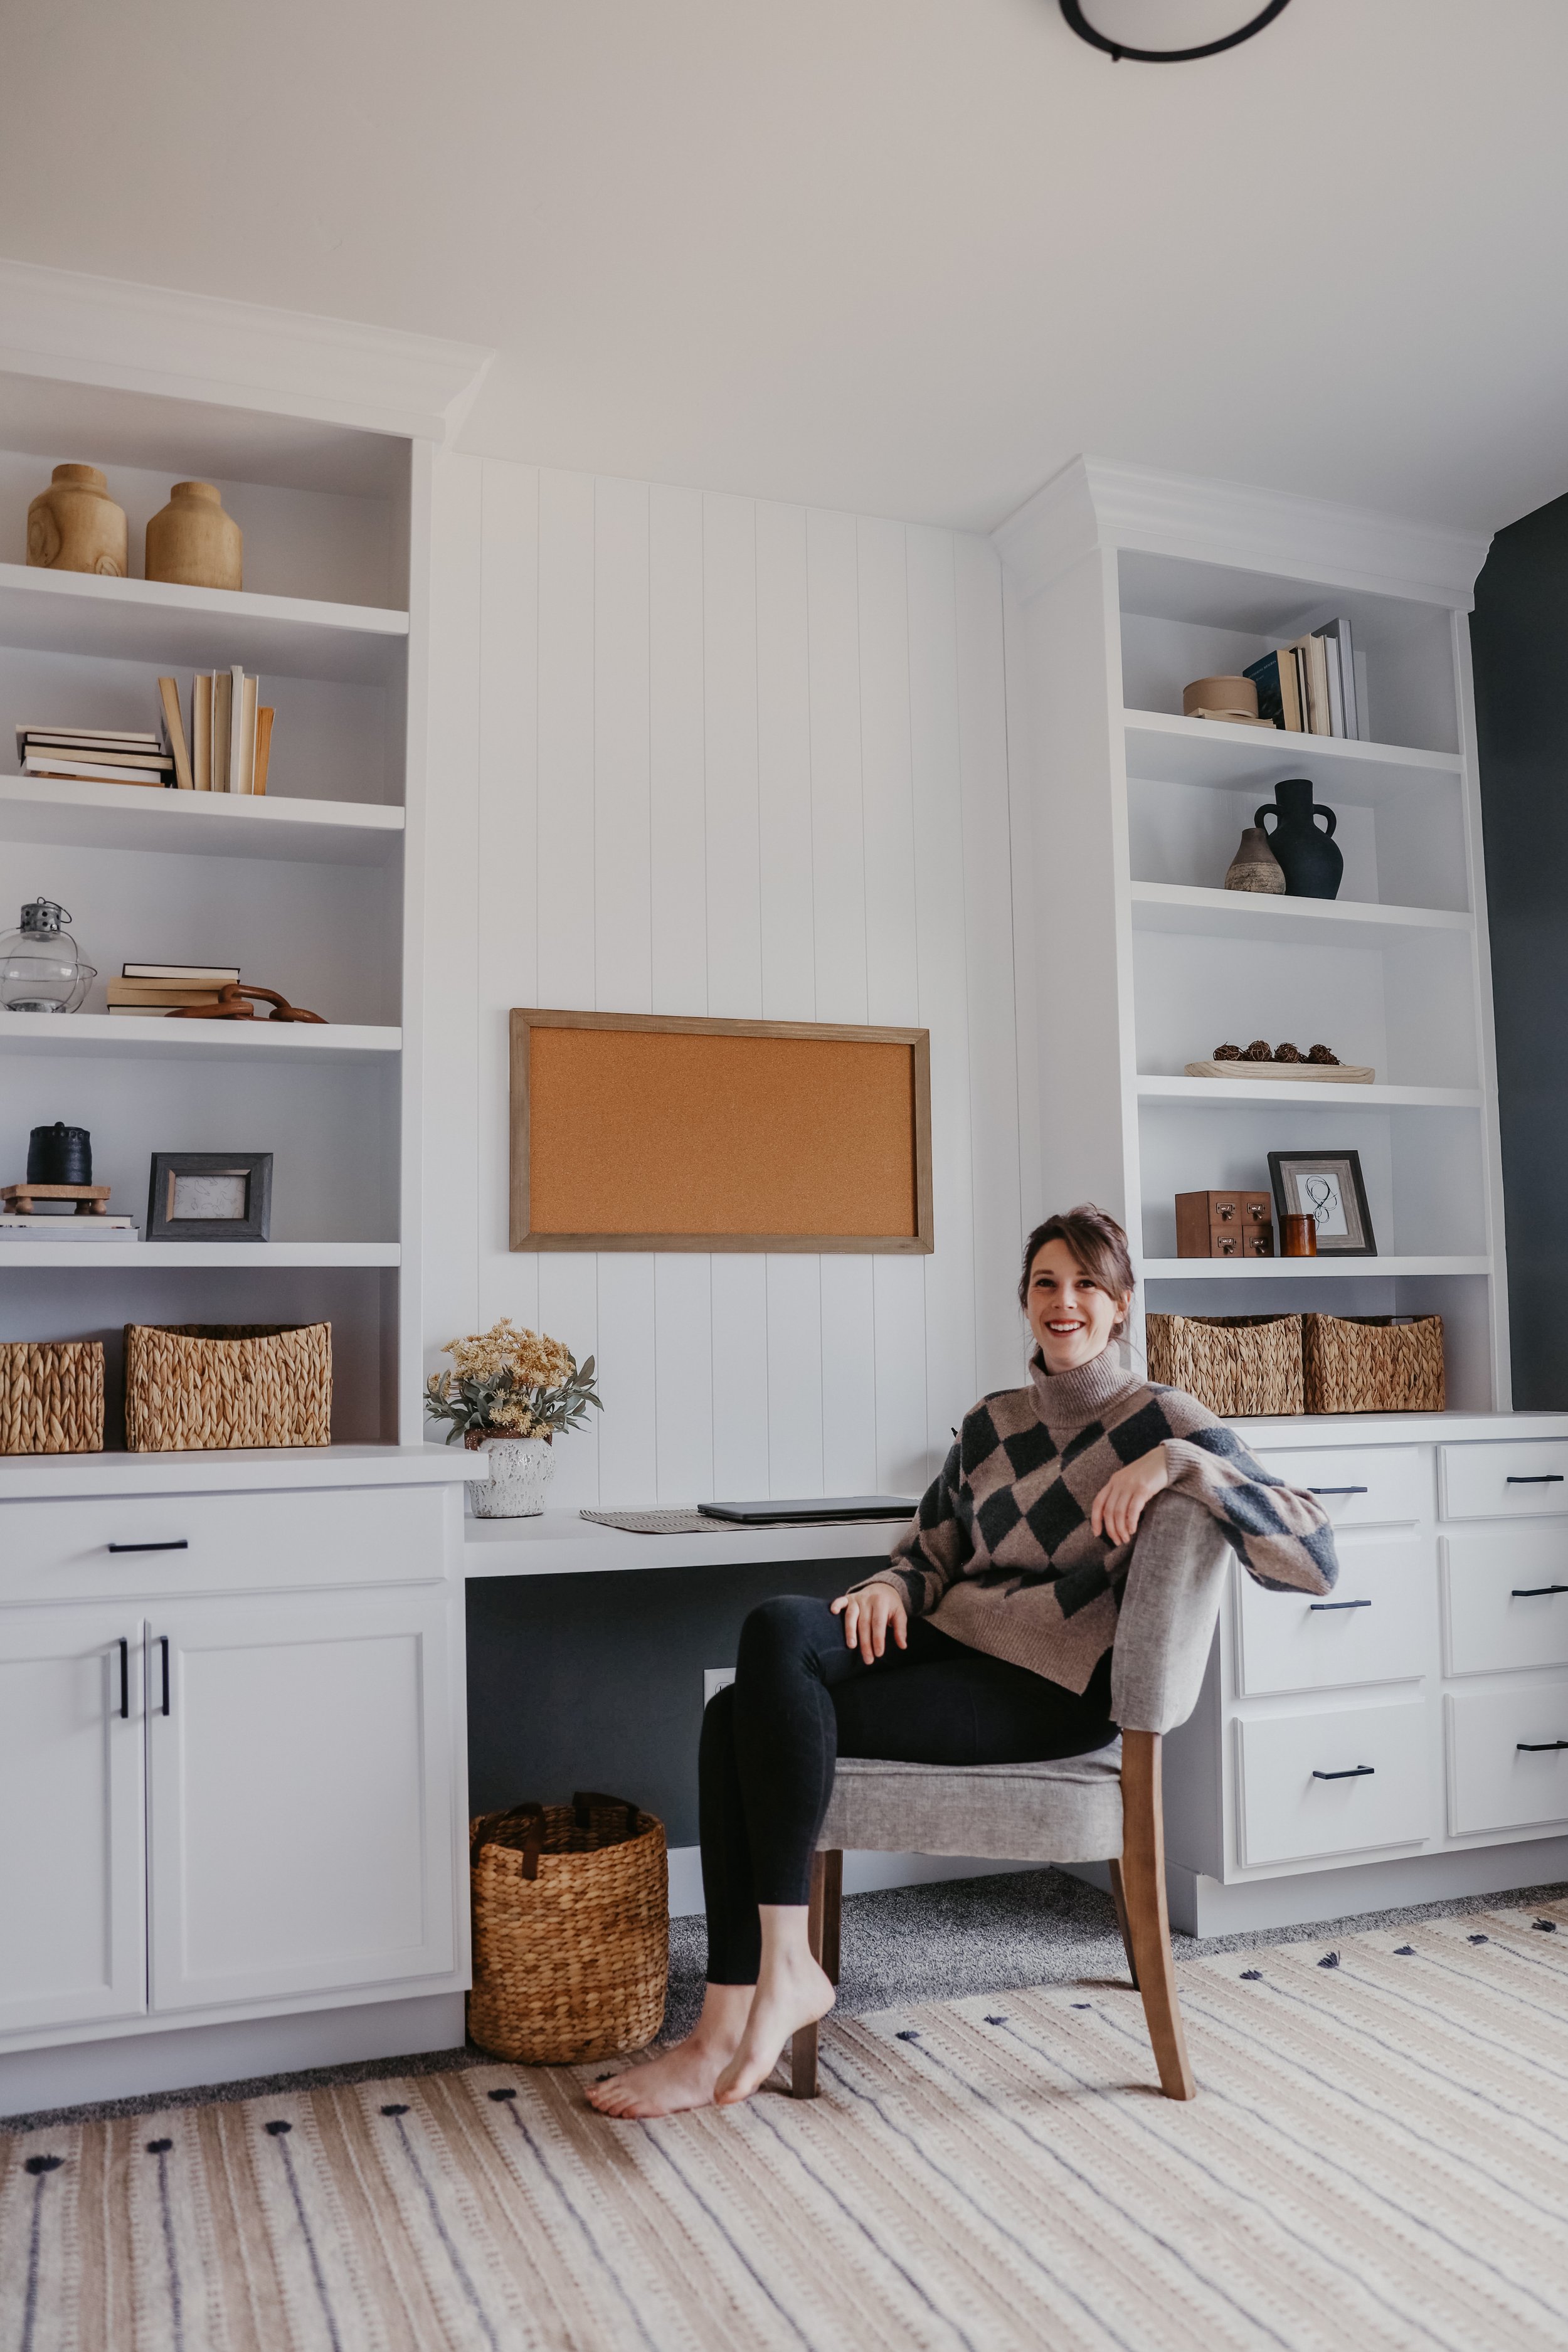
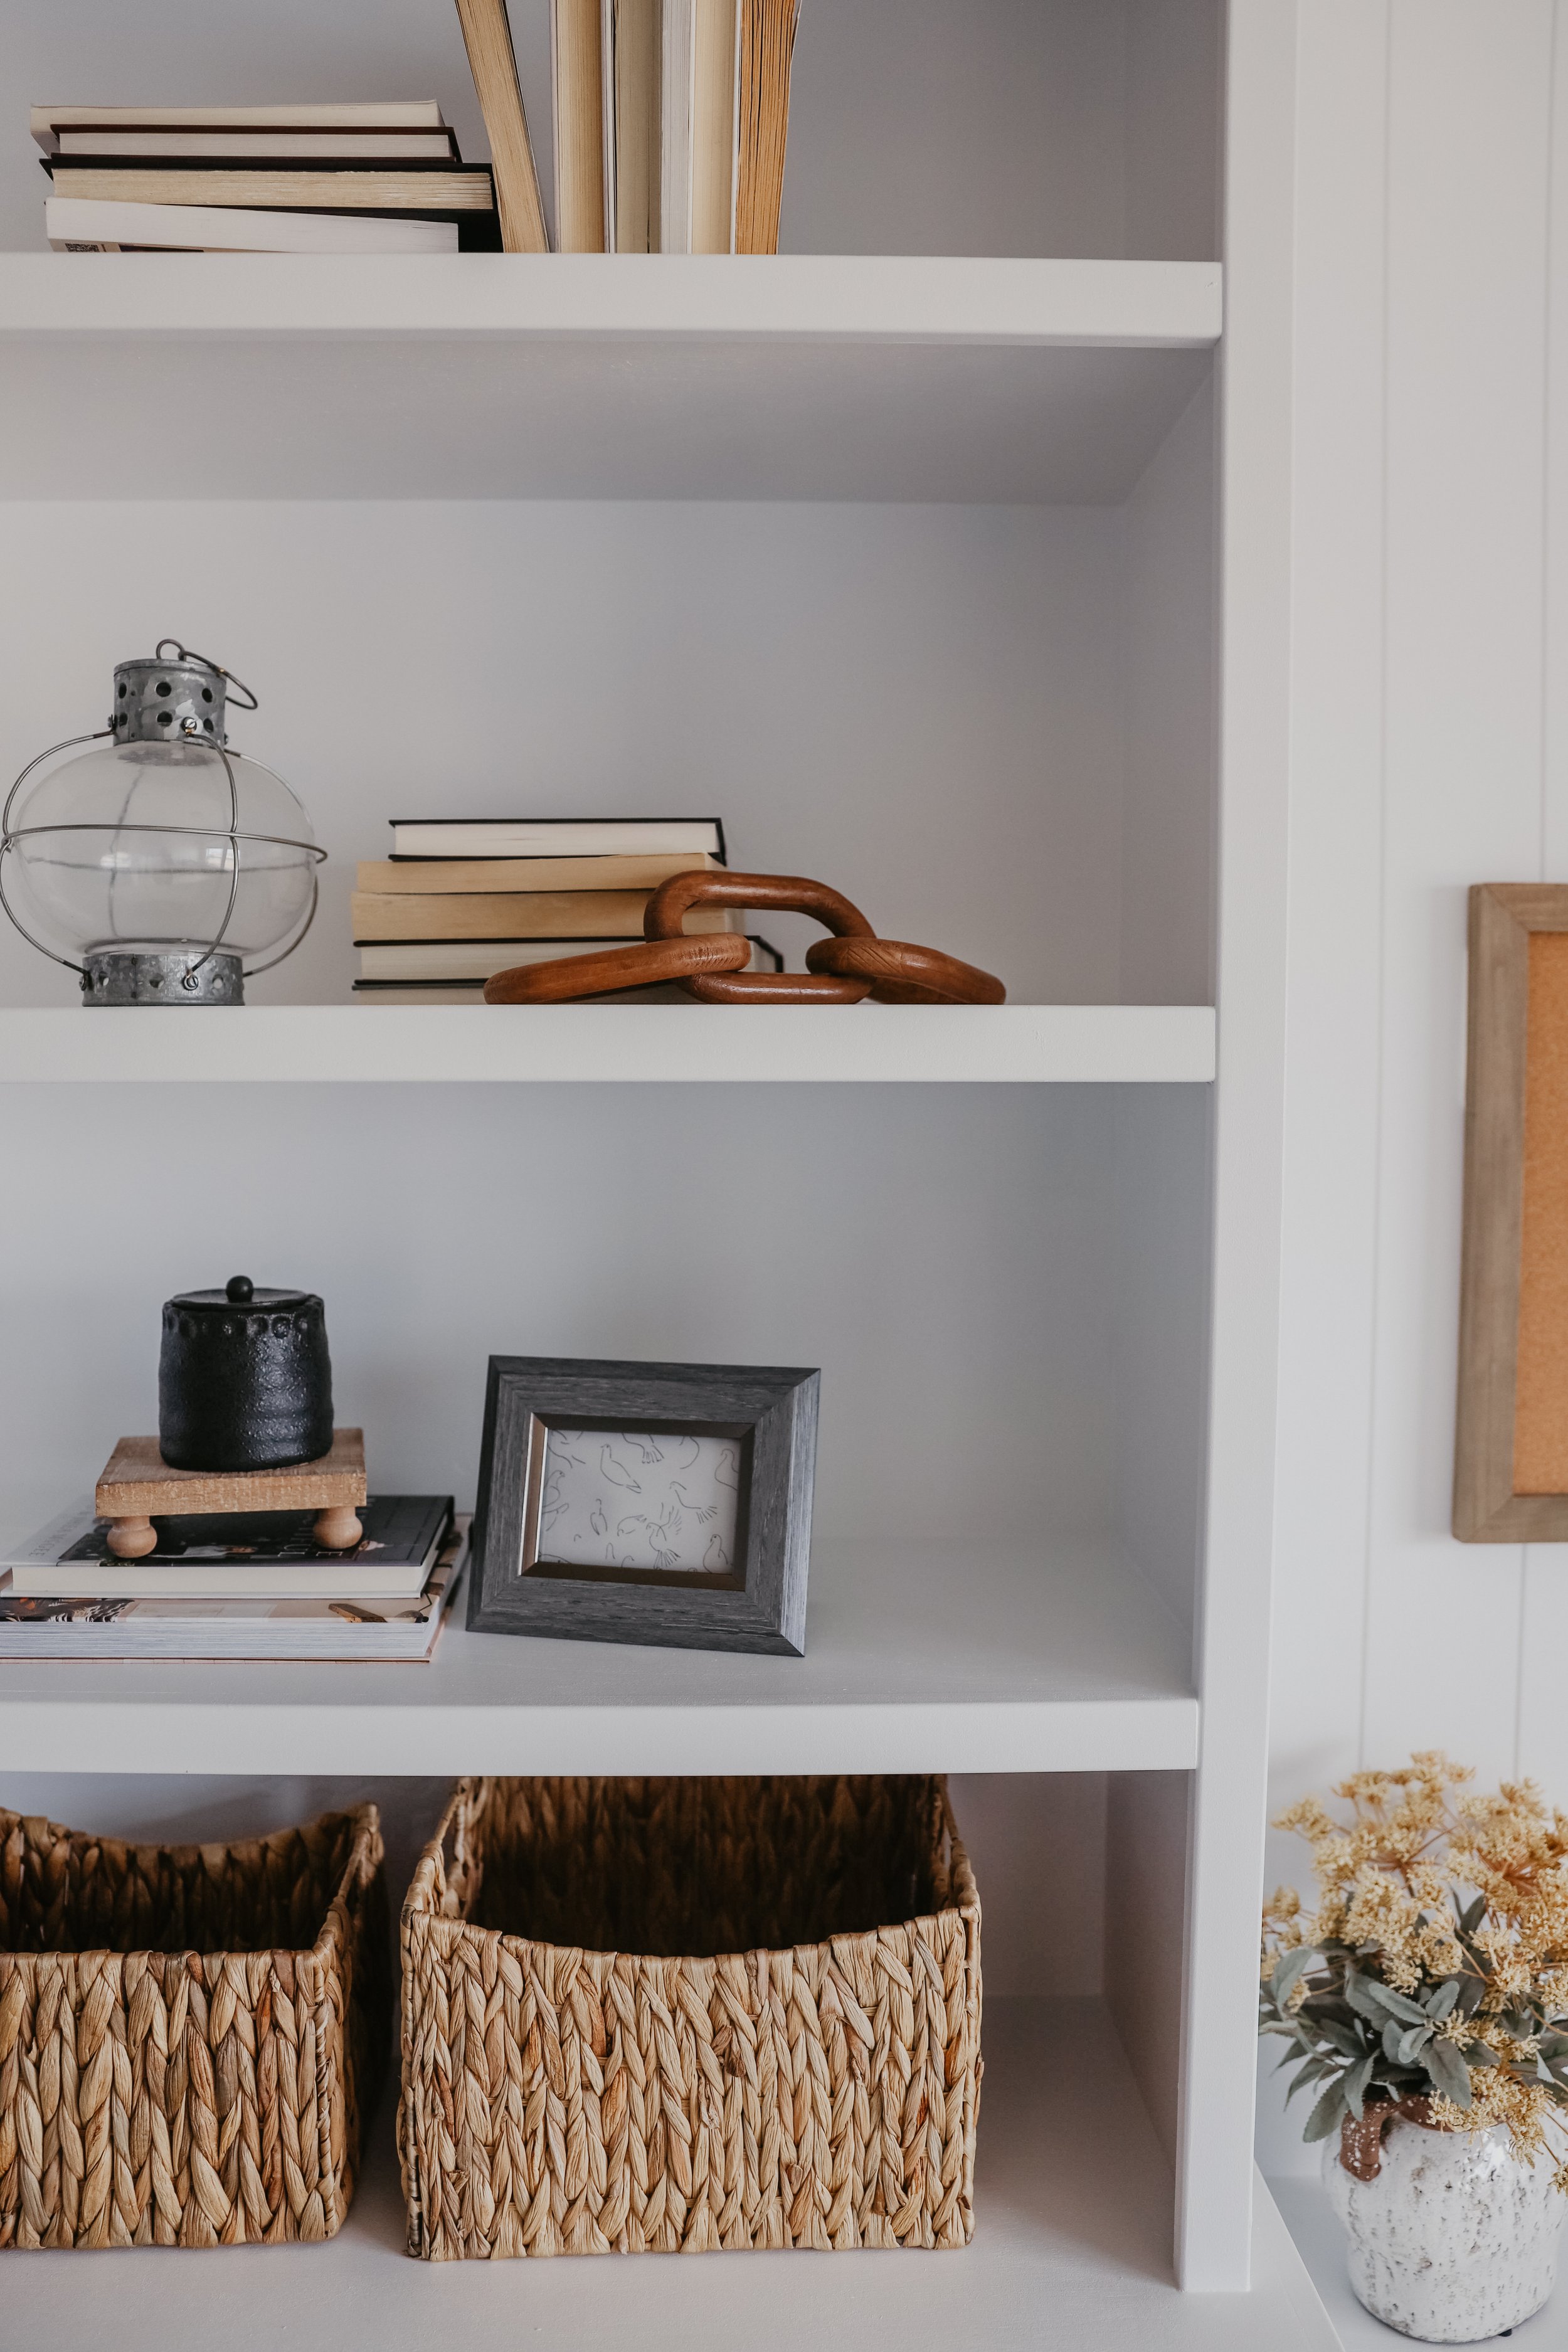
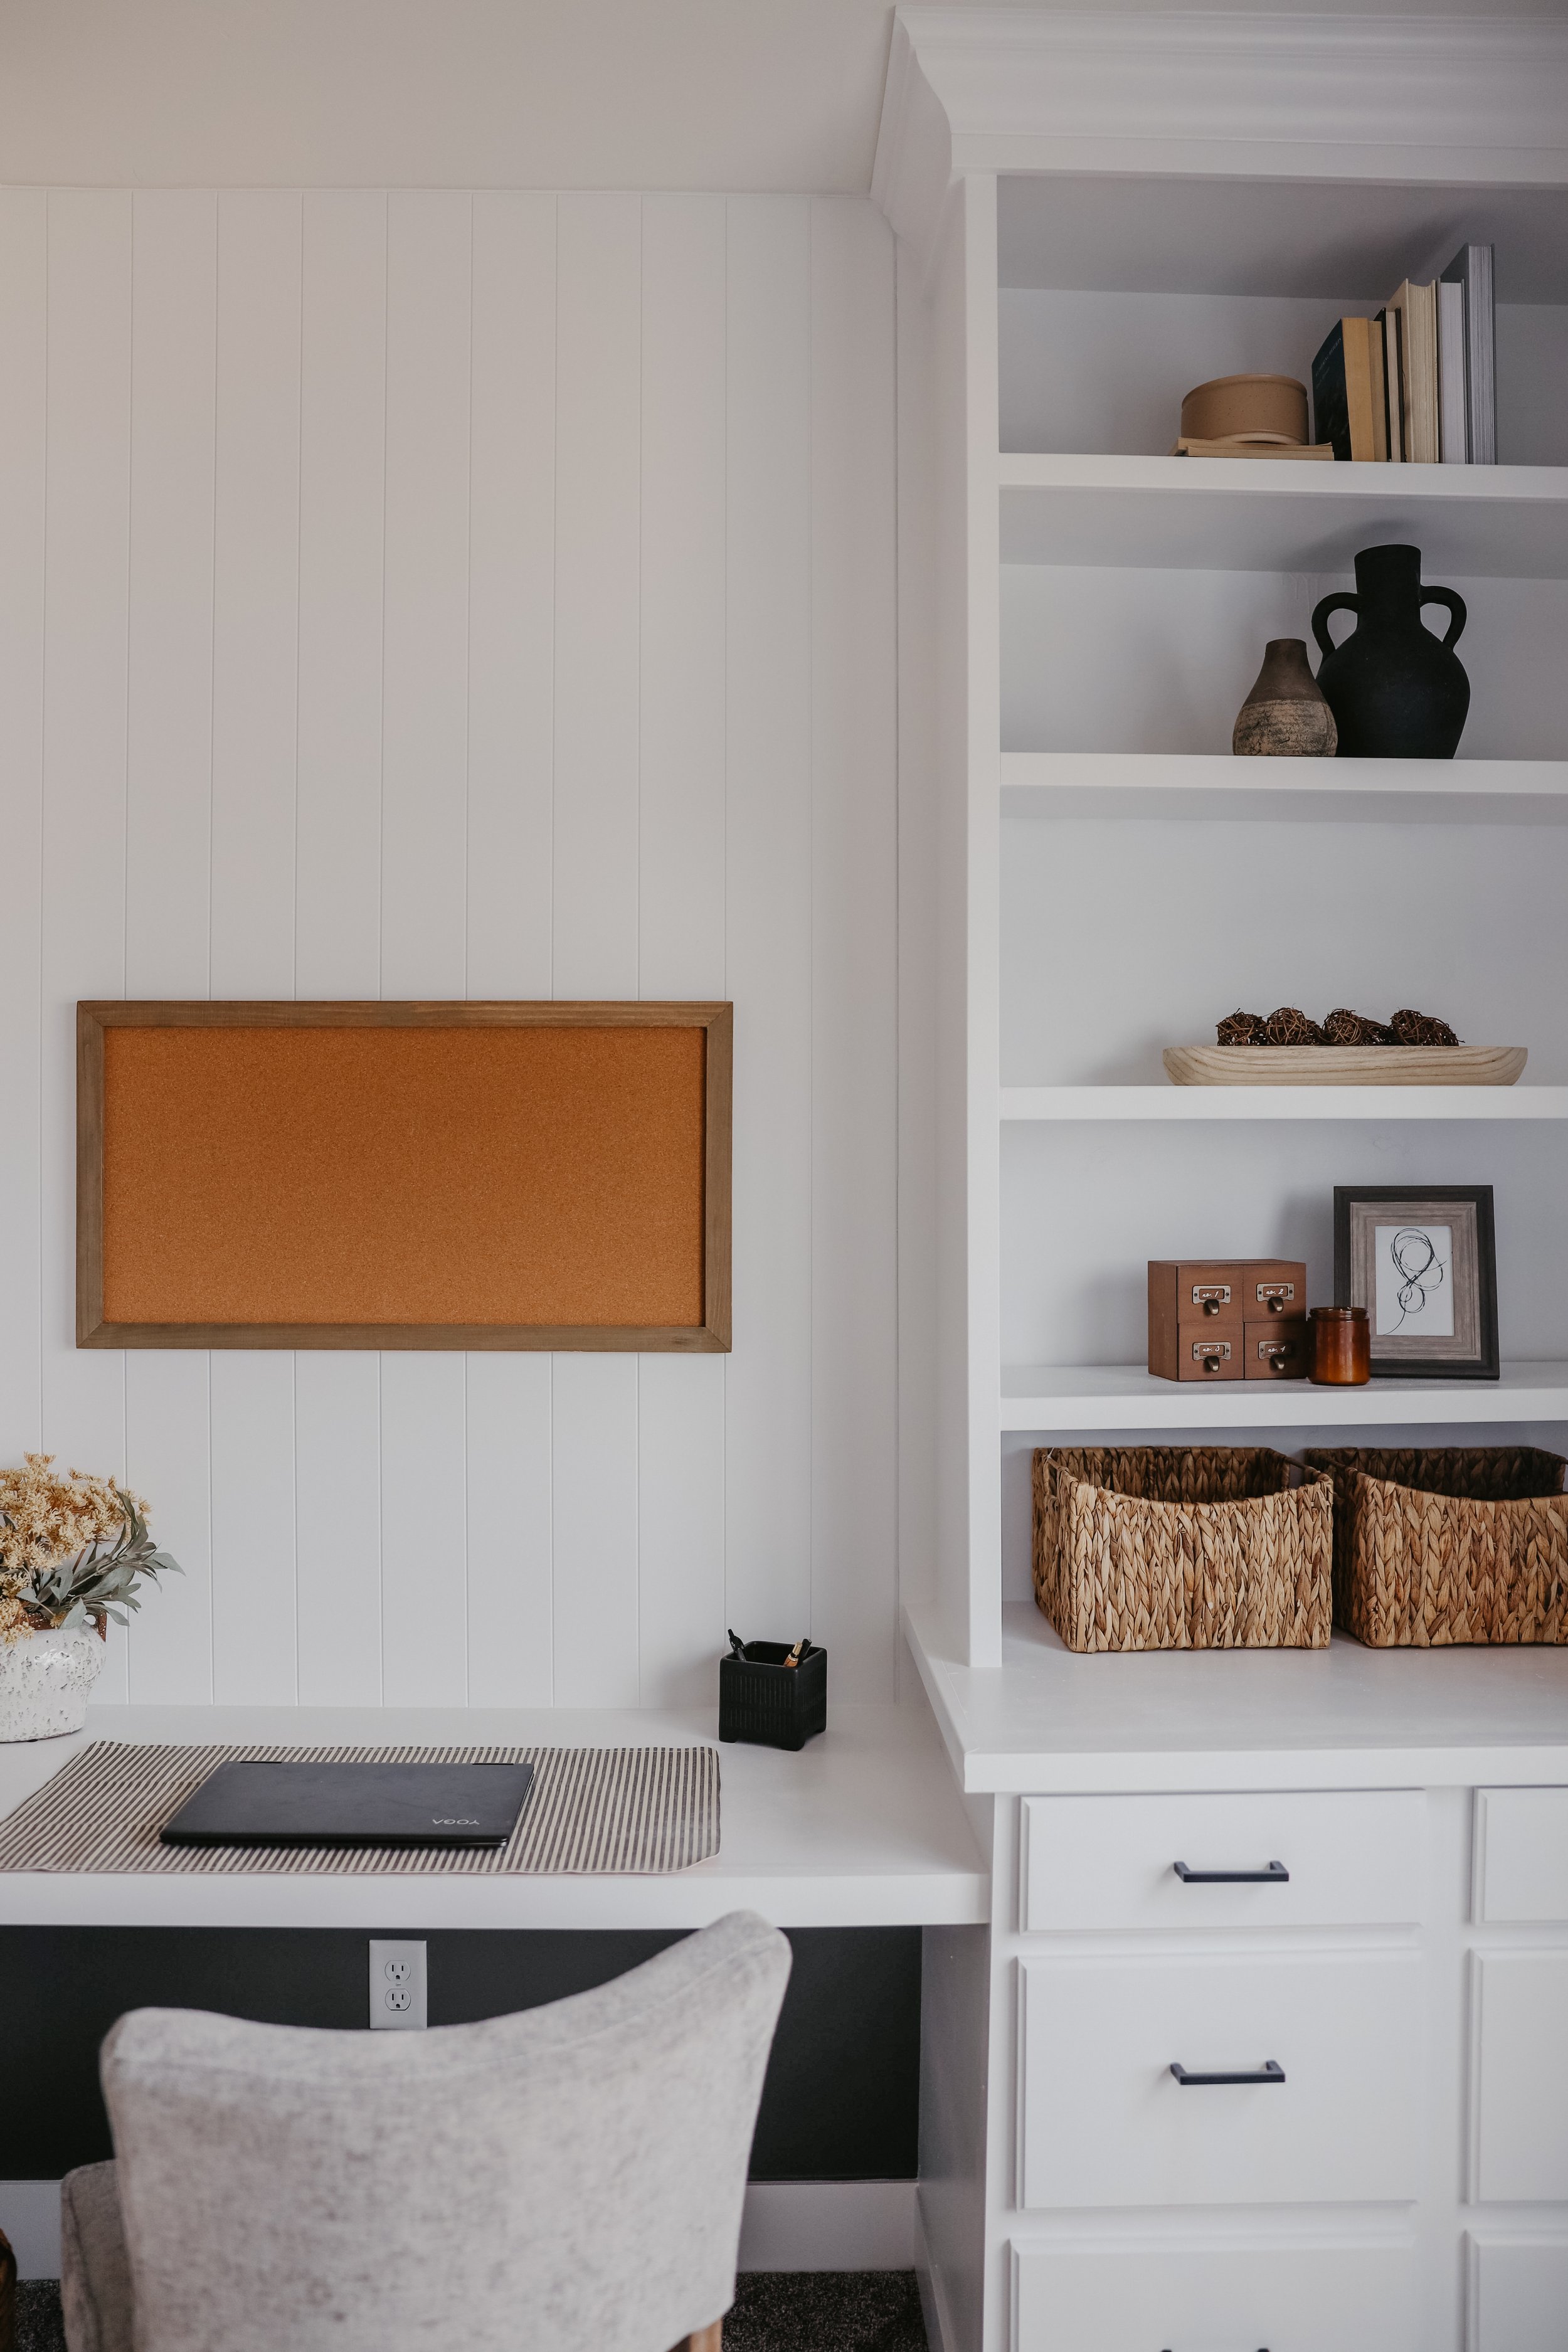
lastly, i decorate and style it and then we enjoy <3
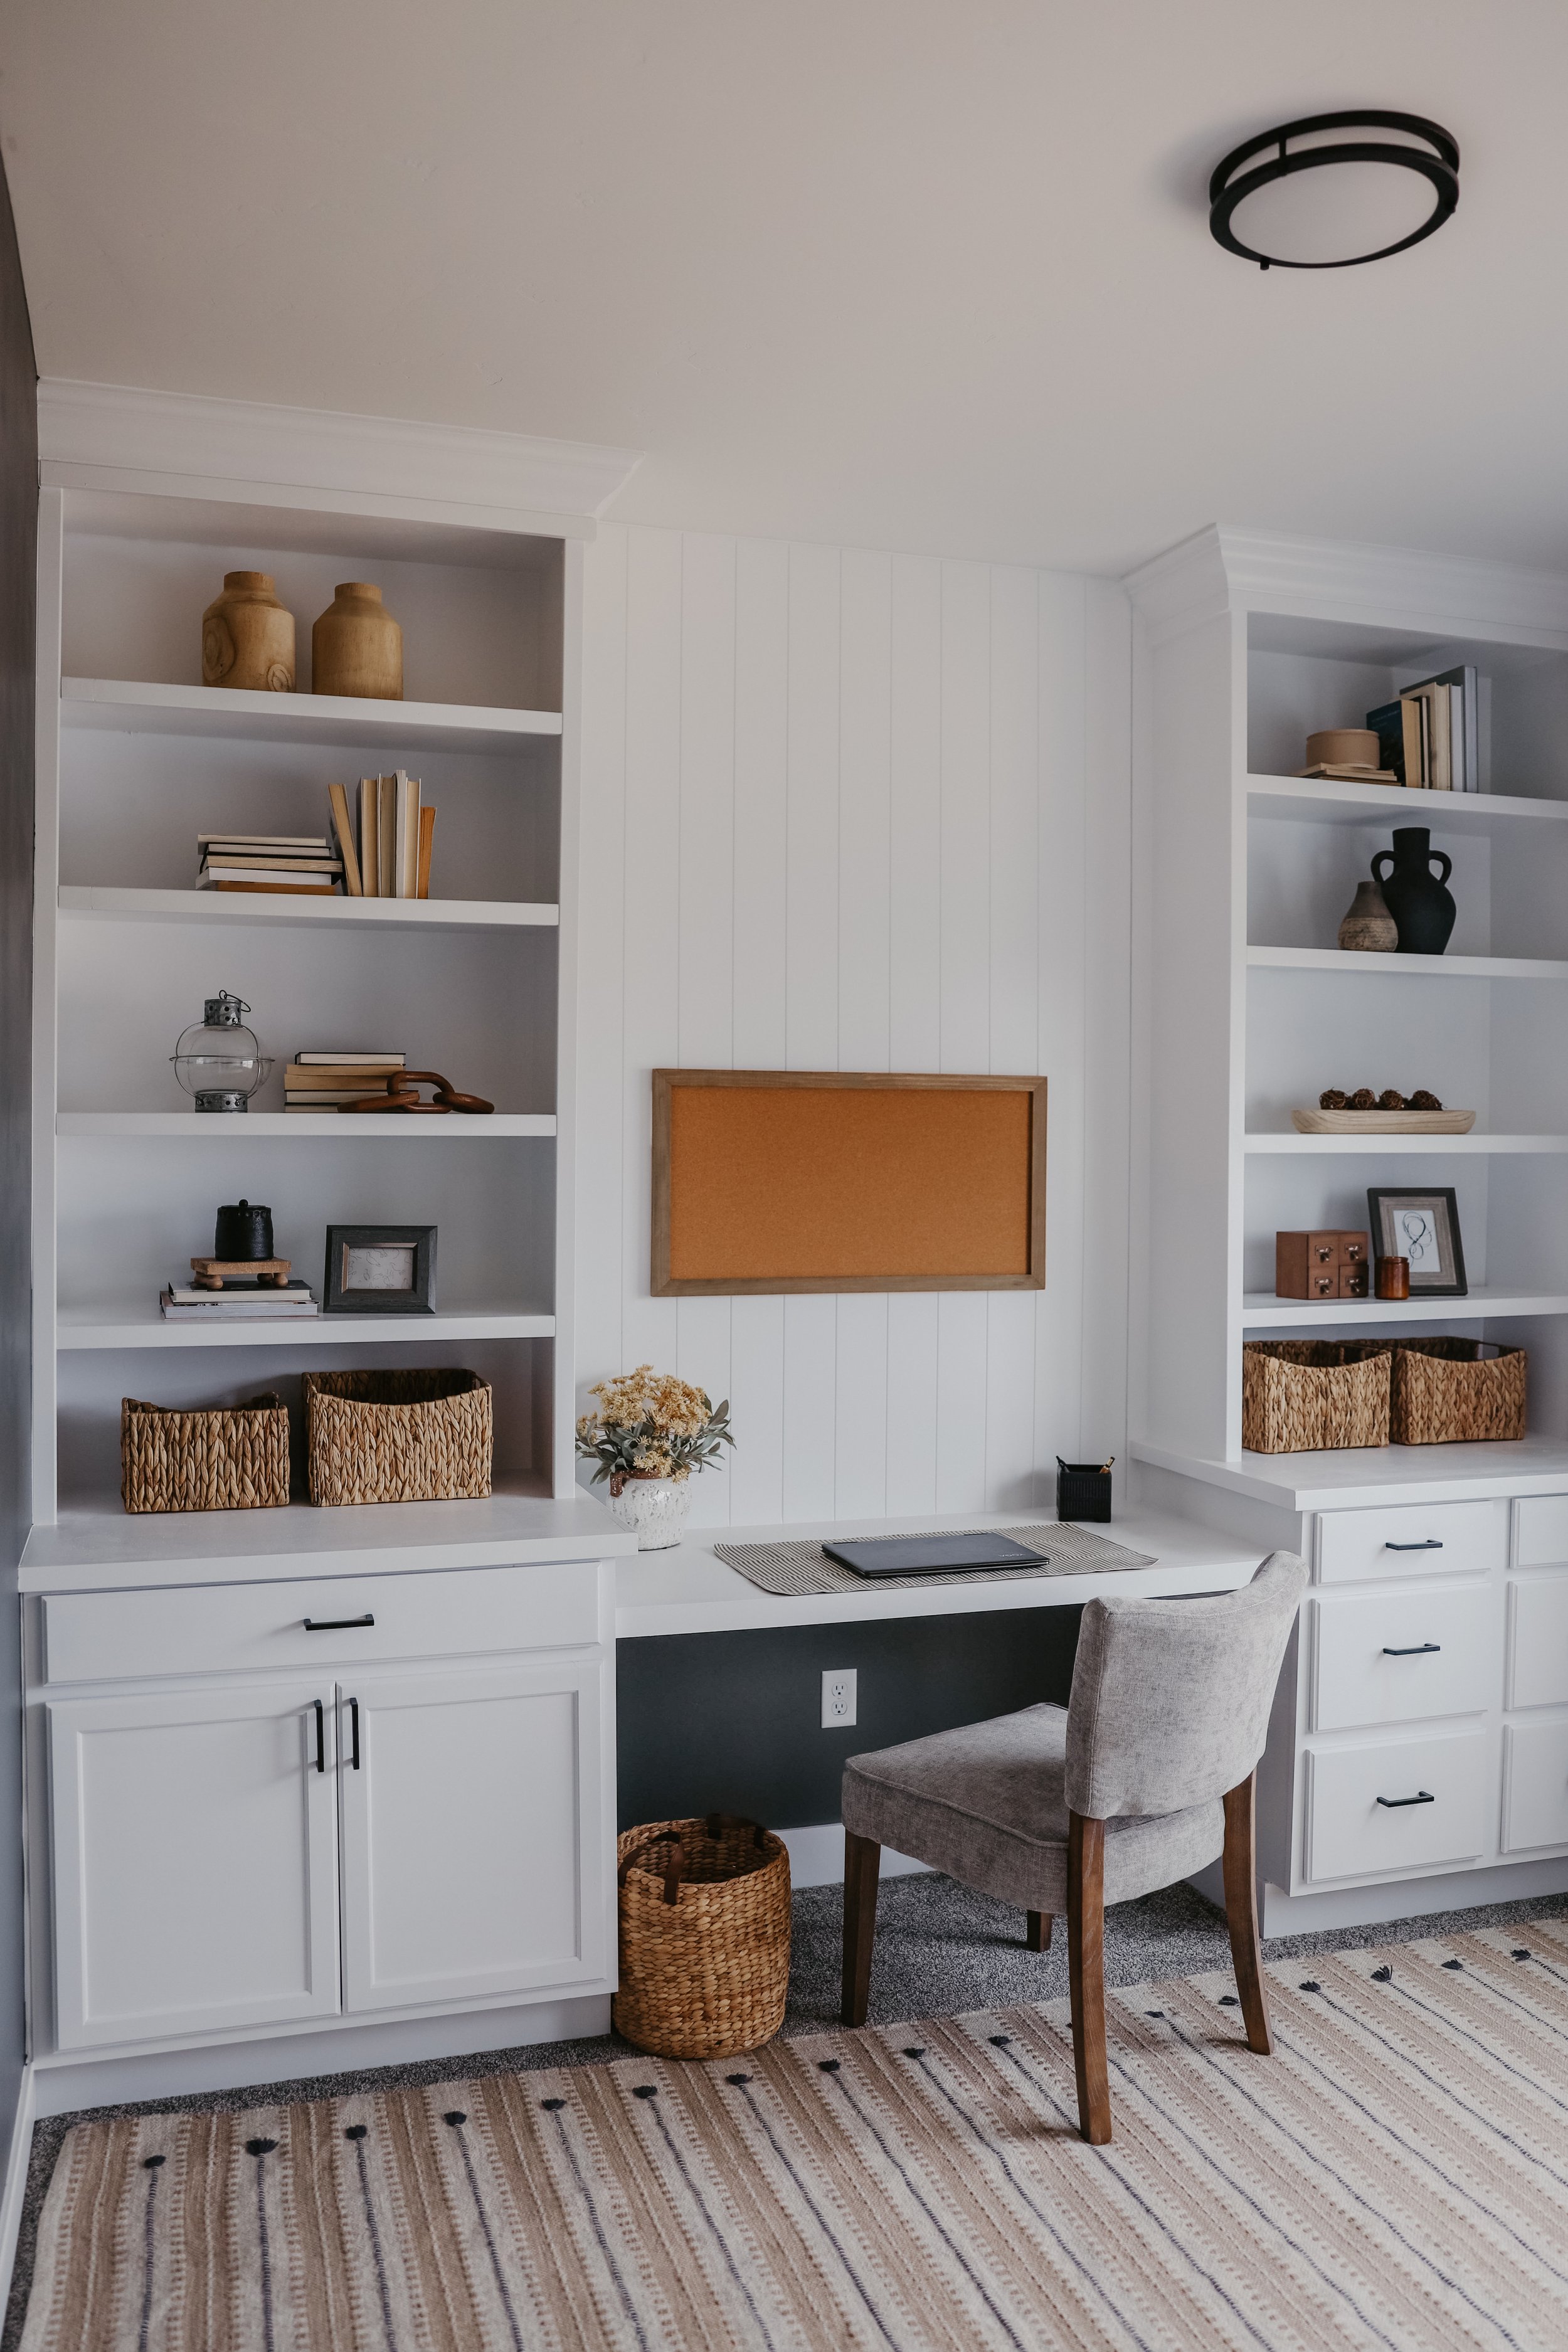
paint color:frost by behr
graphic charcoal by behr
supplies:-brad nailer
-2 inch brad nails
-miter saw or circular saw
-caulk
-caulk gun
-wood filler
-2” angled paint brush
-9” roller brush
-4” roller brush
-1 x 6 mdf
-1 x 3 poplar
-vertical shiplap
-3” wood screws
-1.5” screws
-level
-stud finder
this can seem overwhelming at first, but i promise if you break it down into sections, it will be more manageable! make sure to take you time, never cut corners, always make sure it is secure as you go and ask for help if you need it! you can do hard things + create a home you love with your own two hands.
happy diying friends!
xoxo-taylor
need decor sources? all of this was from my local hobby lobby!