let’s make a basement office

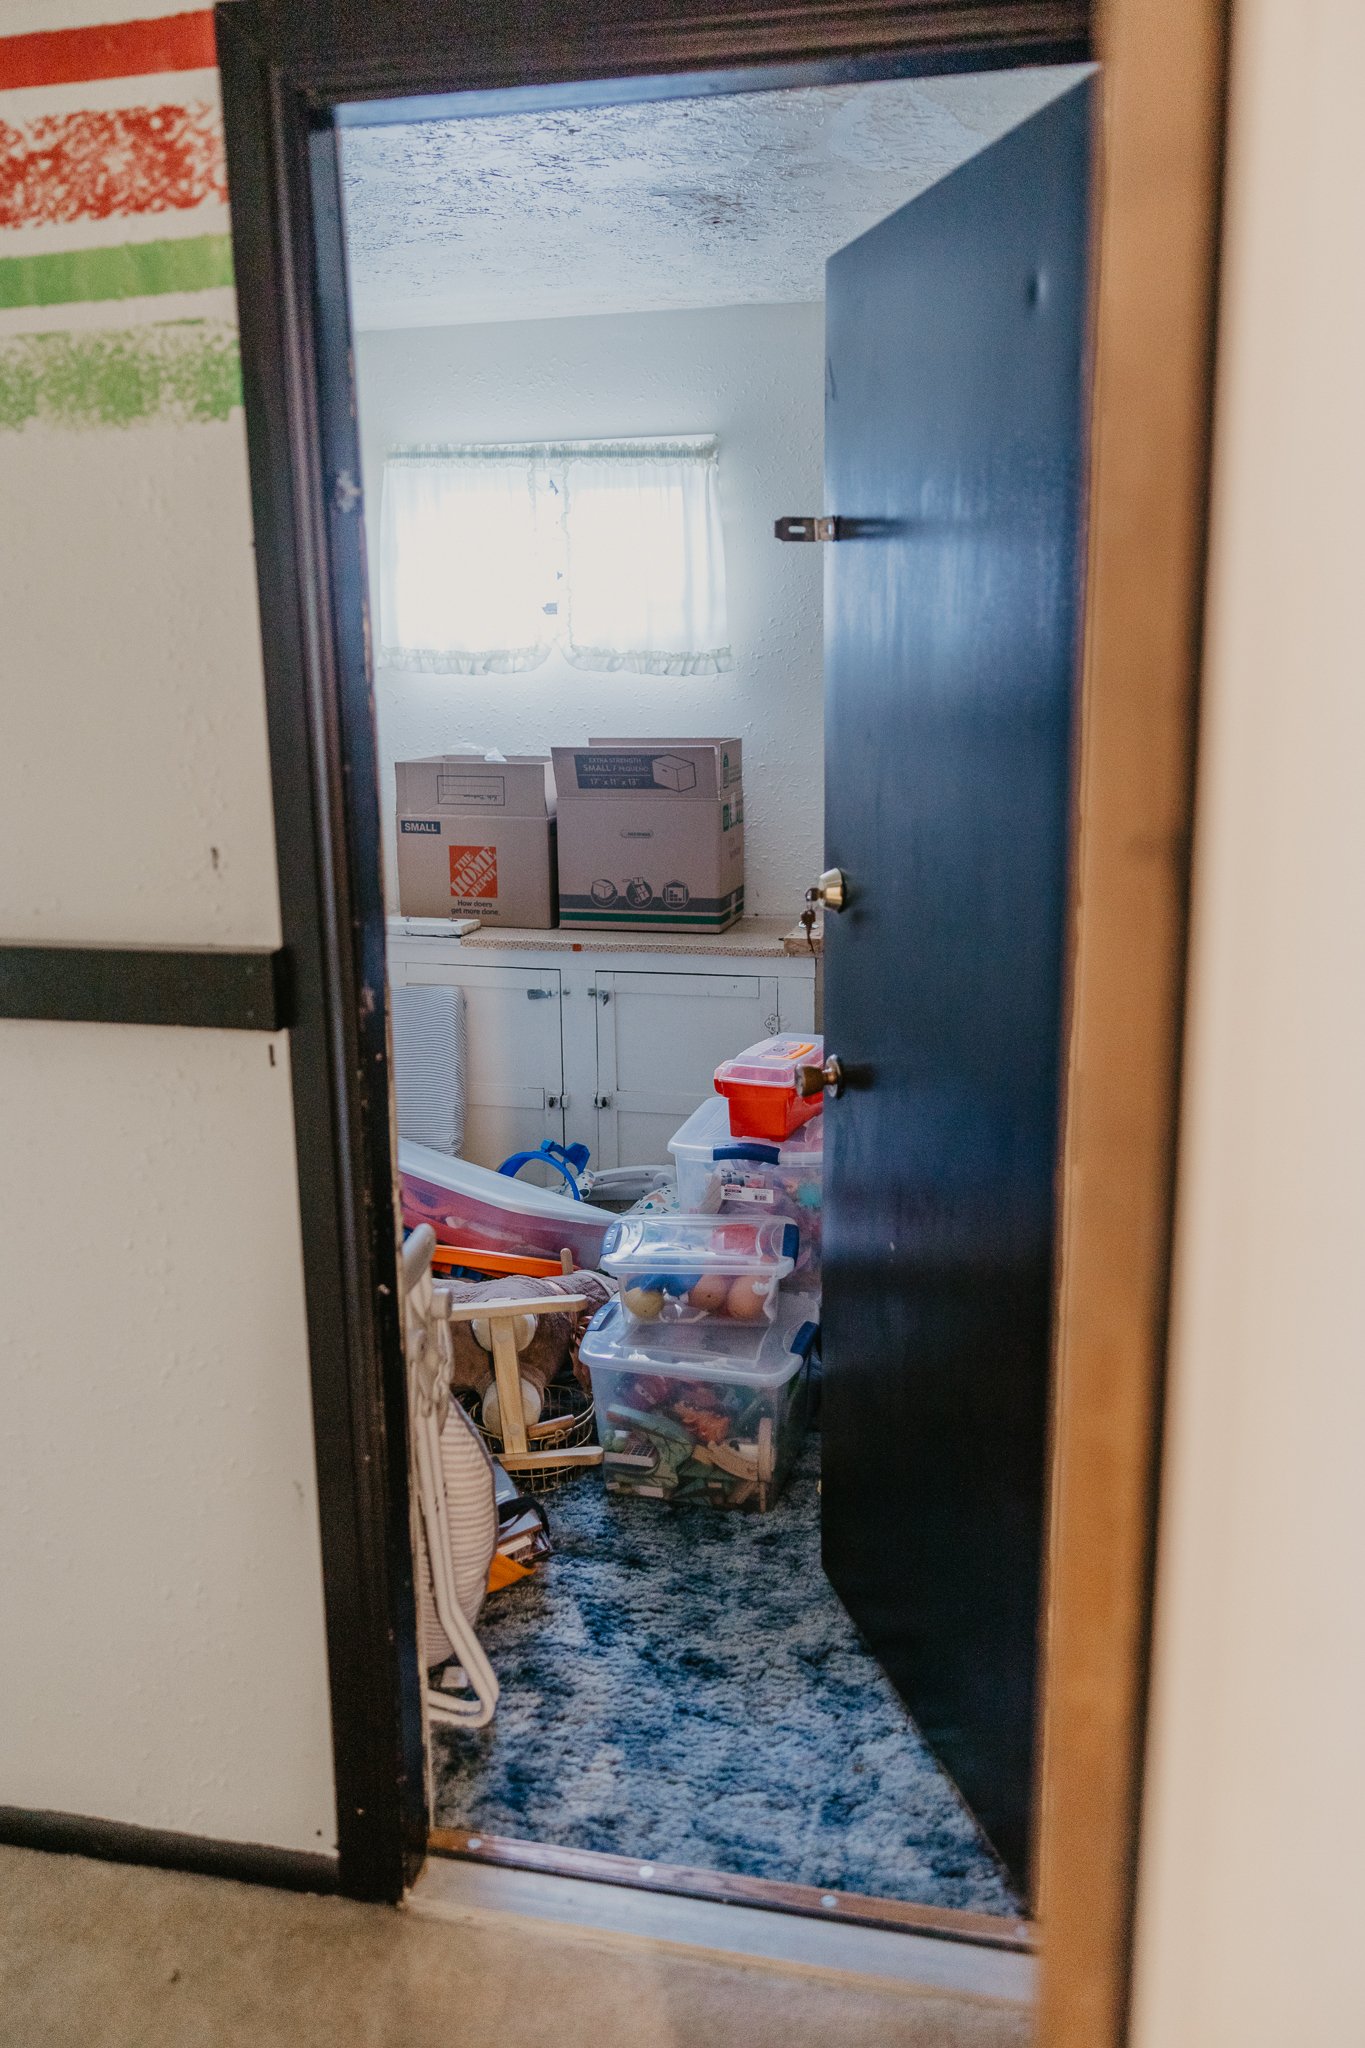
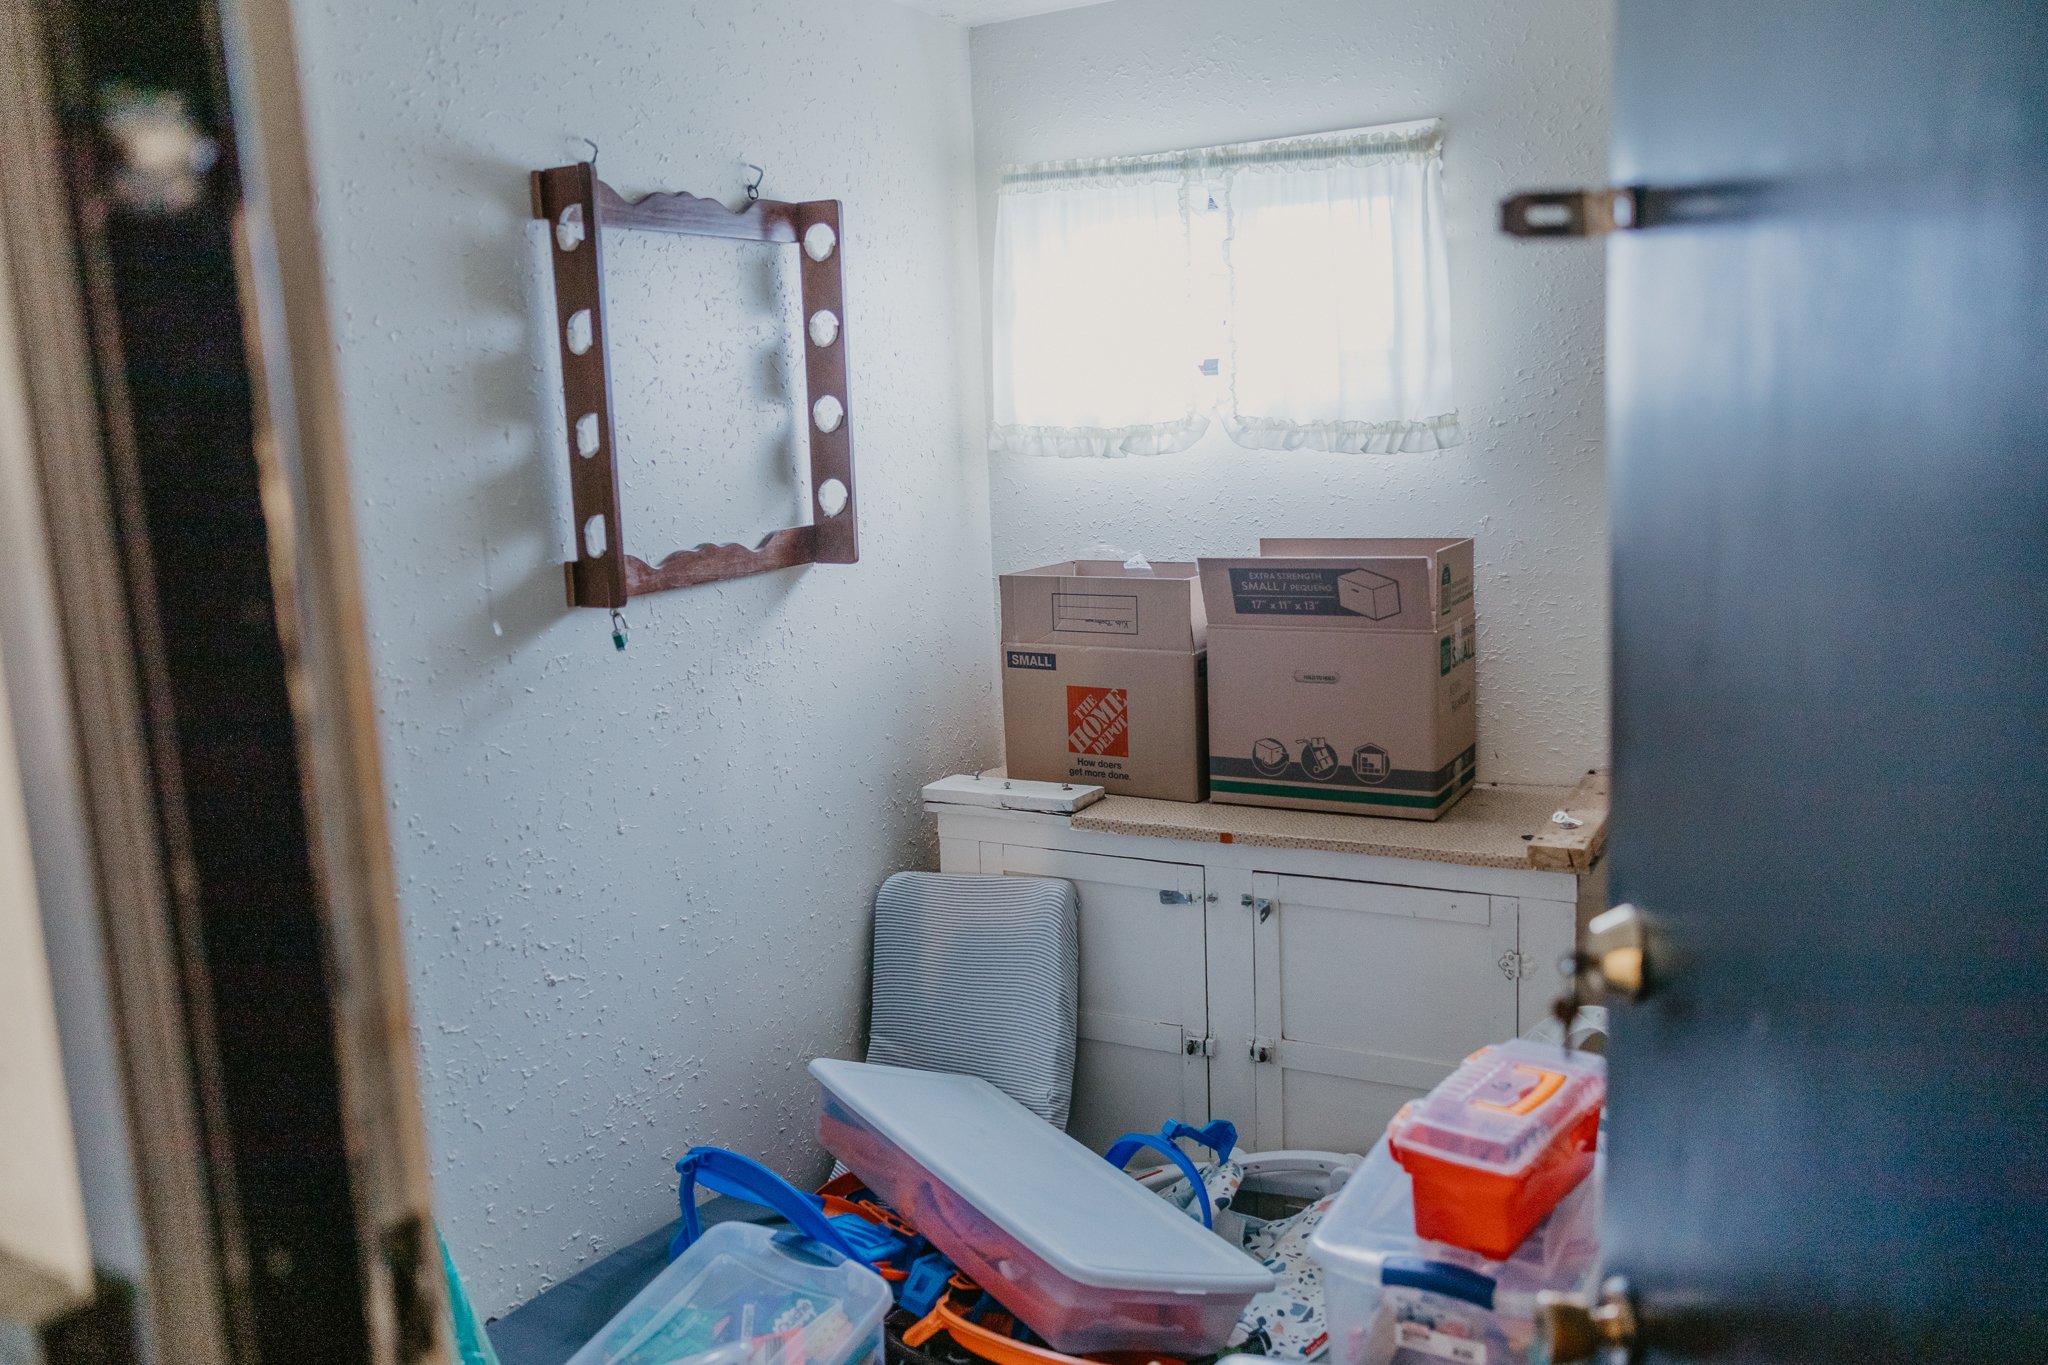
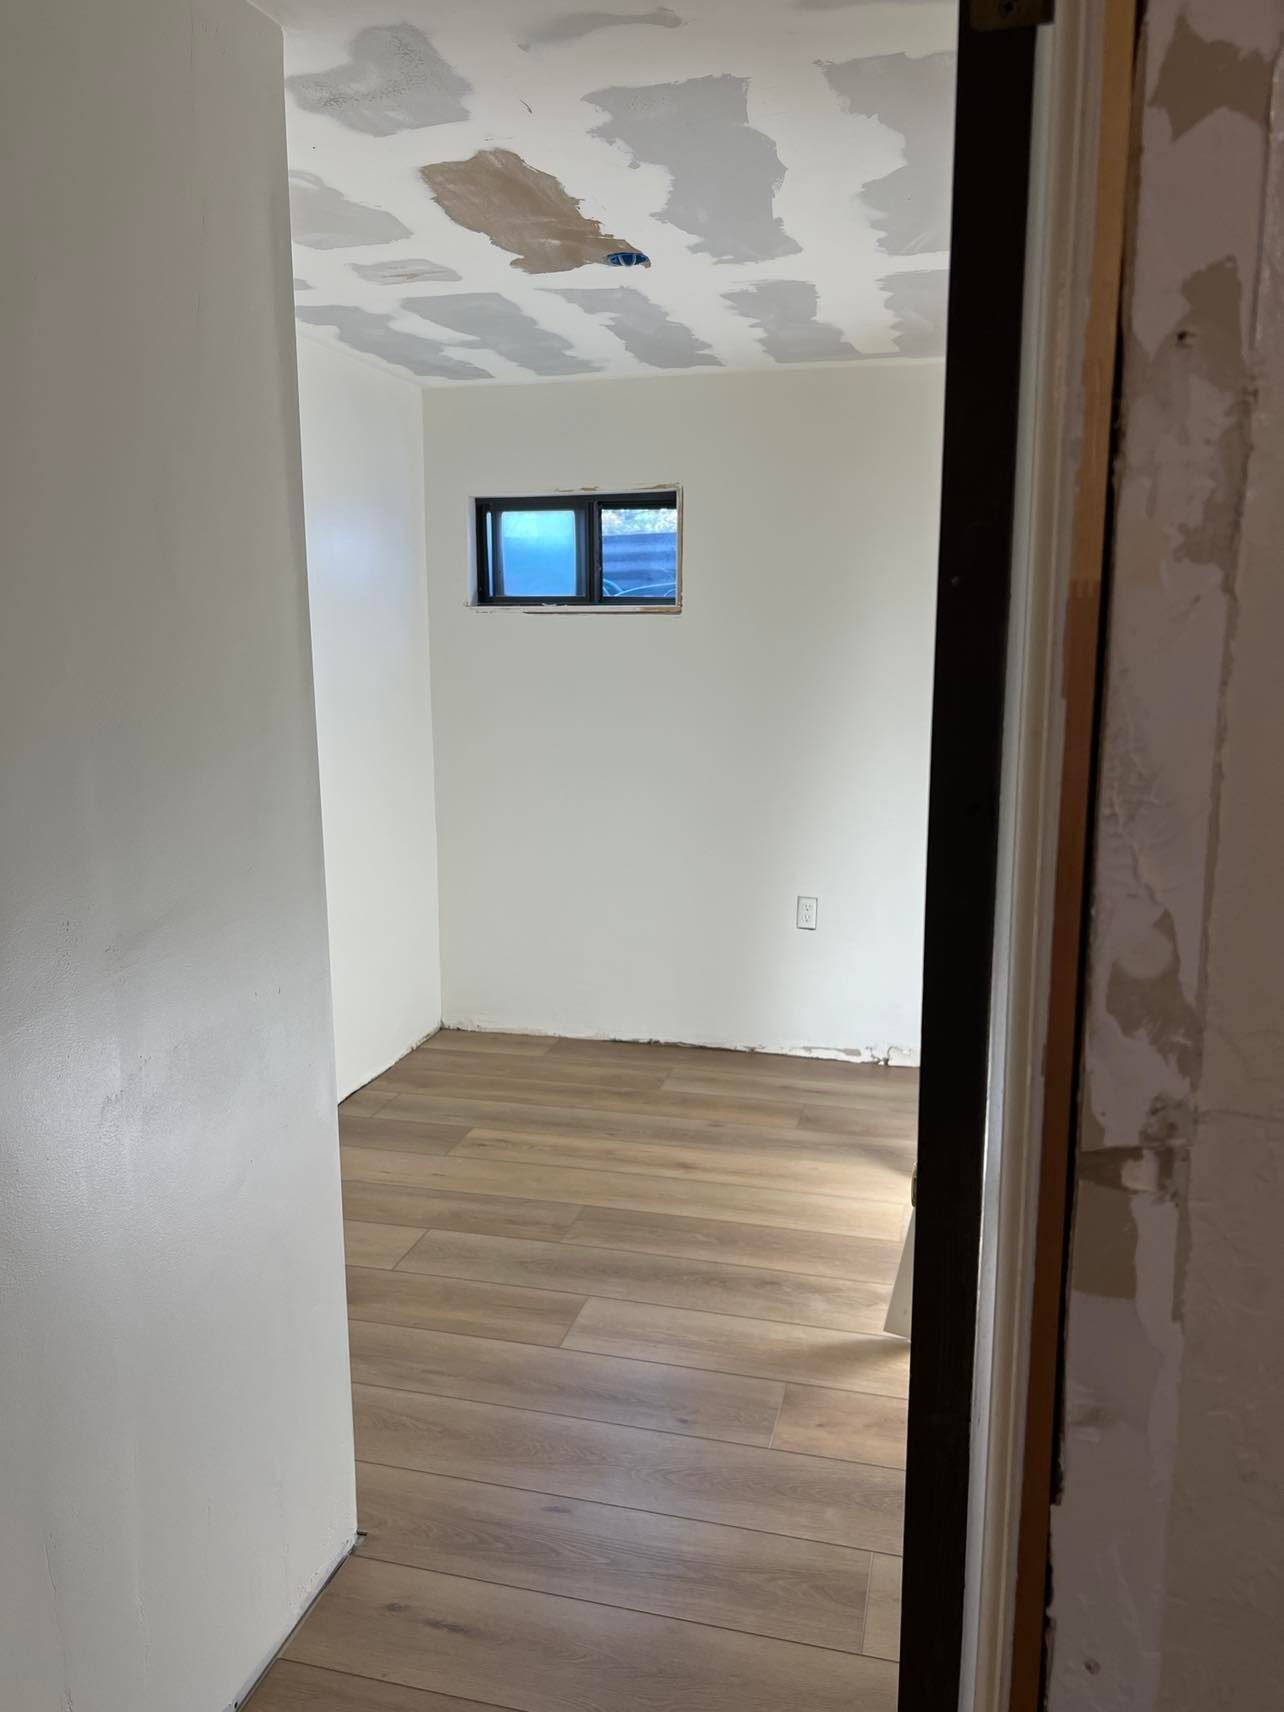
alright, prepare to be AMAZED because i sure was when this whole thing was finished. when we first toured this house, it had the creepiest storage closet/gun closet downstairs in the basement. you accessed the room through their teenage daughter bedroom, which was also really weird…so i knew that if we were going to buy this house, this room had to GO. so i devised a plan on how i could make it functional and not creepy, but also it’s own room. and this is what we came up with…
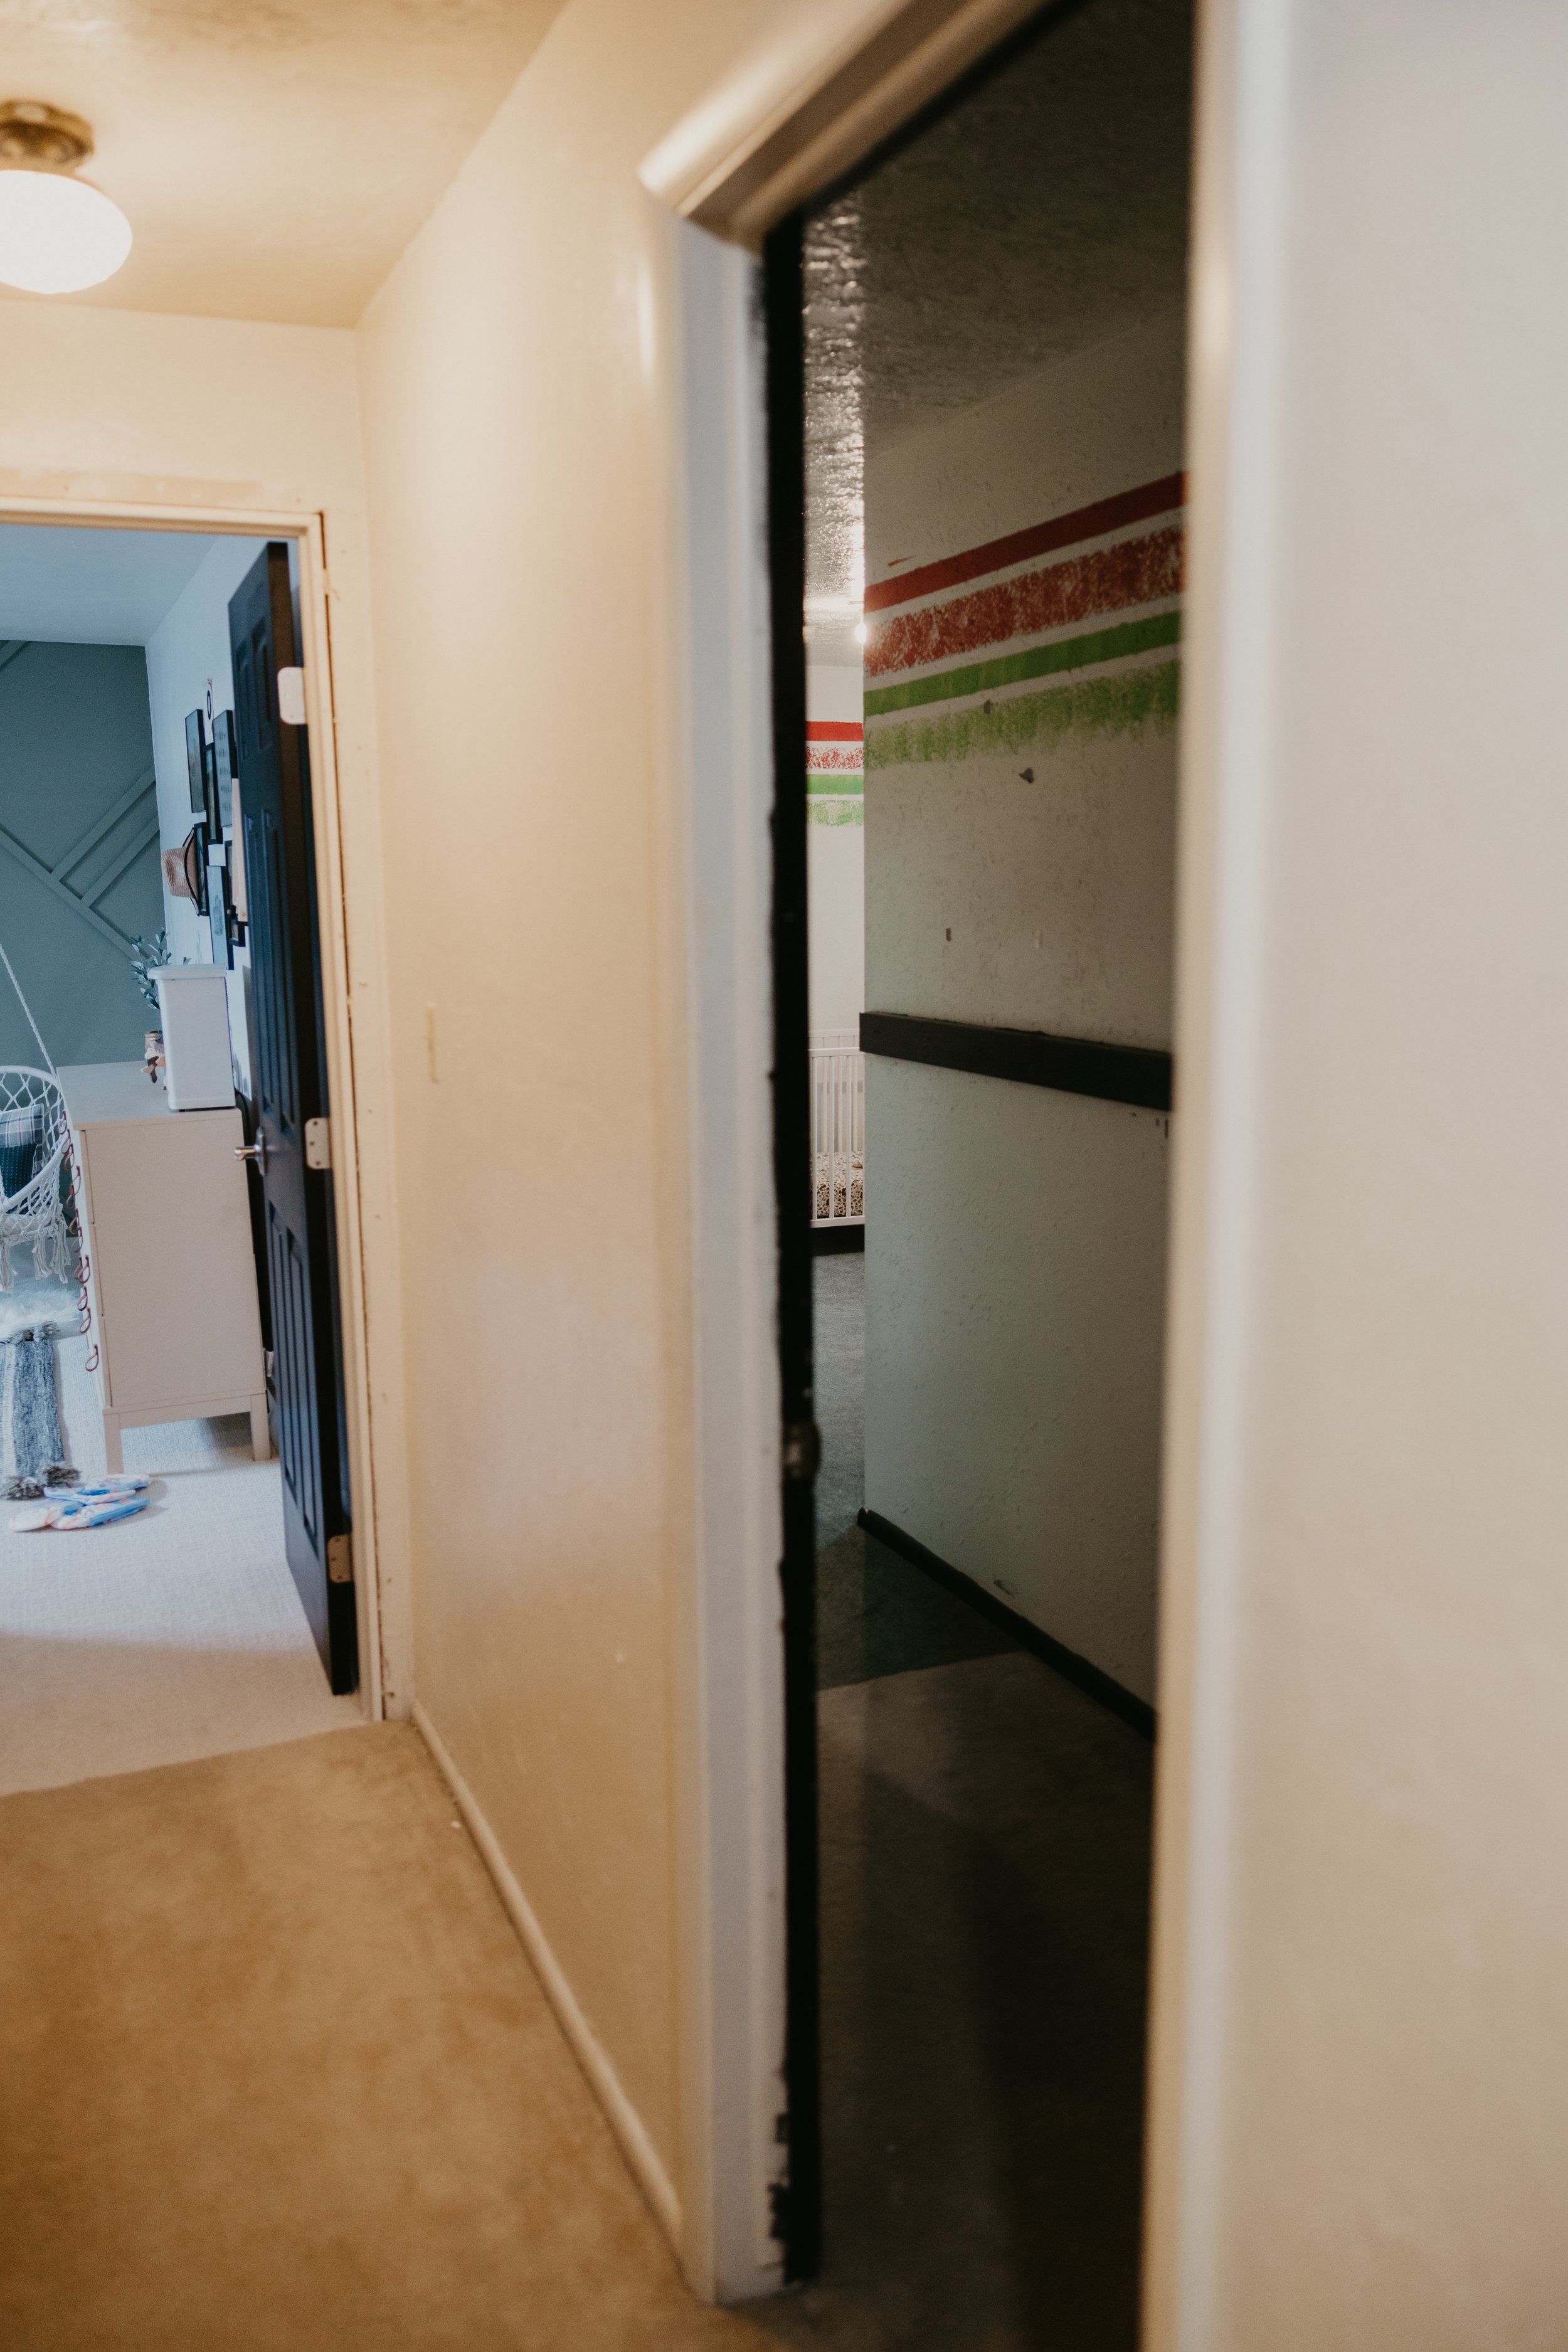
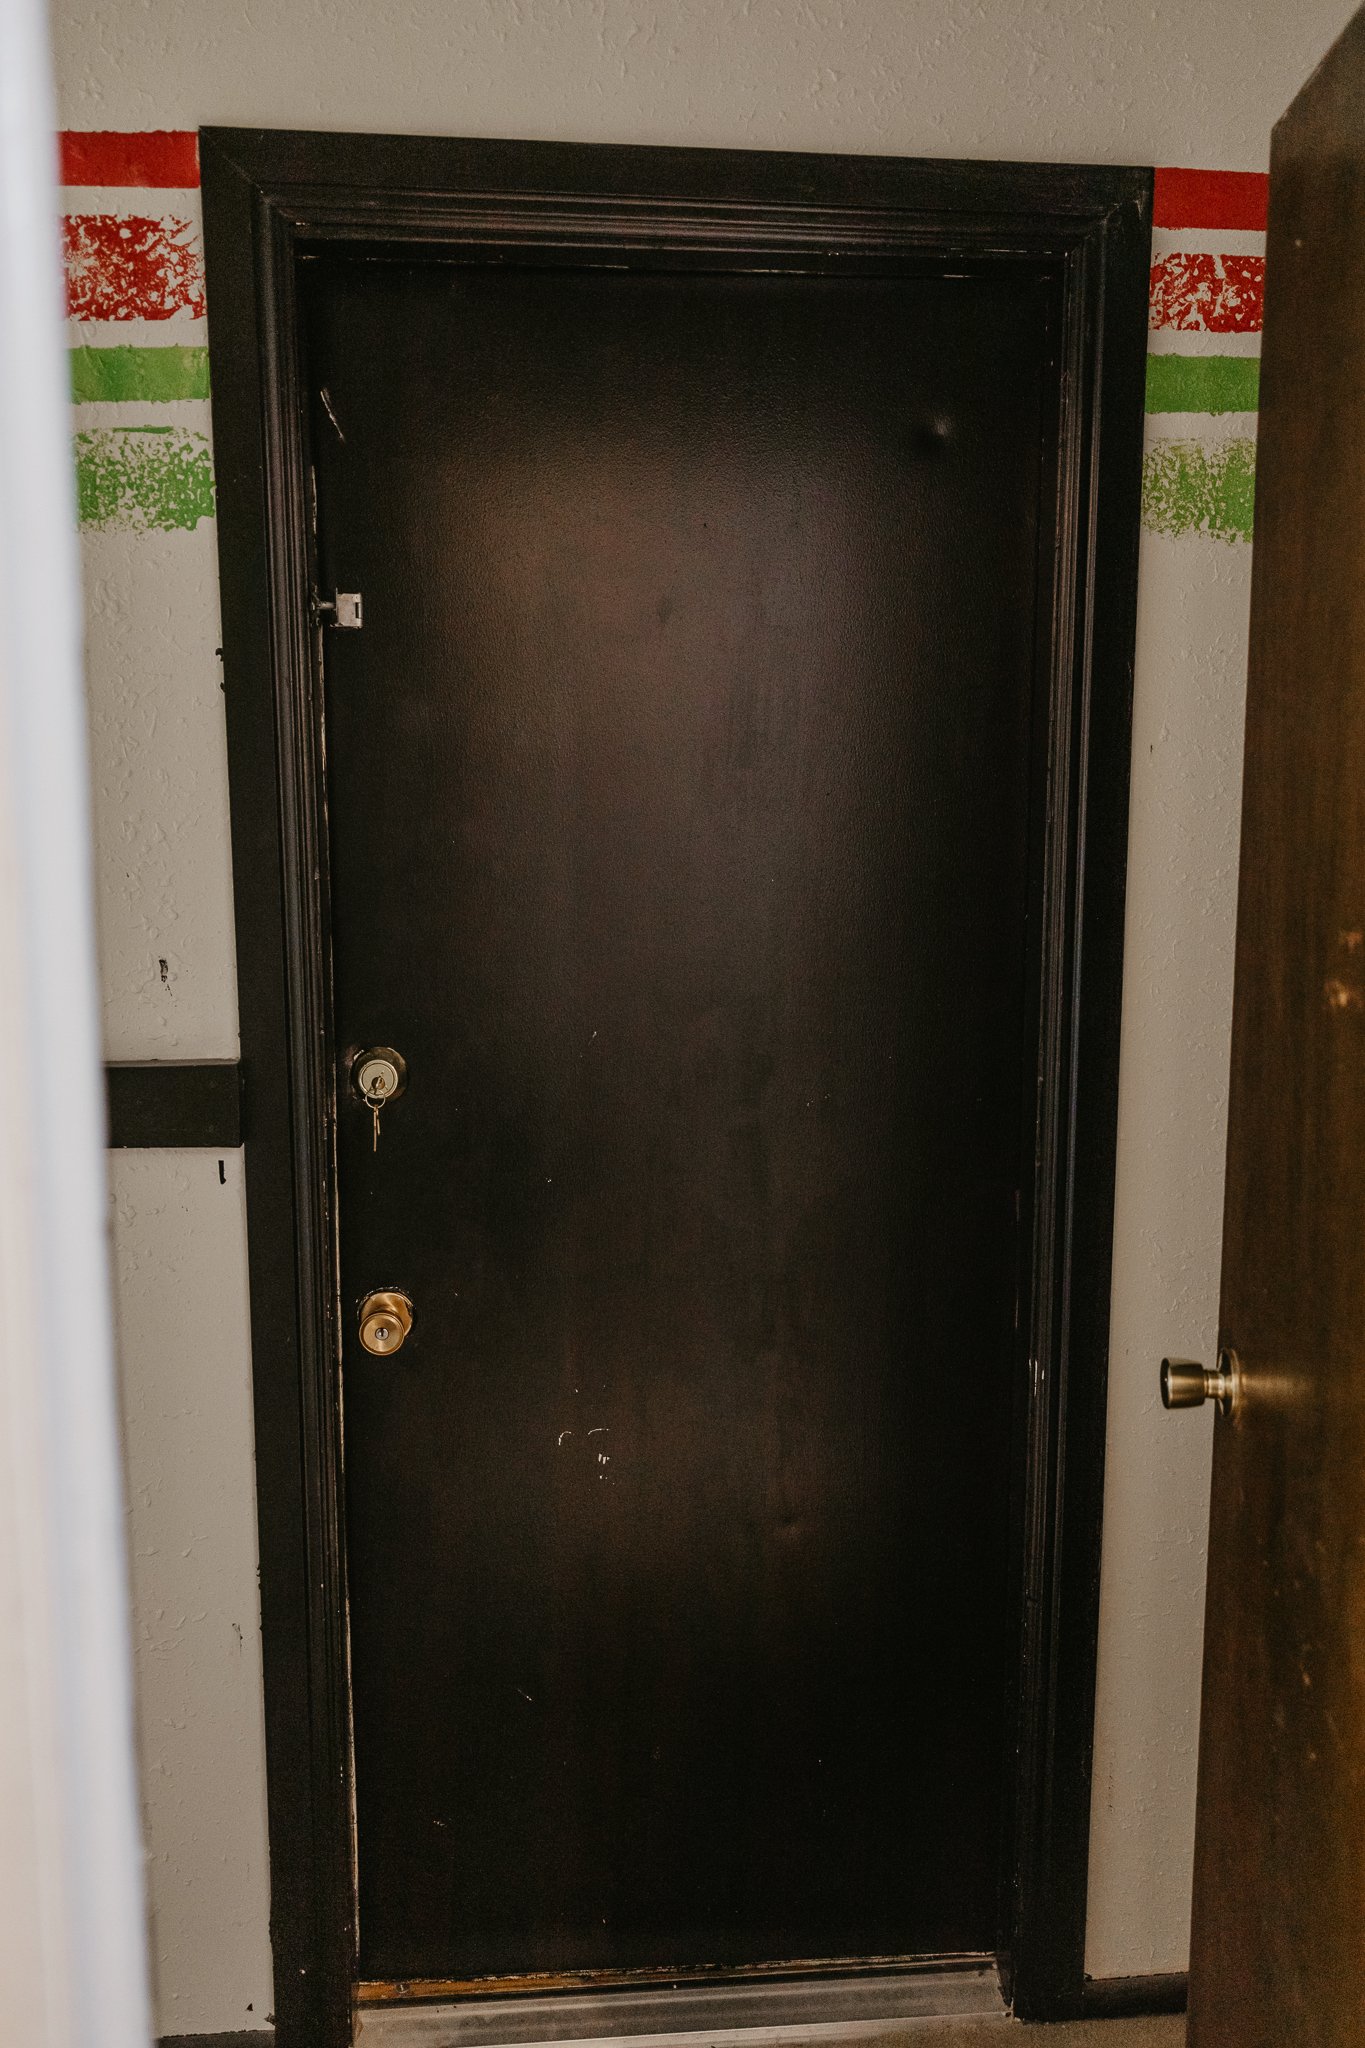
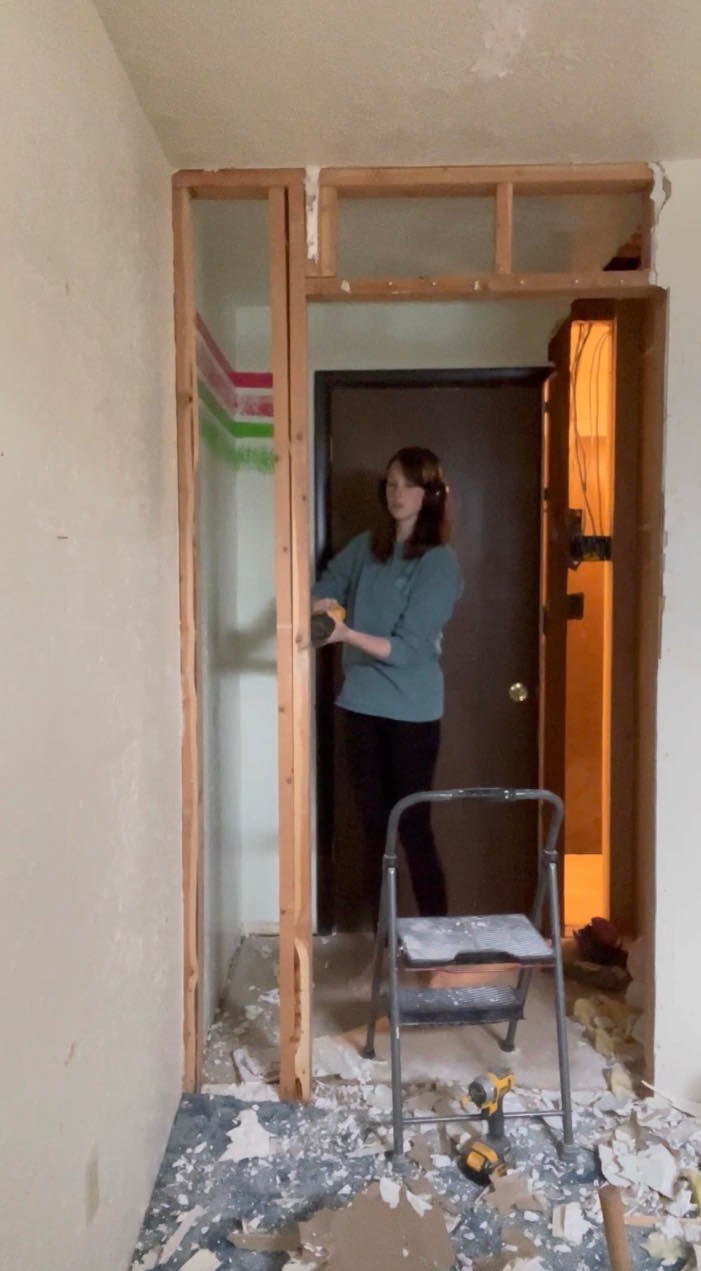
for a little perspective, this was the only door that entered the bedroom and the closet was right as you stepped inside. so we first added a third door between the existing two in the hallway and then split the entrance to the bedroom to make our girls’ room and the storage room separate. so we basically took some left over hallway and demolished the closet door and it became the office as we know it! hopefully that makes sense?
but you may ask, how did you know you could do this?
-well i didn’t at first, i had to tear down some drywall to see if it was a supporting wall & it wasn’t.
but how did you know?
-after we removed the drywall, we checked to see if the rough frame of the wall had a double or single top plate. it only had a single plate, so we knew it was cosmetic and probably added after the rest of the house had been built. the wall we had exposed earlier in the main hallway had a double top plate, so we knew that was a load bearing wall in the basement.
| we are not professional contractors or structural engineers, so if you ever doubt yourself or are unsure, please seek expert consultation |
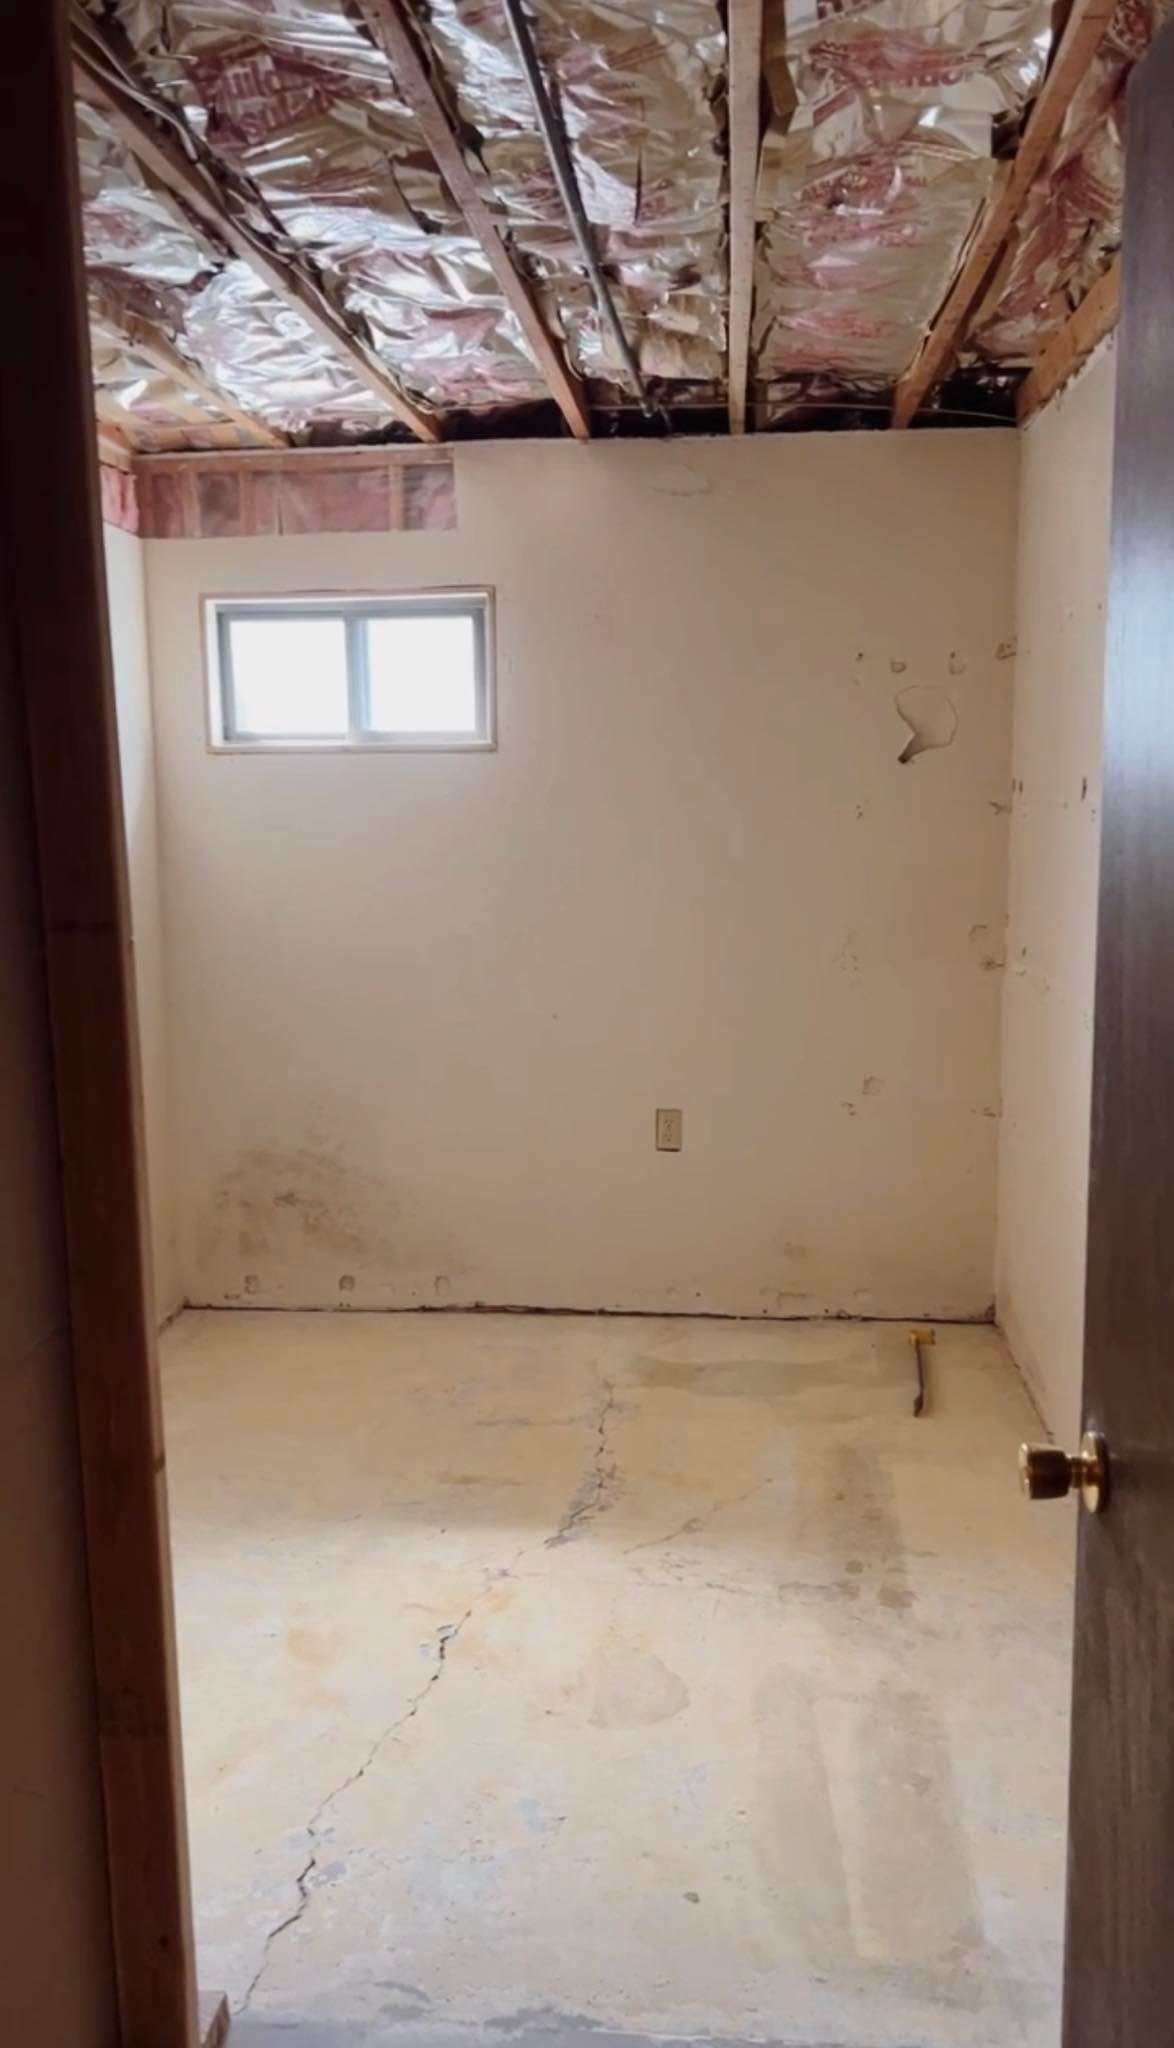
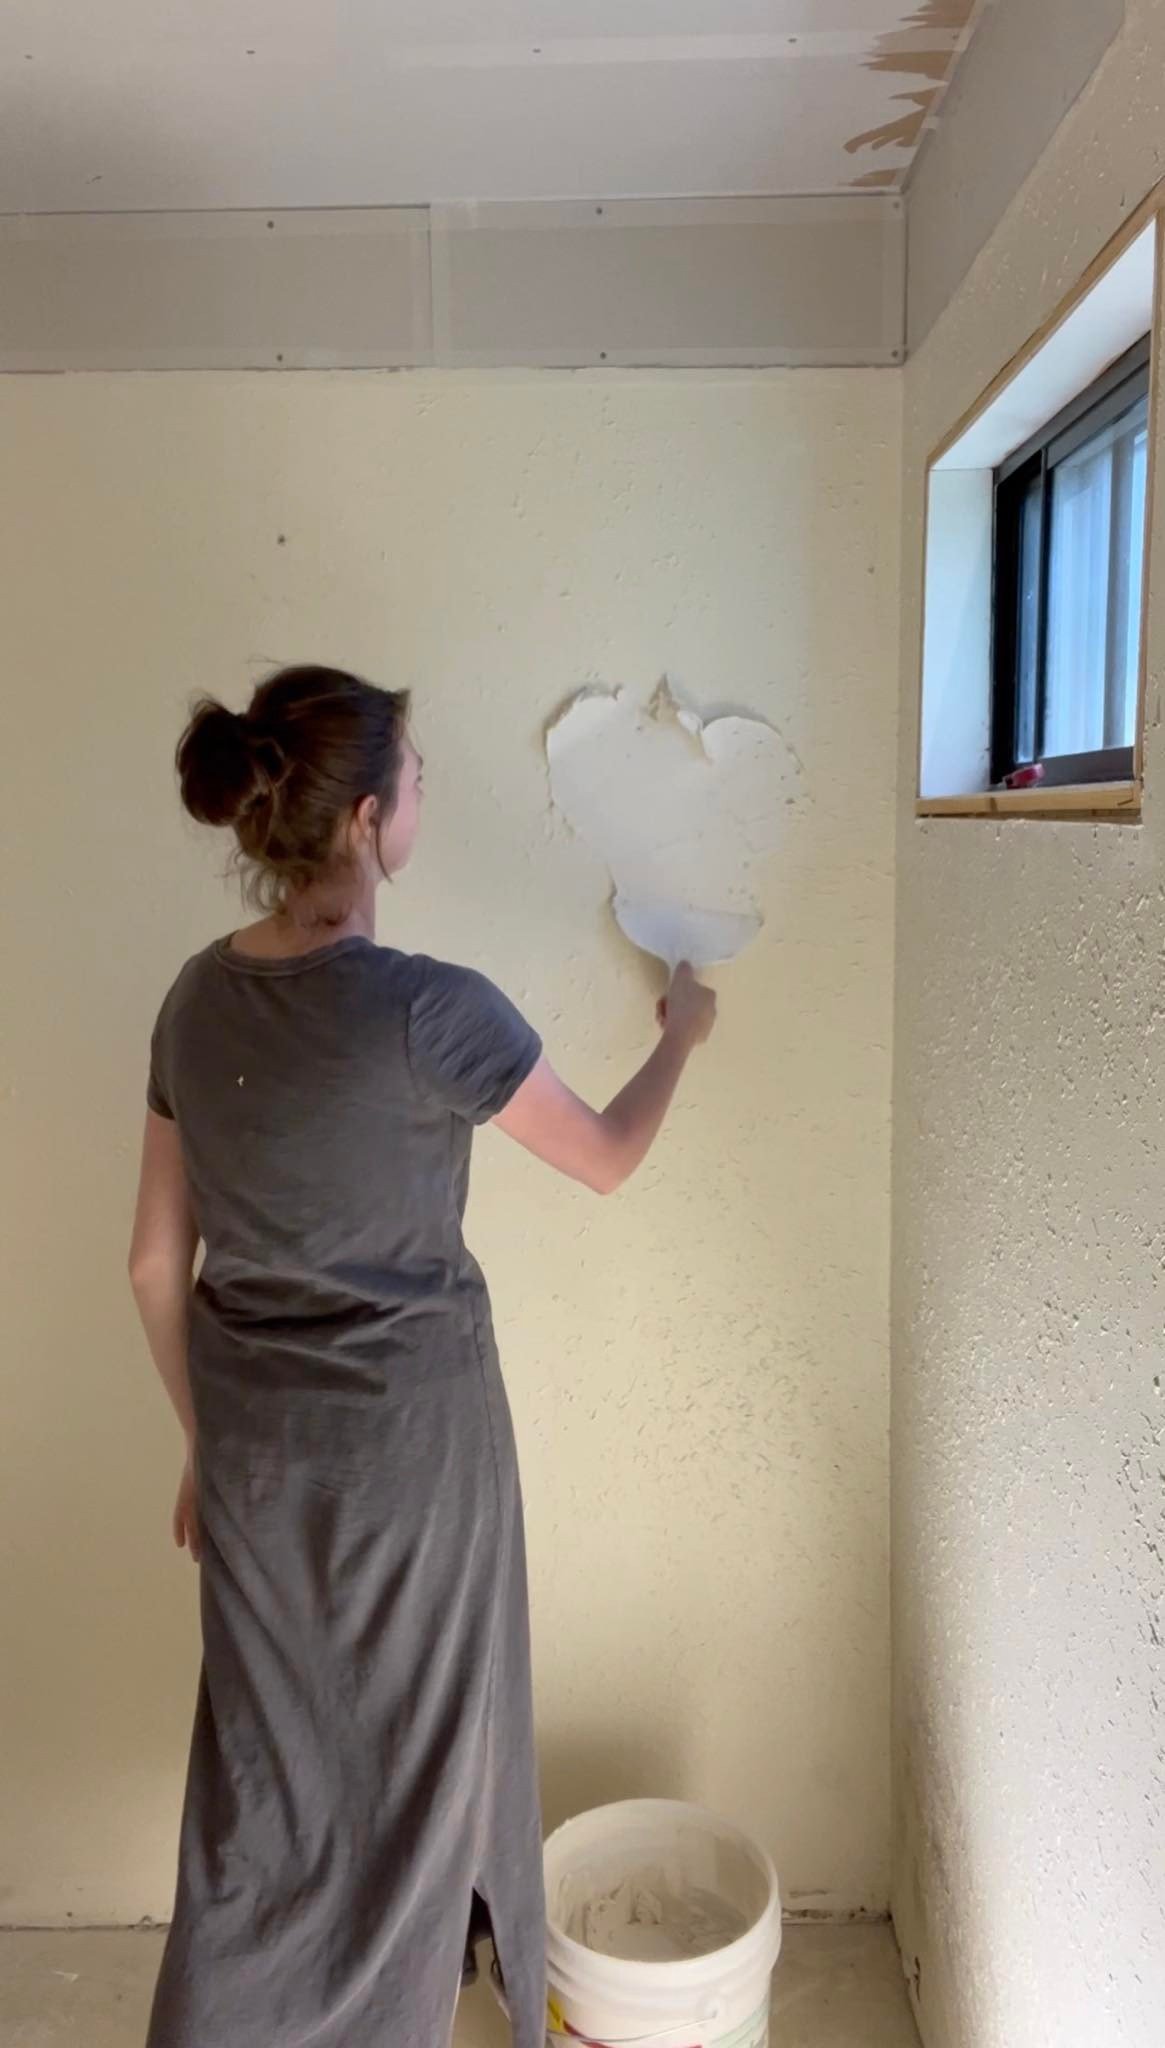
it was a long process to get the old door frame out, pulled up the carpet and carpet pad, then scraped the floor because they glued it down…and then skim coated the incredibly textured walls to make them smooth (it took three coats). then we were ready for flooring!
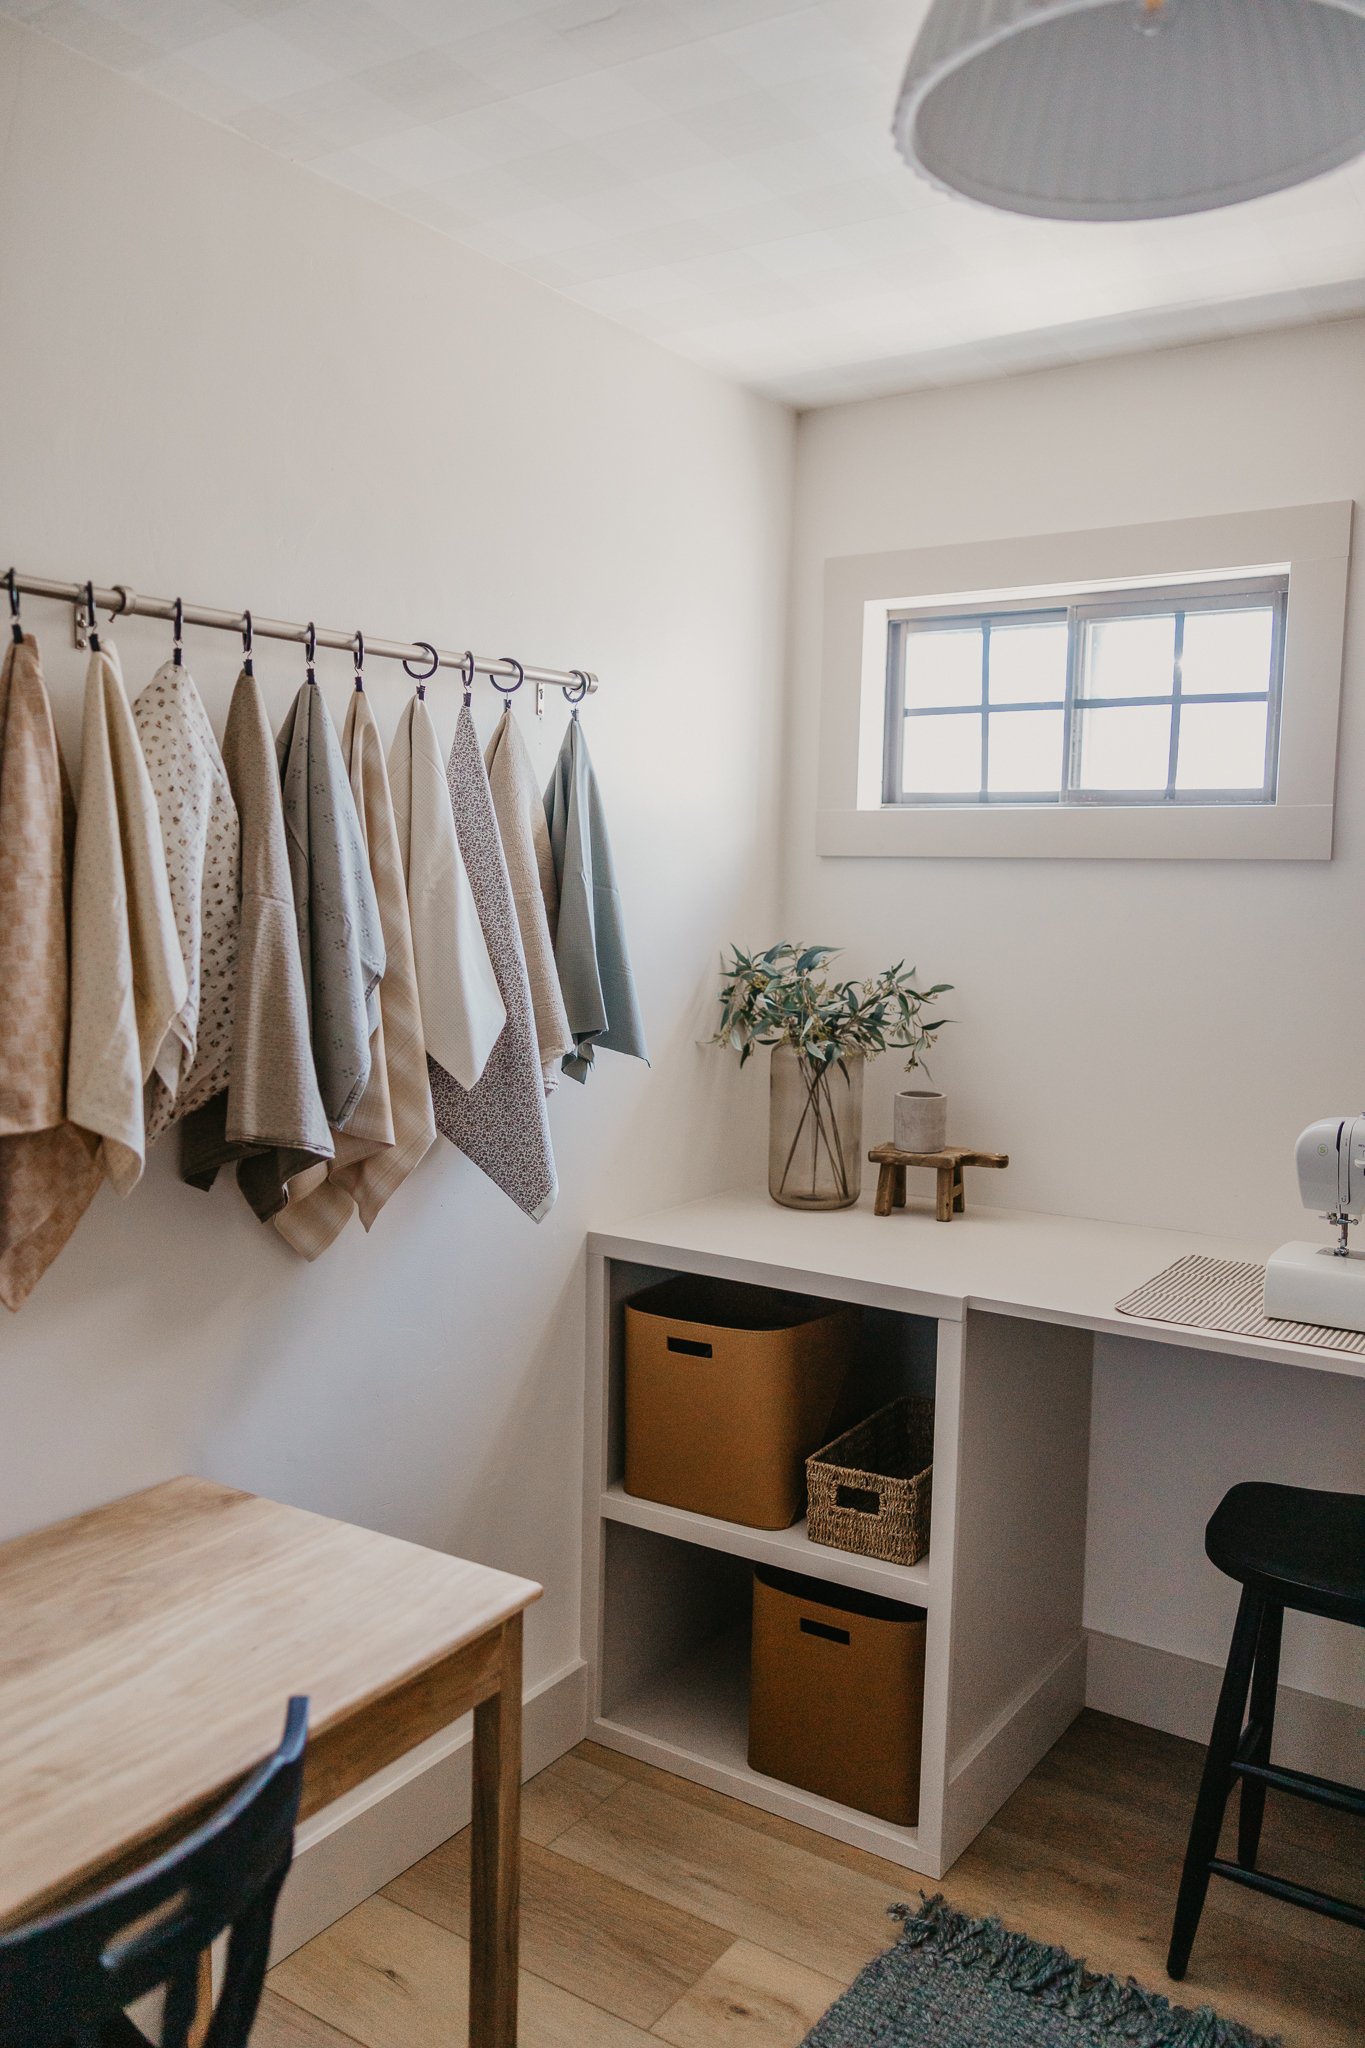
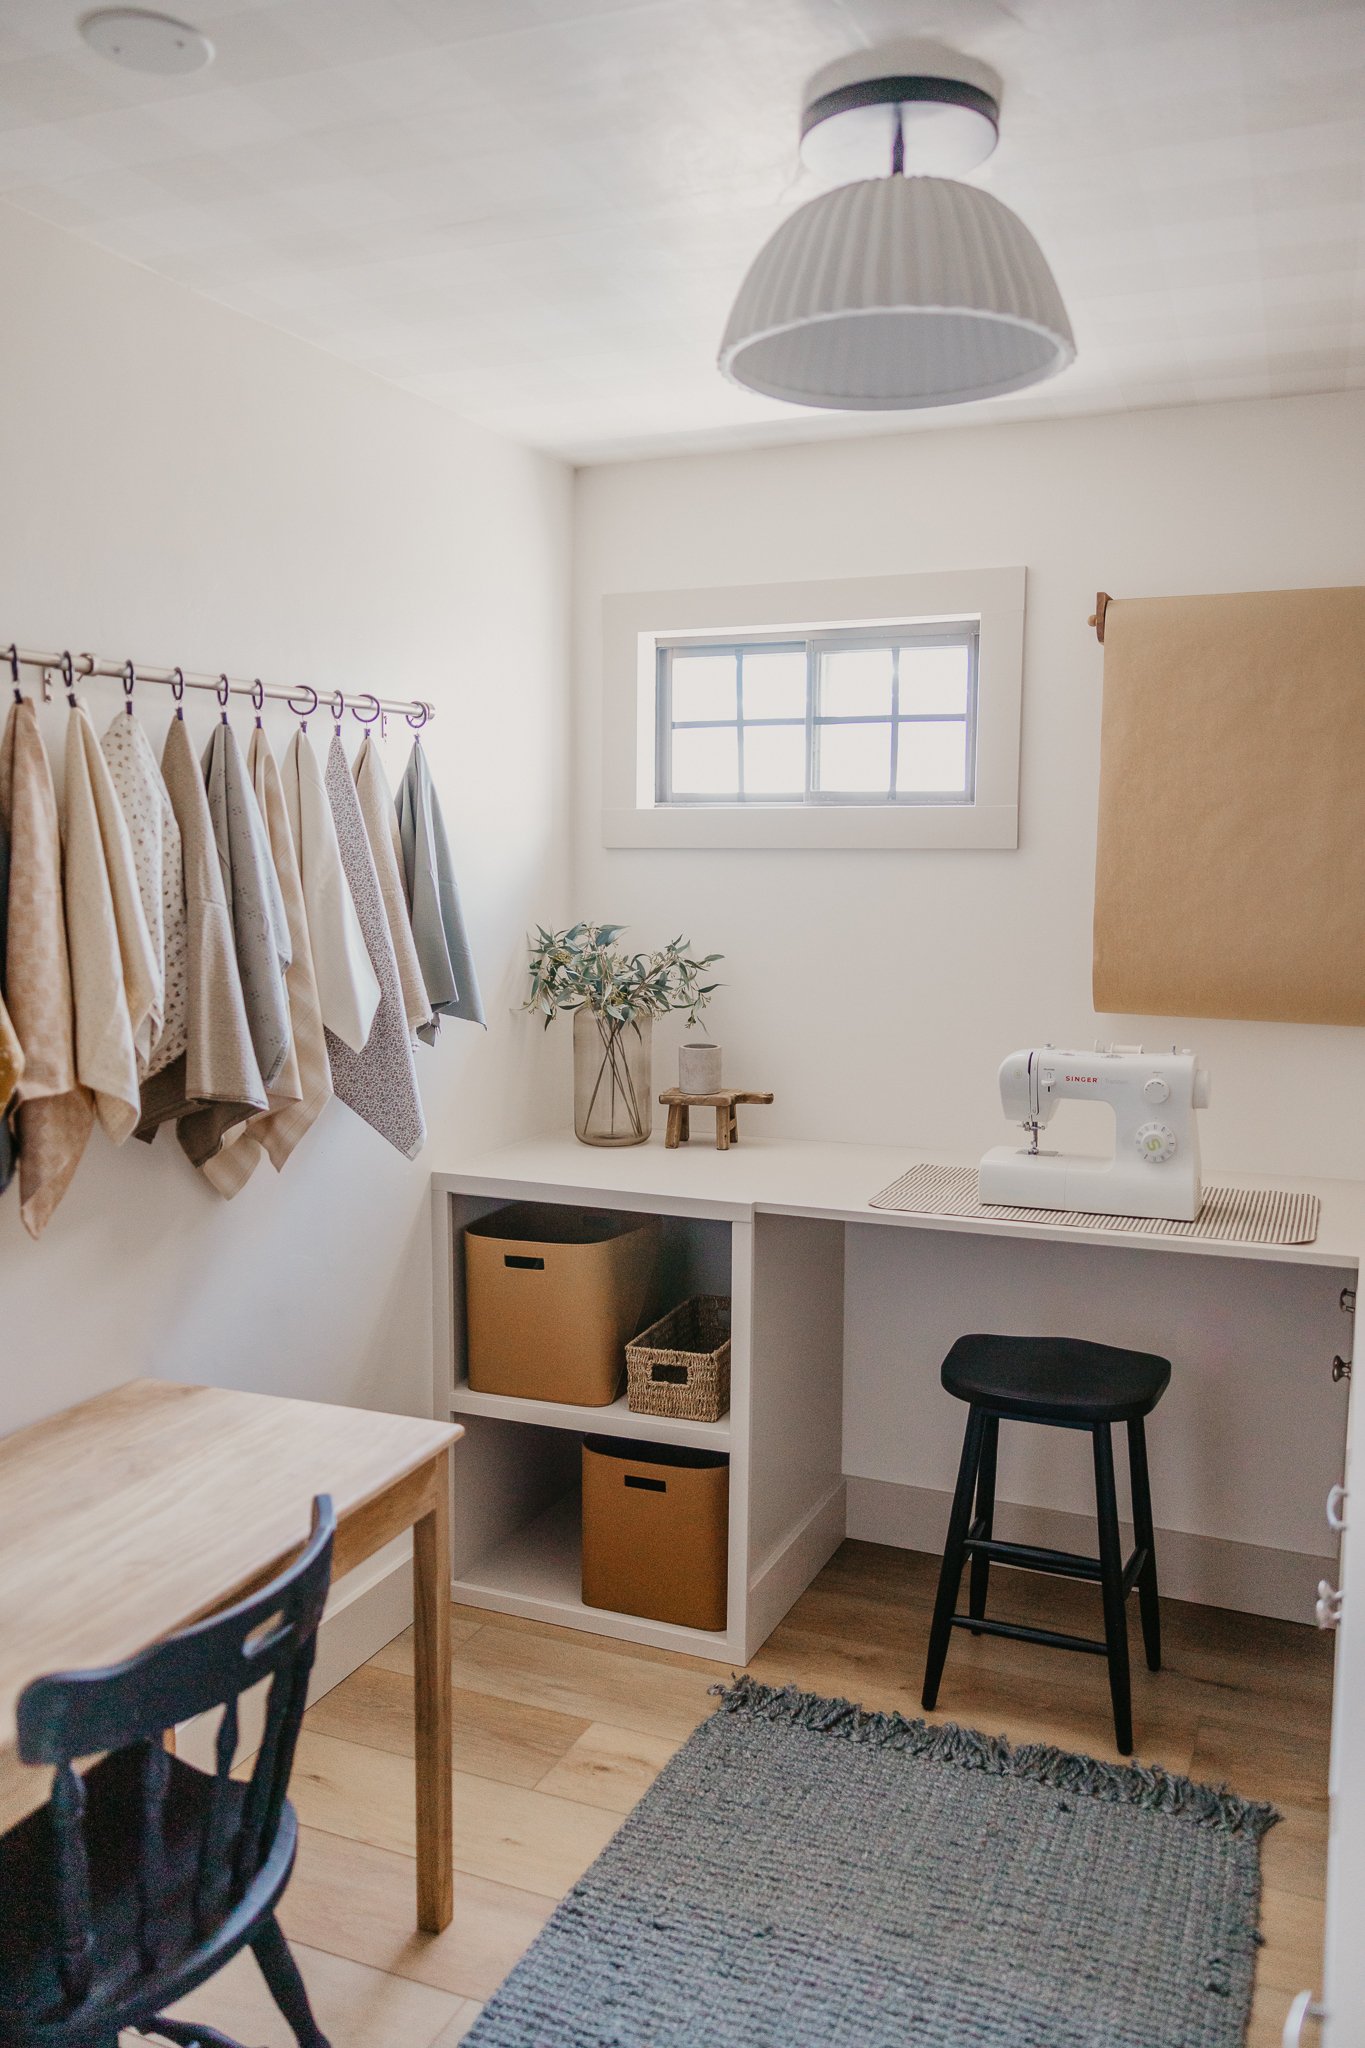
we were fortunate enough to partner with Flooret for the flooring in our basement and this room was the first placed we laid it. and oh my gosh you guys, it is worth every penny! we went with the nakan signature and it is superior to any other floor i’ve used/sampled. it has a 40 mil wear layer, 100% waterproof, true embossed in register texture, creating a surface that is convincing to the eye and touch, has low sheen level so it doesn’t glare and the planks are 9” wide so they cover more surface area. you can use my code, taylorstyle33, for 33% of any samples you order!
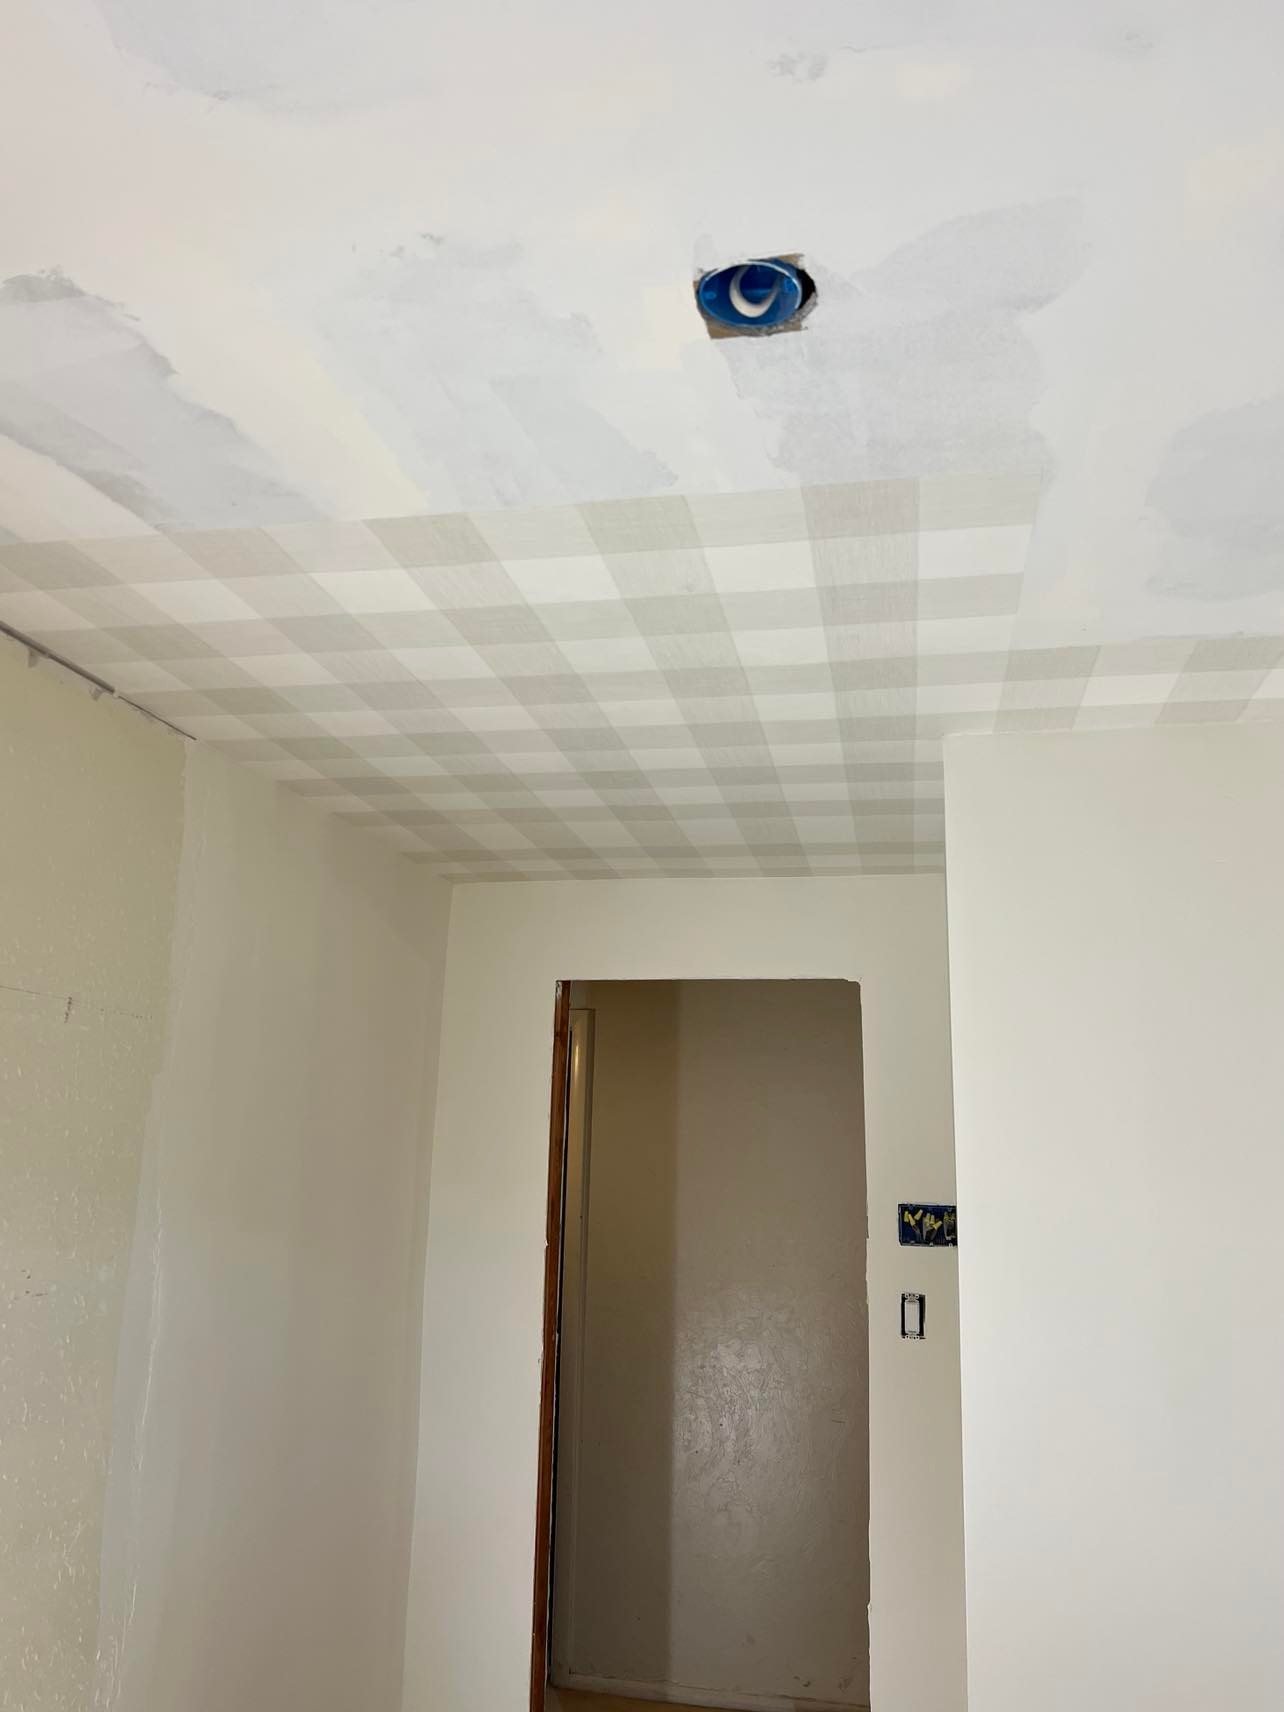
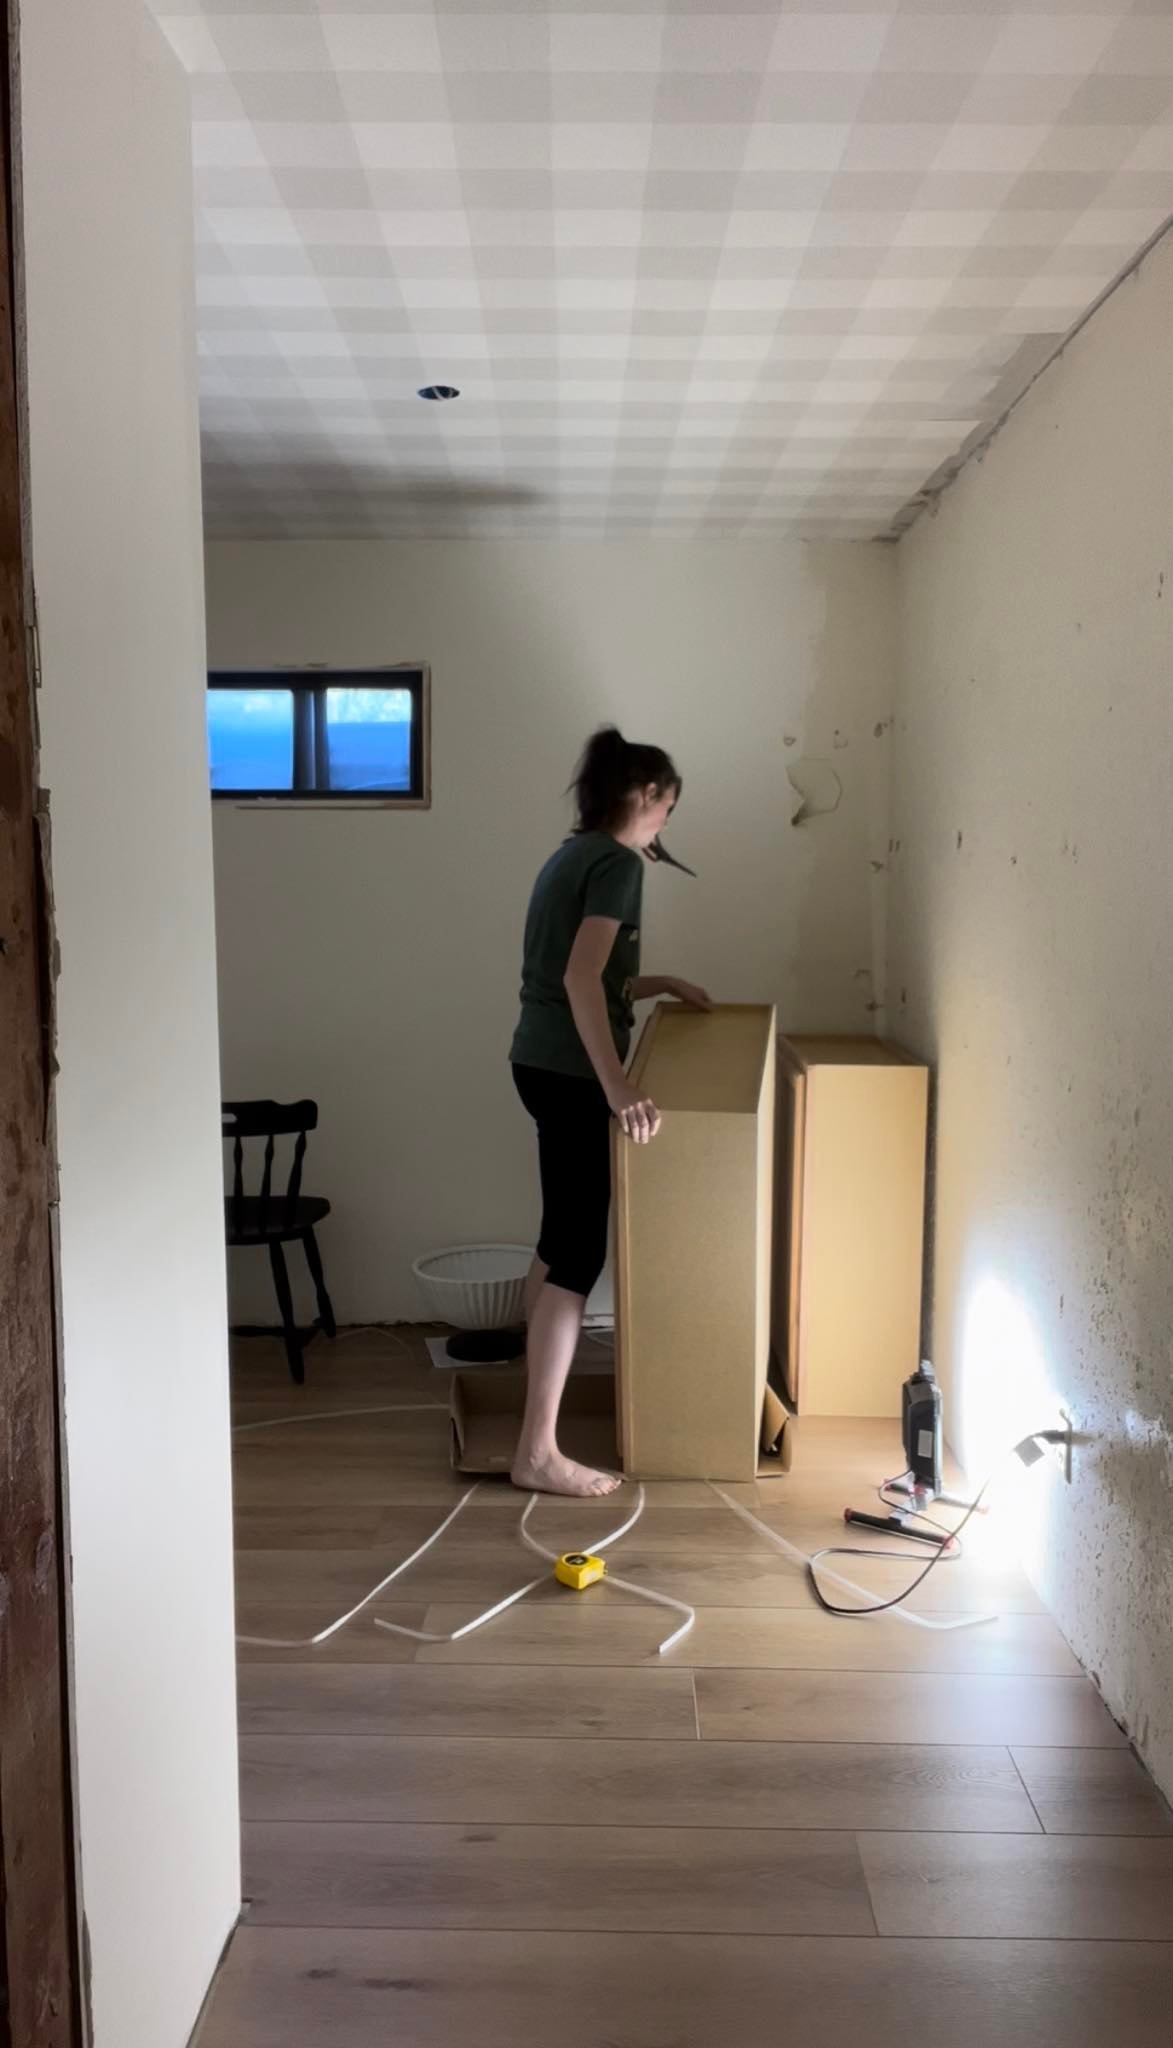
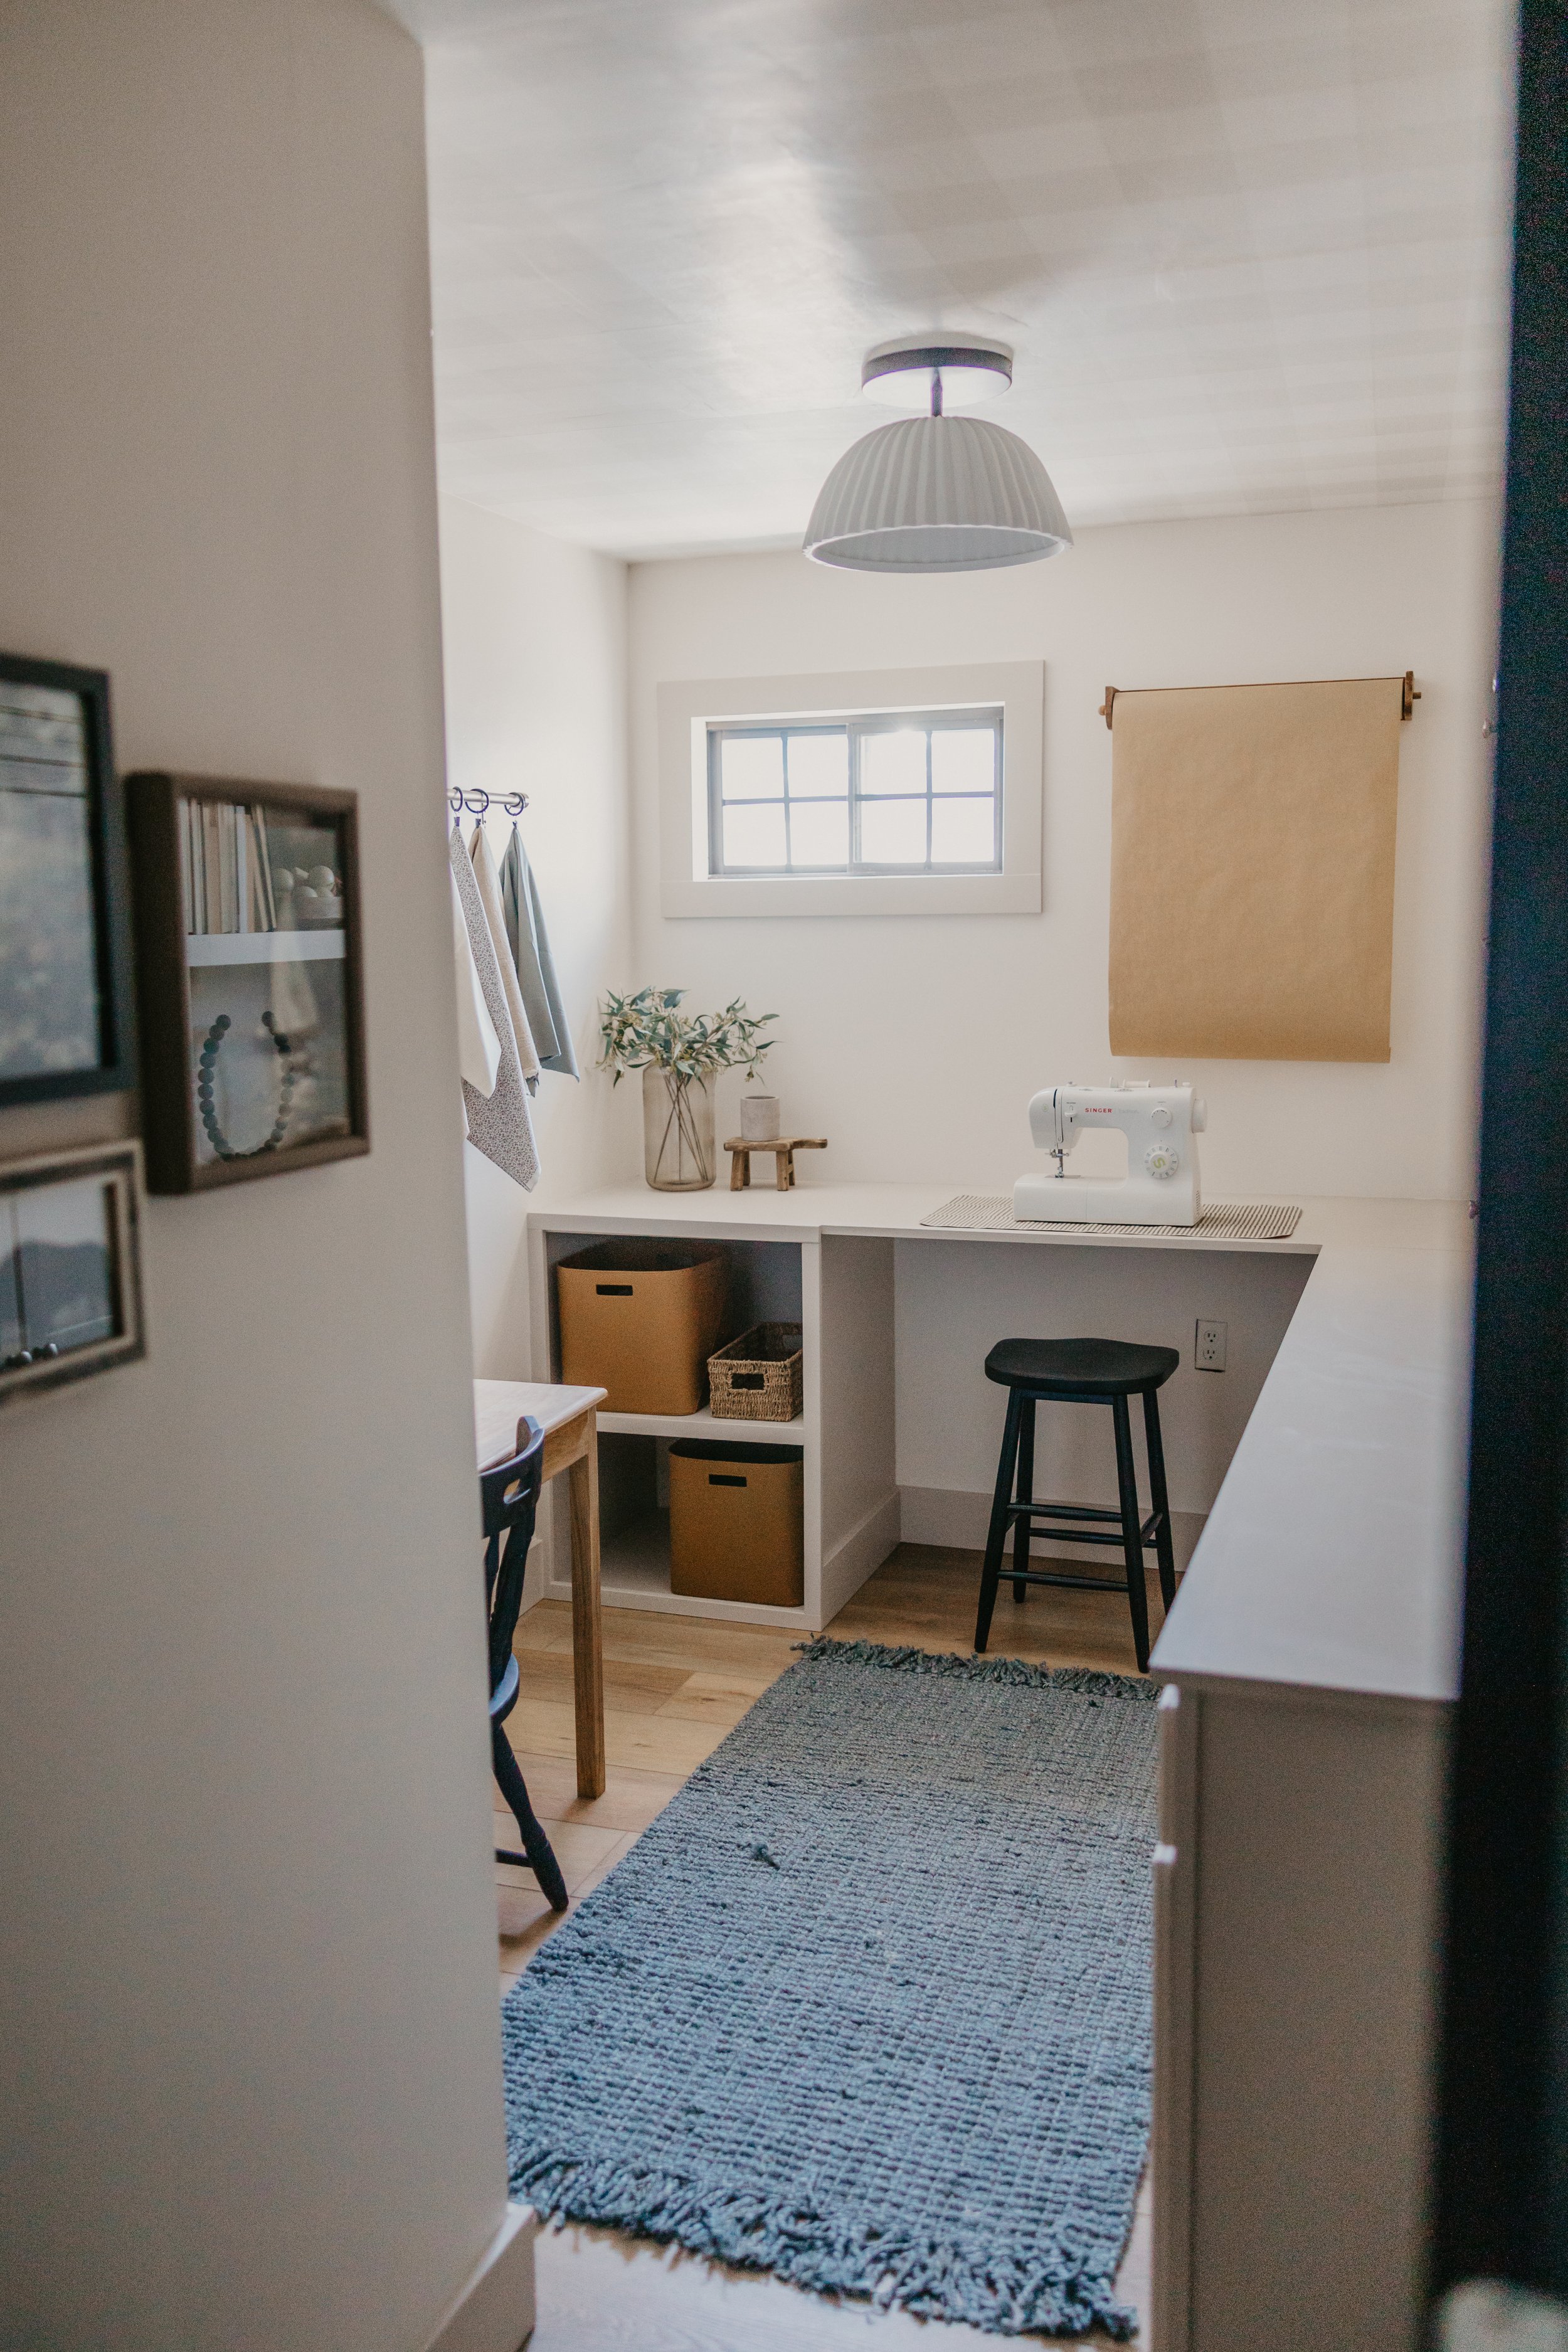
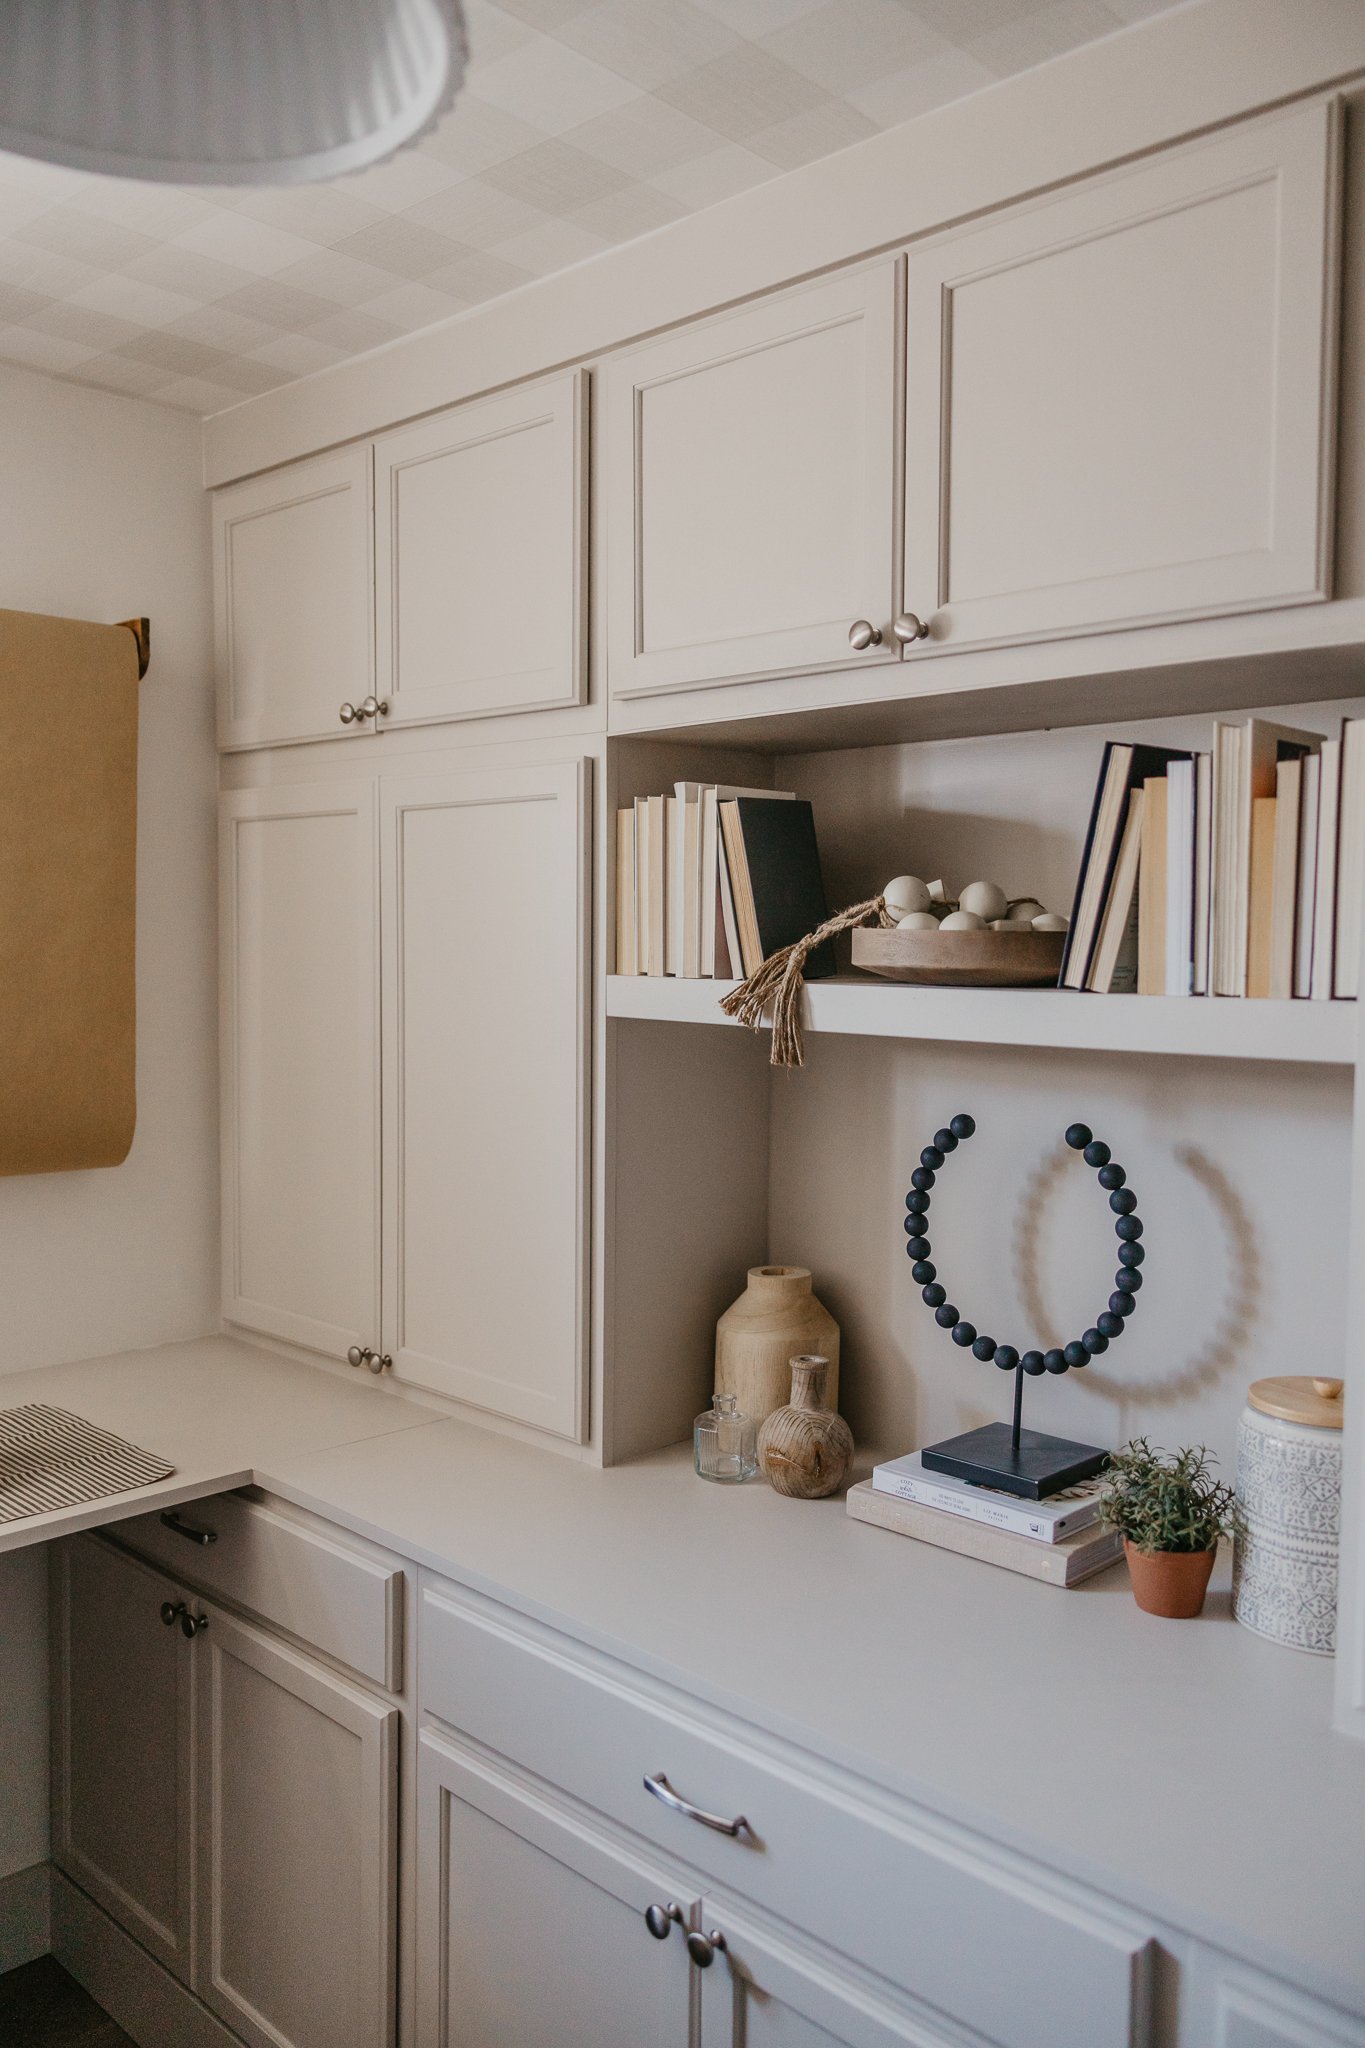
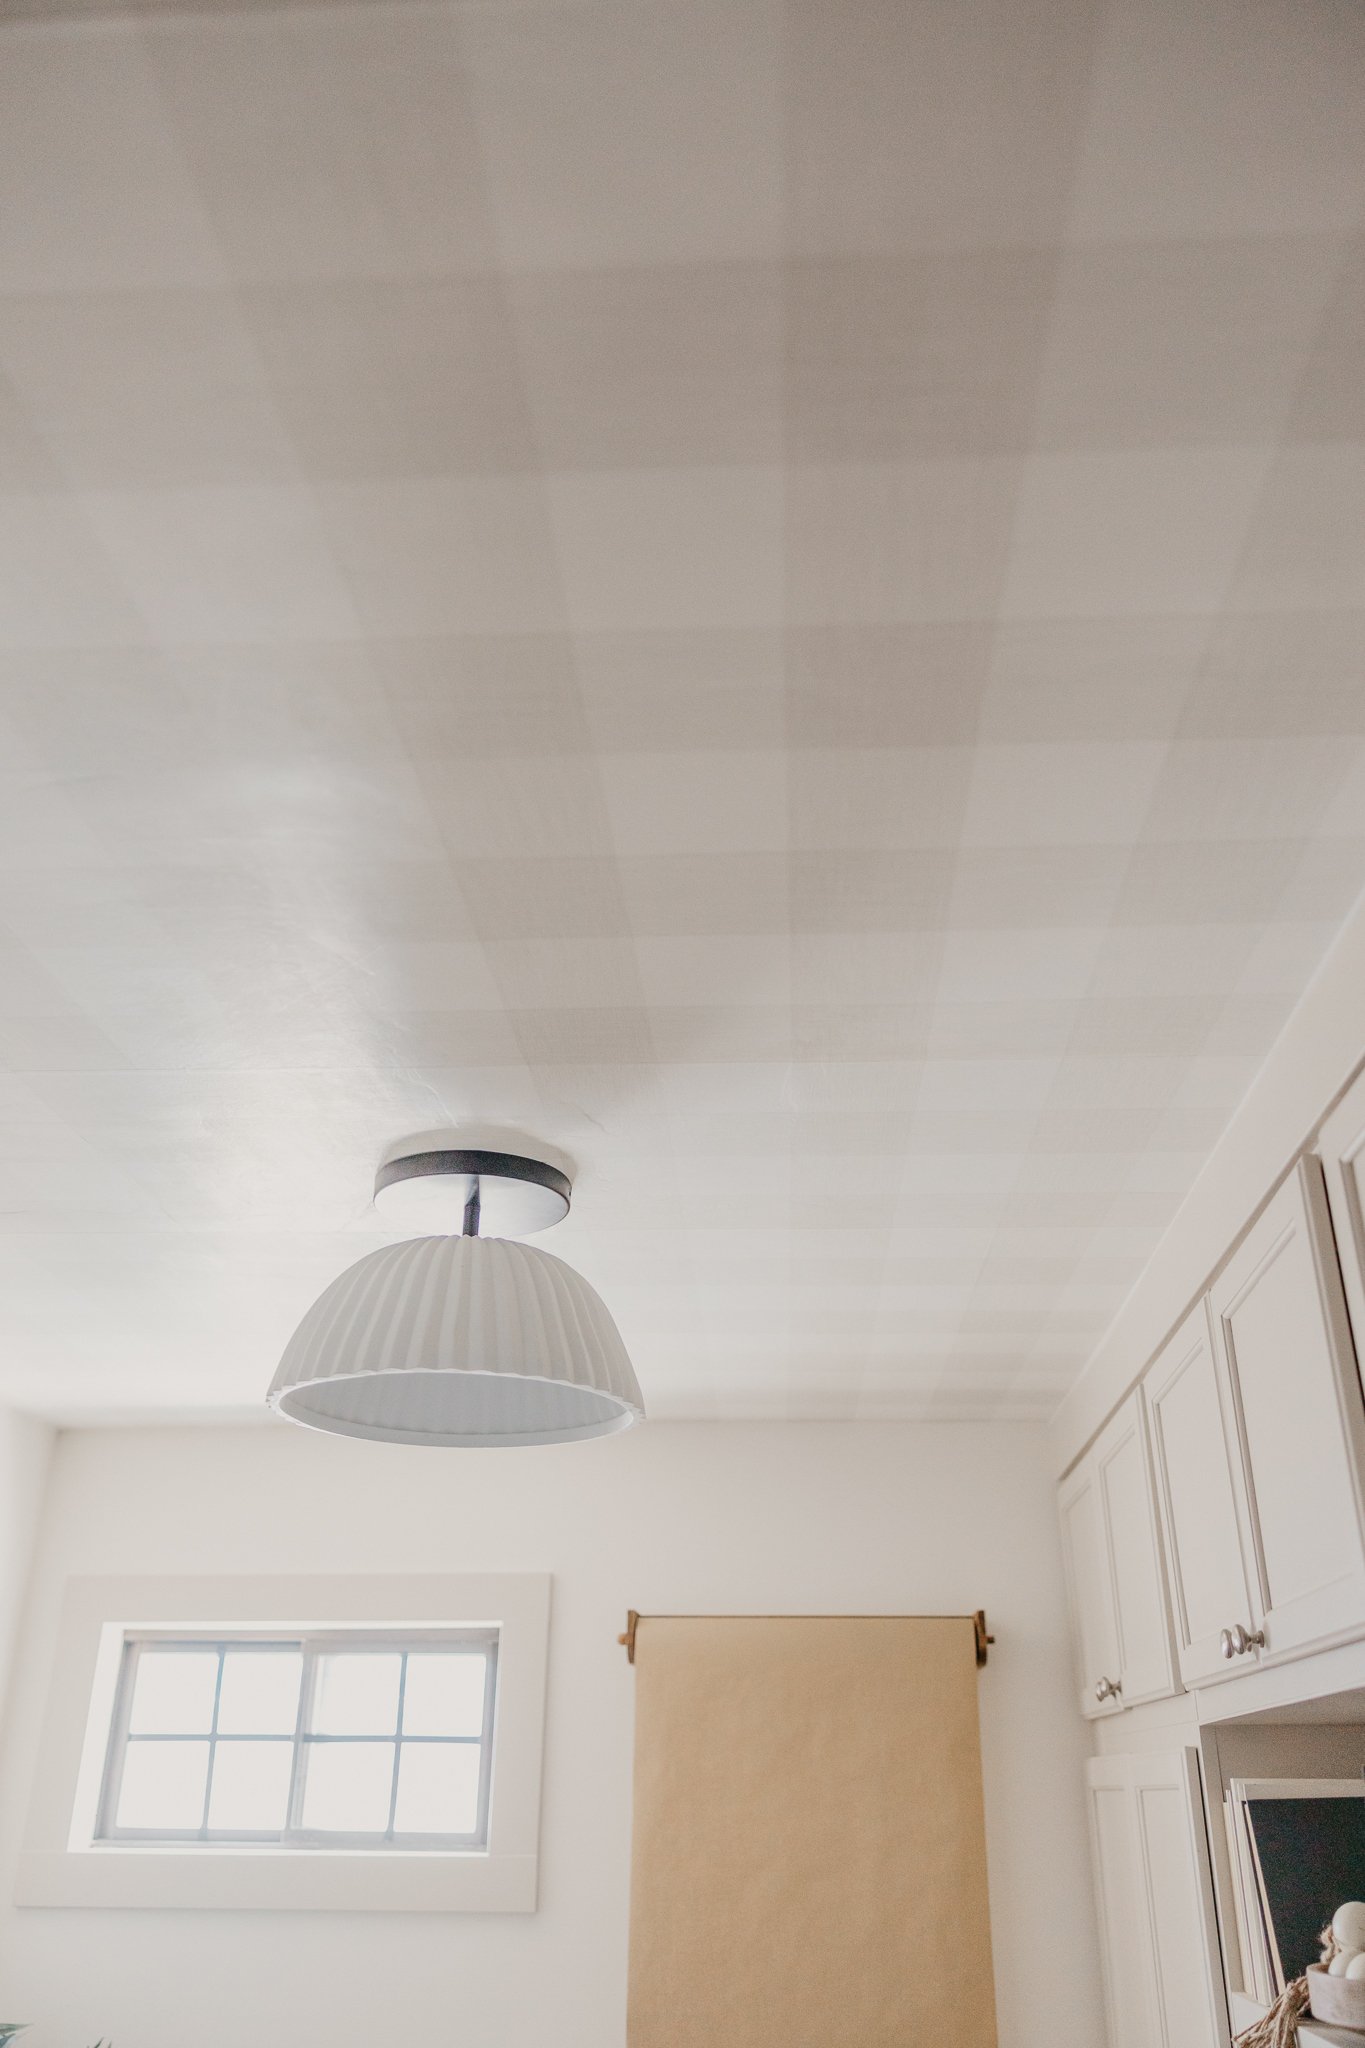
after the floor was in, we added some beautiful wallpaper to the ceiling (i know right?!) and then used unfinished cabinets from Home Depot to build our built ins. I used 3/4” sheets of MDF for the countertops and then built the base to support the left side out of 3/4” MDF, attached it with pocket holes, and then trimmed it all out to make it look like one big built in piece.
the idea of this room was supposed to originally be a sewing room, so i wanted a pretty place to display my fabrics, so i used a curtain rod and curtain rings to make my display! most of the decor i used was stuff i have had for years, so it isn’t linkable, but i love the way this space turned out! Such a better use of this space and it’s become an inviting place to store things but also a place i can work in! here’s to seeing the potential in what something can become!

paint colors:walls: swiss coffee by behr
trim & built in: aged beige by behr
links:-flooring (use code taylorstyle33 for 33% of your samples!)
-rug
-base cabinet (we used 3)
-middle cabinet (we used 2)
-top cabinet (we used 3)