DIY Barndoor

in our playroom, we have a water heater and a water pressure tank, but they are not next to each other…so instead of spending $$$ to move one or the other, we decided to build two barn doors to cover them, but still easily have access if we need. i started looking for a barn door kit we liked, but quickly decided we would make our own because i didn’t think we needed to spend that much on a door my kids will probably beat up over time.
so i set out to find a tutorial that was easy and still got me the look i wanted! i know a lot of people are tired of barn doors, but honestly i think they will always have a place if the spot is right! i would have loved pocket doors or a french door or something, but one that would take up more space in my walk way to open and i didnt have the space inside the wall for a pocket door. so i took a design i found from someone else and then modified it to my style.
our door ended up being just under 36 inches by 85.75 inches tall.
supplies:-3 inch screws
-level
-drill/driver
-stud finder
-paint
steps:the first step is to determine what barn door hardware kit you want. each kit is specific to how it mounts to the door and also how much clearance you need above the hardware to the ceiling. i learned this the hardware and had to build down my doorframes a few inches to be able to fit any hardware kit at all. most kits require at least 5-6 inches of clearance just fyi.
then determine the type of door you want. this is not a slab door, so you wont be able to use top mounted hardware kits. for this door, i am using tongue and groove boards and then trimming it out with mdf boards.
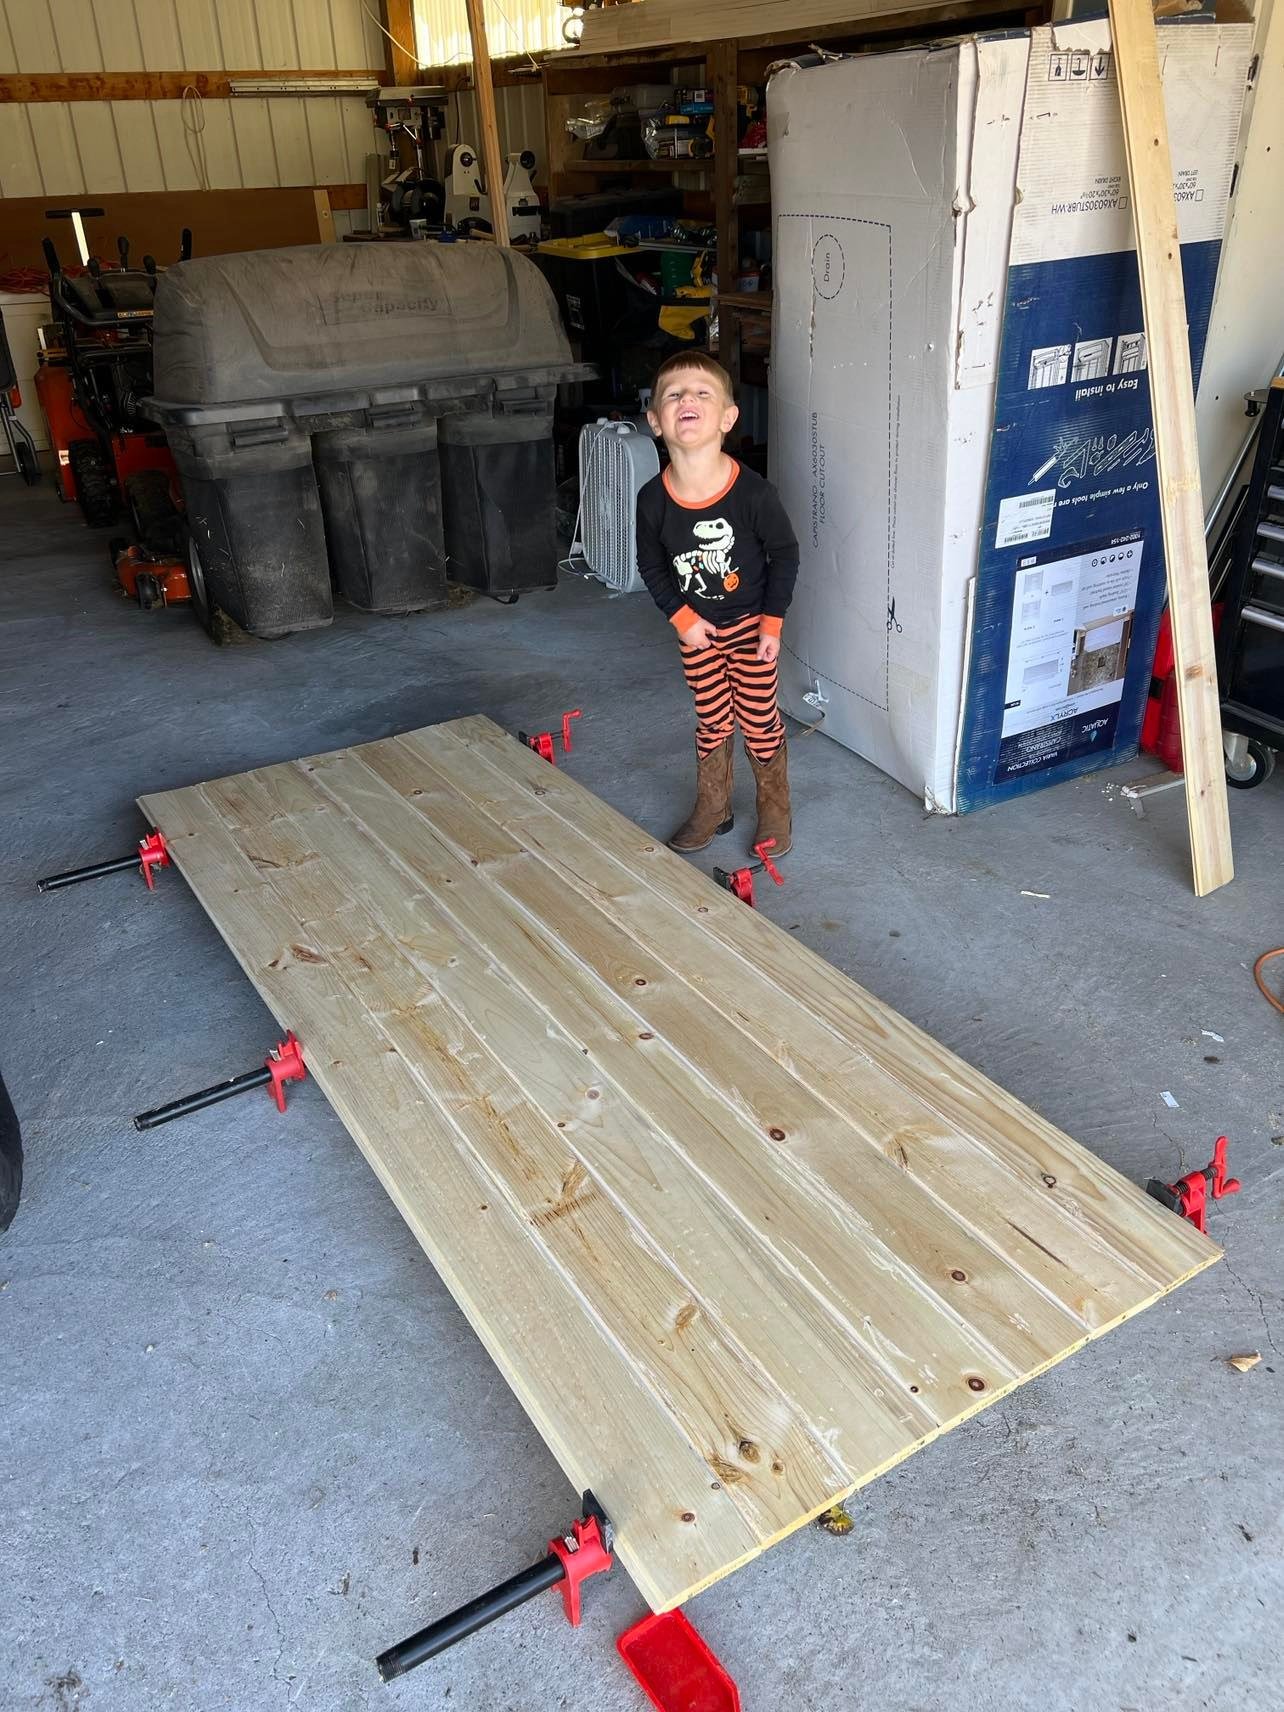
i cut all the t+g boards down to the same length, 85.75” and lined them up on my 4 ft clamps. then i put glue in the grooves of each board and fit them together. once they were all glued and lined up where they needed to be, i tightened my clamps just enough to make it a snug hold, but not too tight it is crunching the boards out of place.
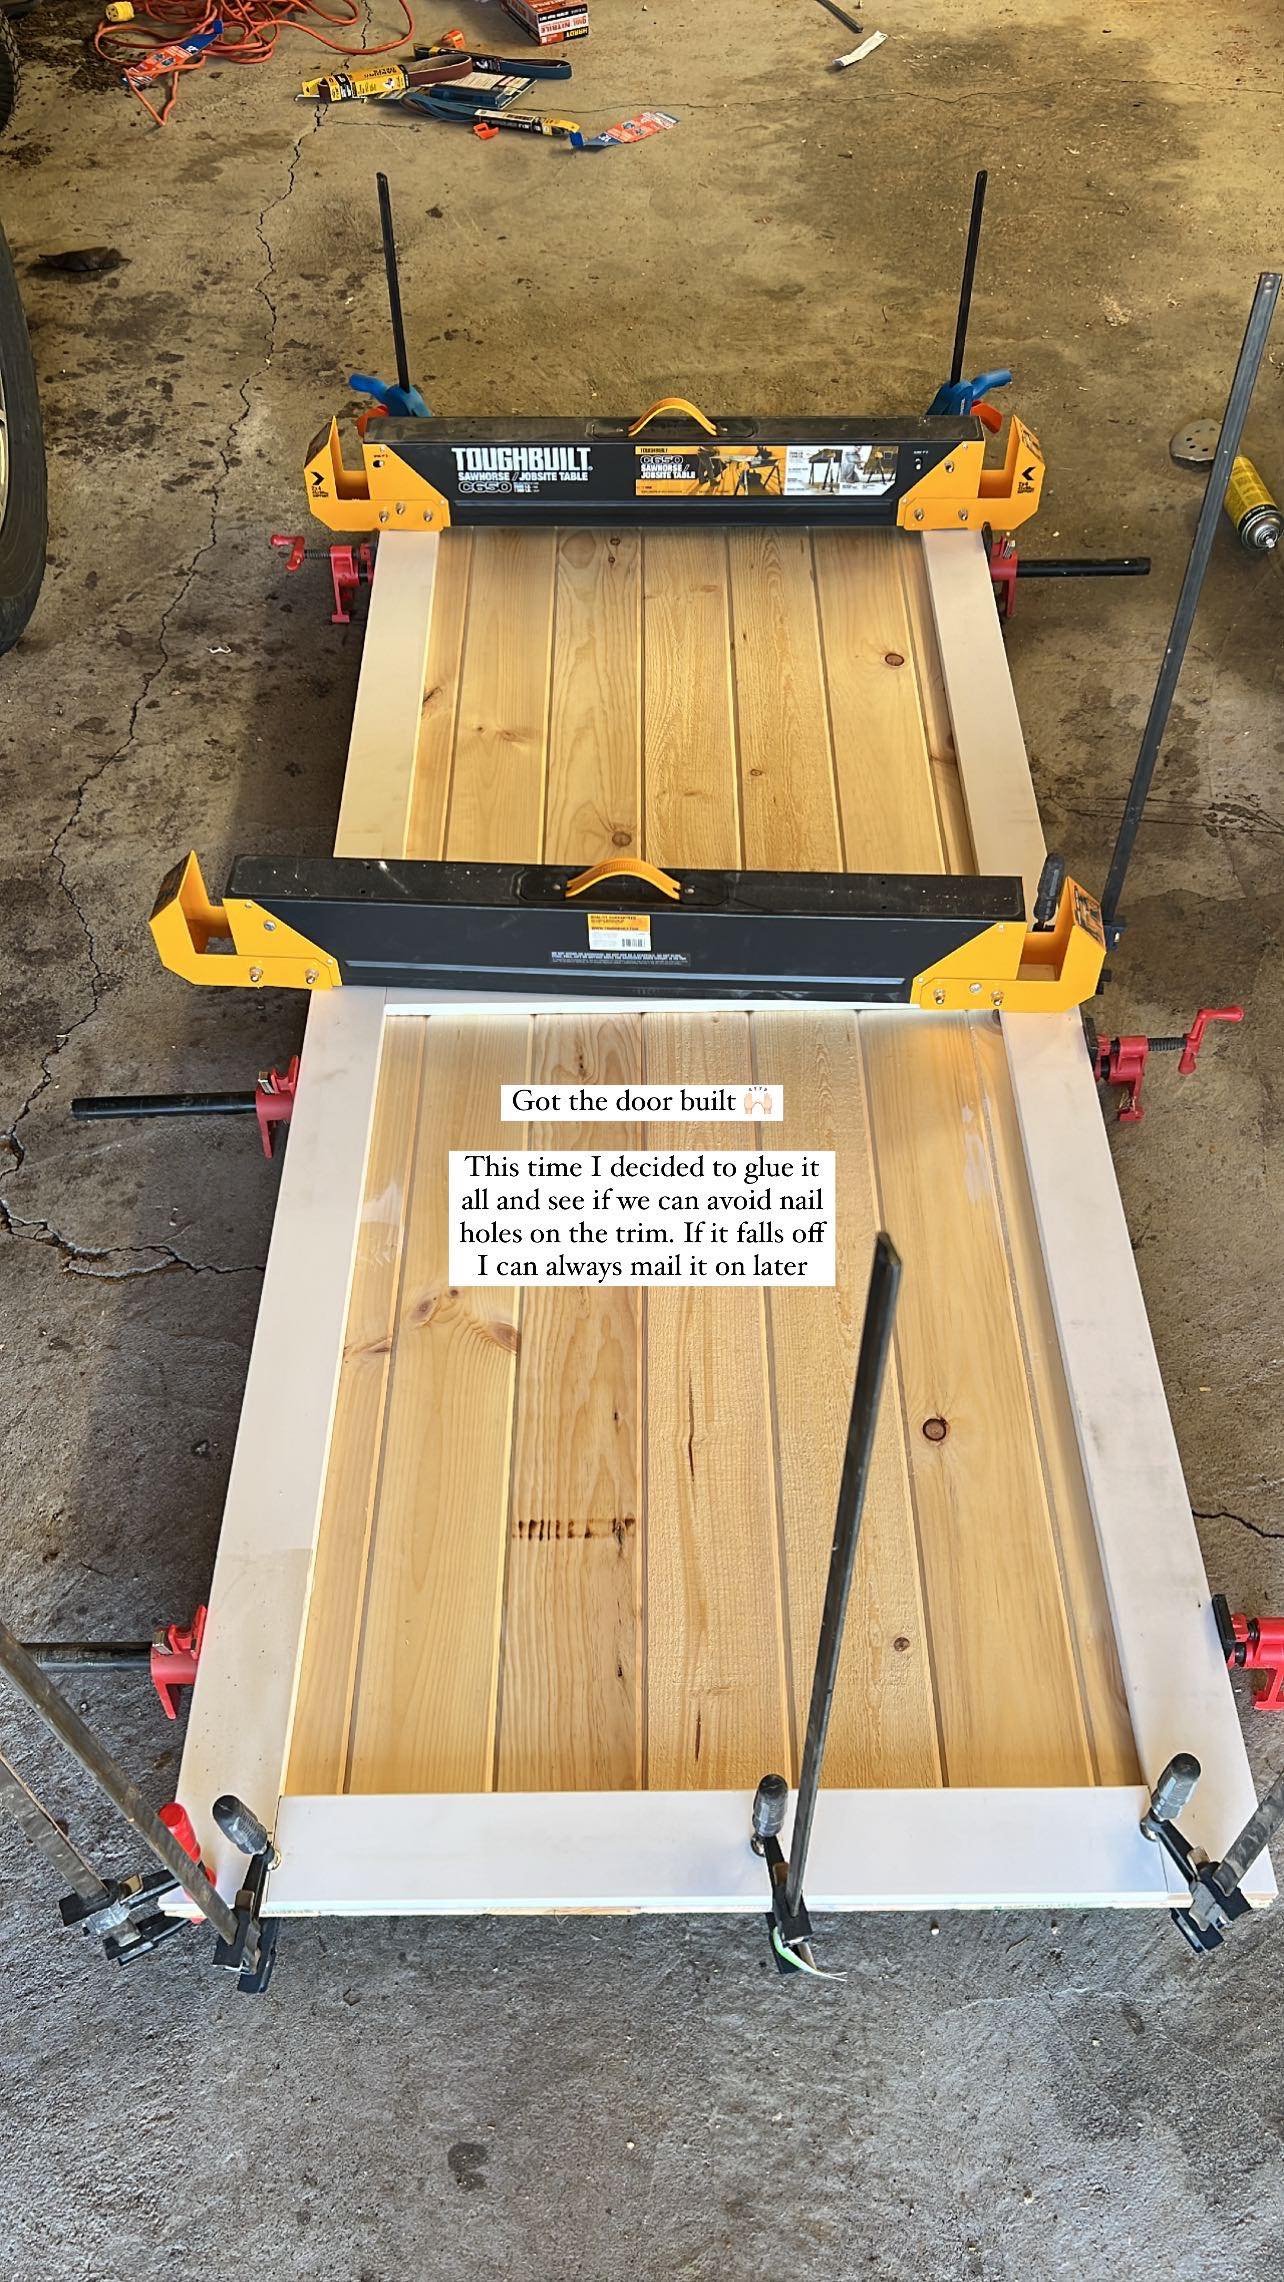
then i cut my mdf boards down to the size of the door and fit them together. on my first door, i nailed them in, but this time i decided to try wood glue and clamps so i could avoid nail holes if possible.
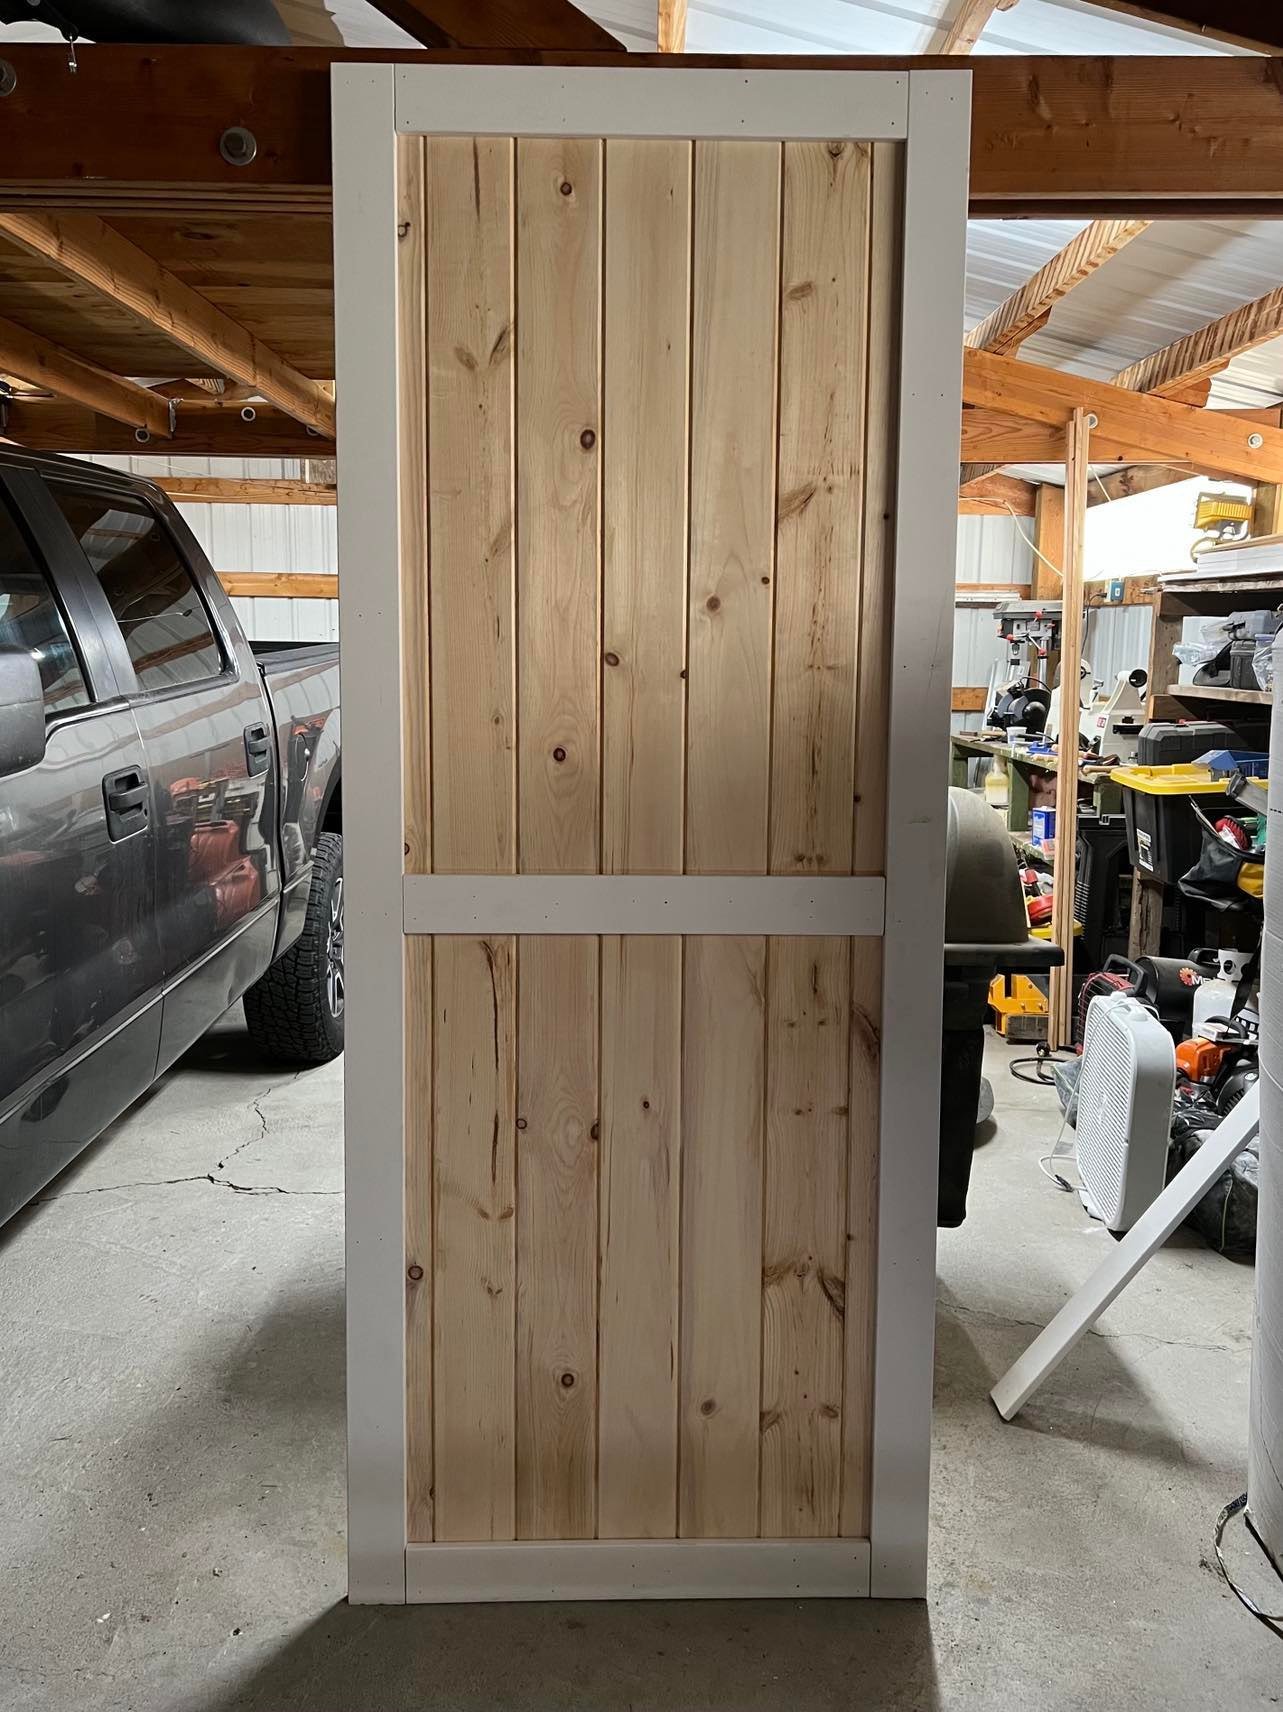
i let it sit clamped for at least 24 hours to dry and then i went ahead and sanded it with 120 grit and 220 grit until it was smooth all over. then i wiped it off and brought it inside. next i caulked all the edges and seams, and then wood filled any larger gaps or cracks in the wood. then i was ready for paint.
i went with the color black by behr and used an angled brush to first cut it all in. then i used a 4 inch roller to do the rest of it and repeated it for two coats. once it was done drying, i followed the hardware instructions and attached the rollers for the door to hang on the track.
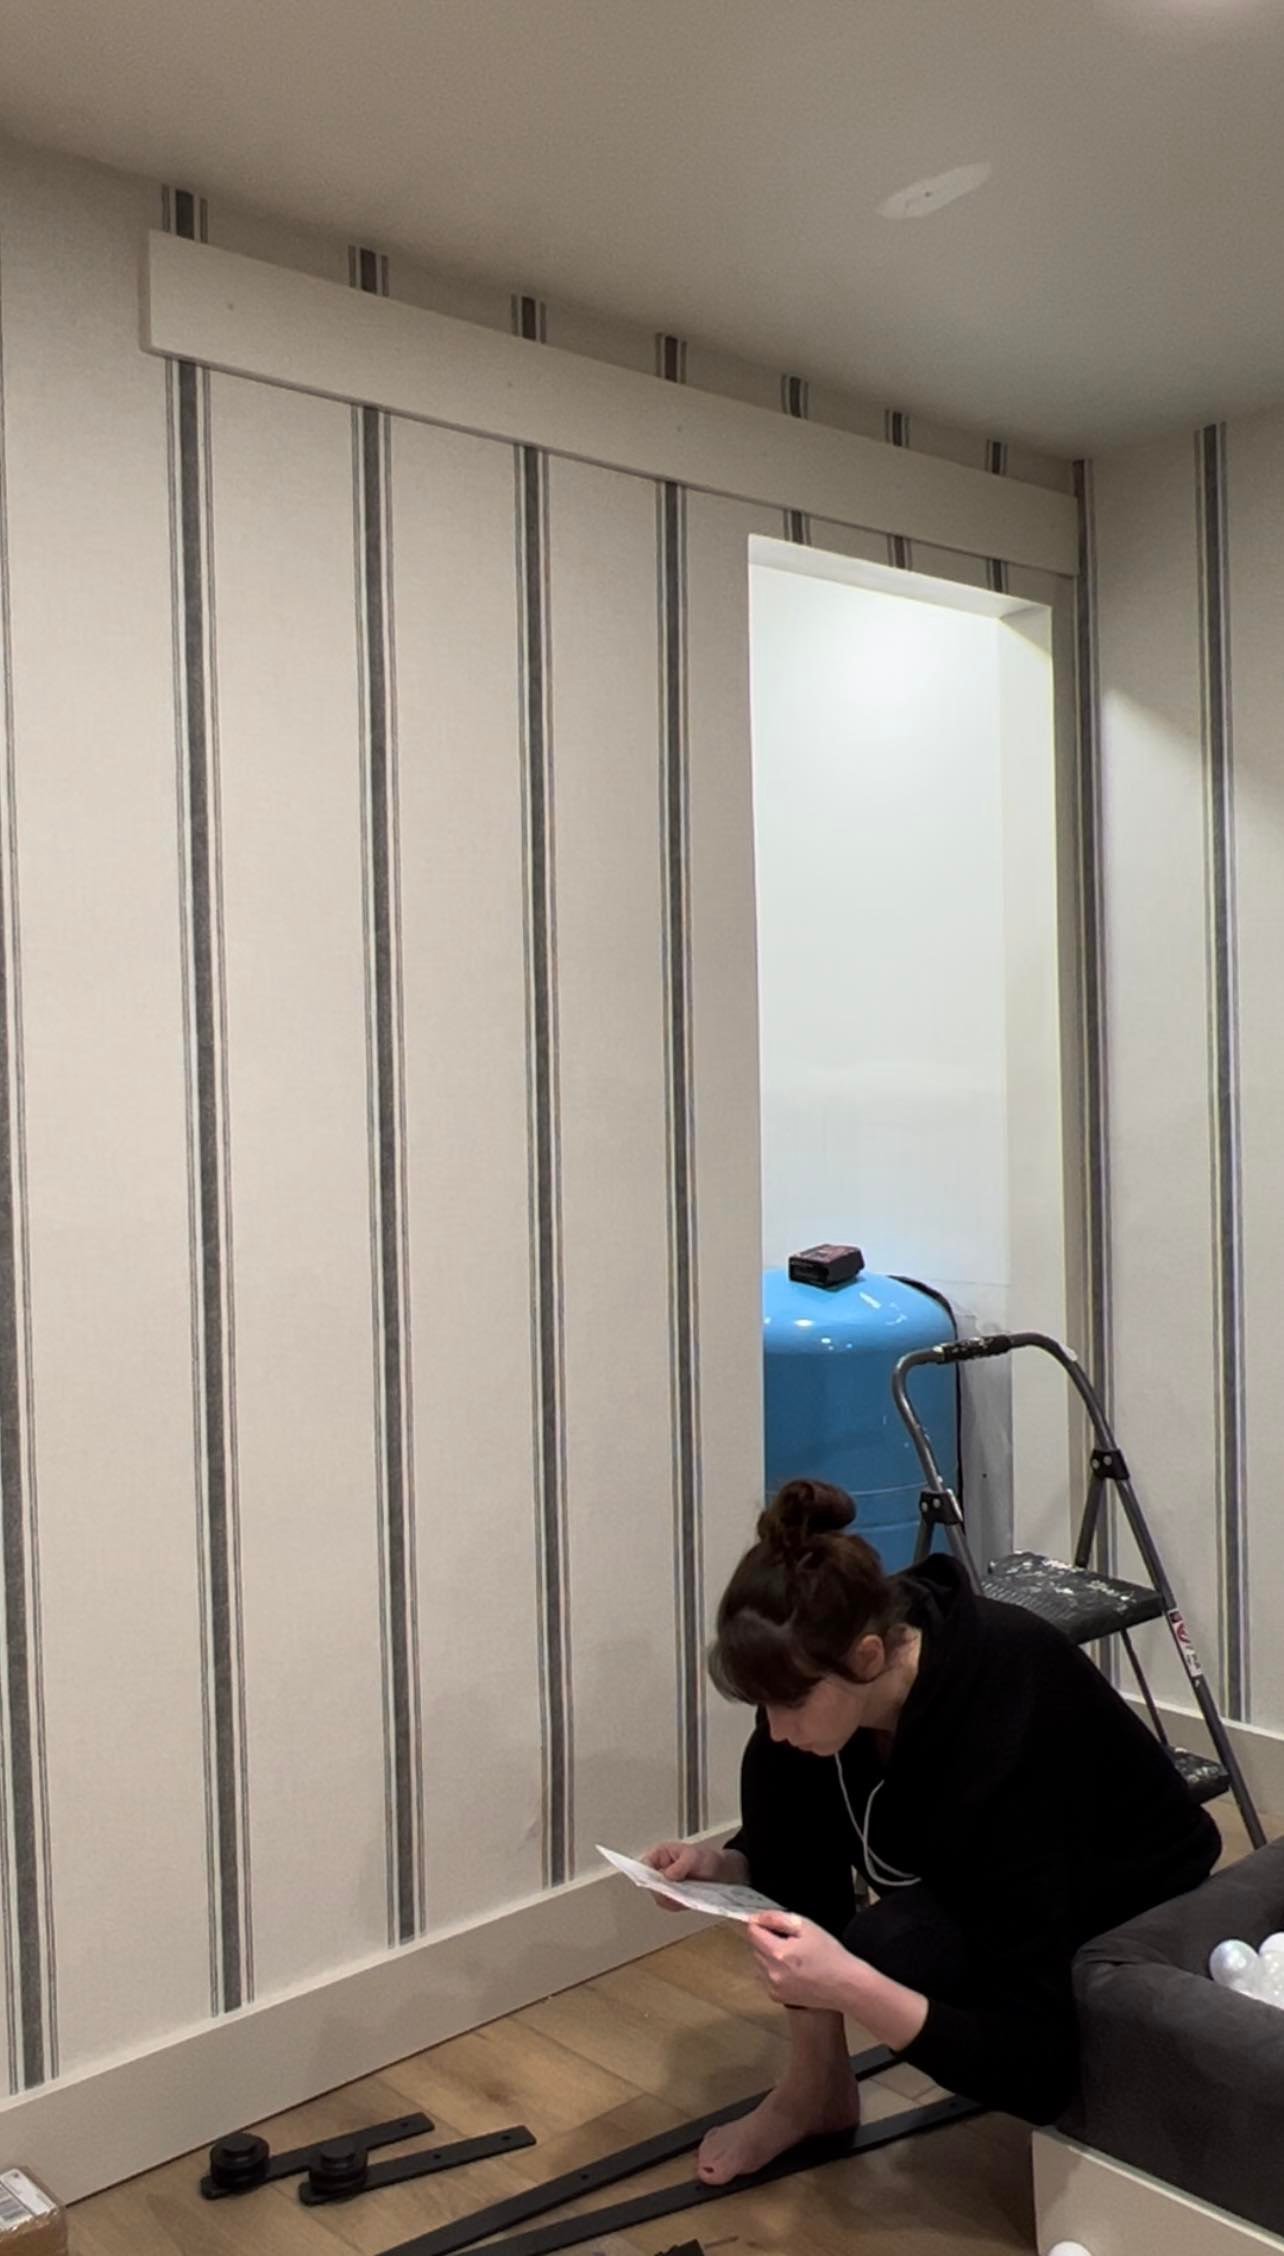
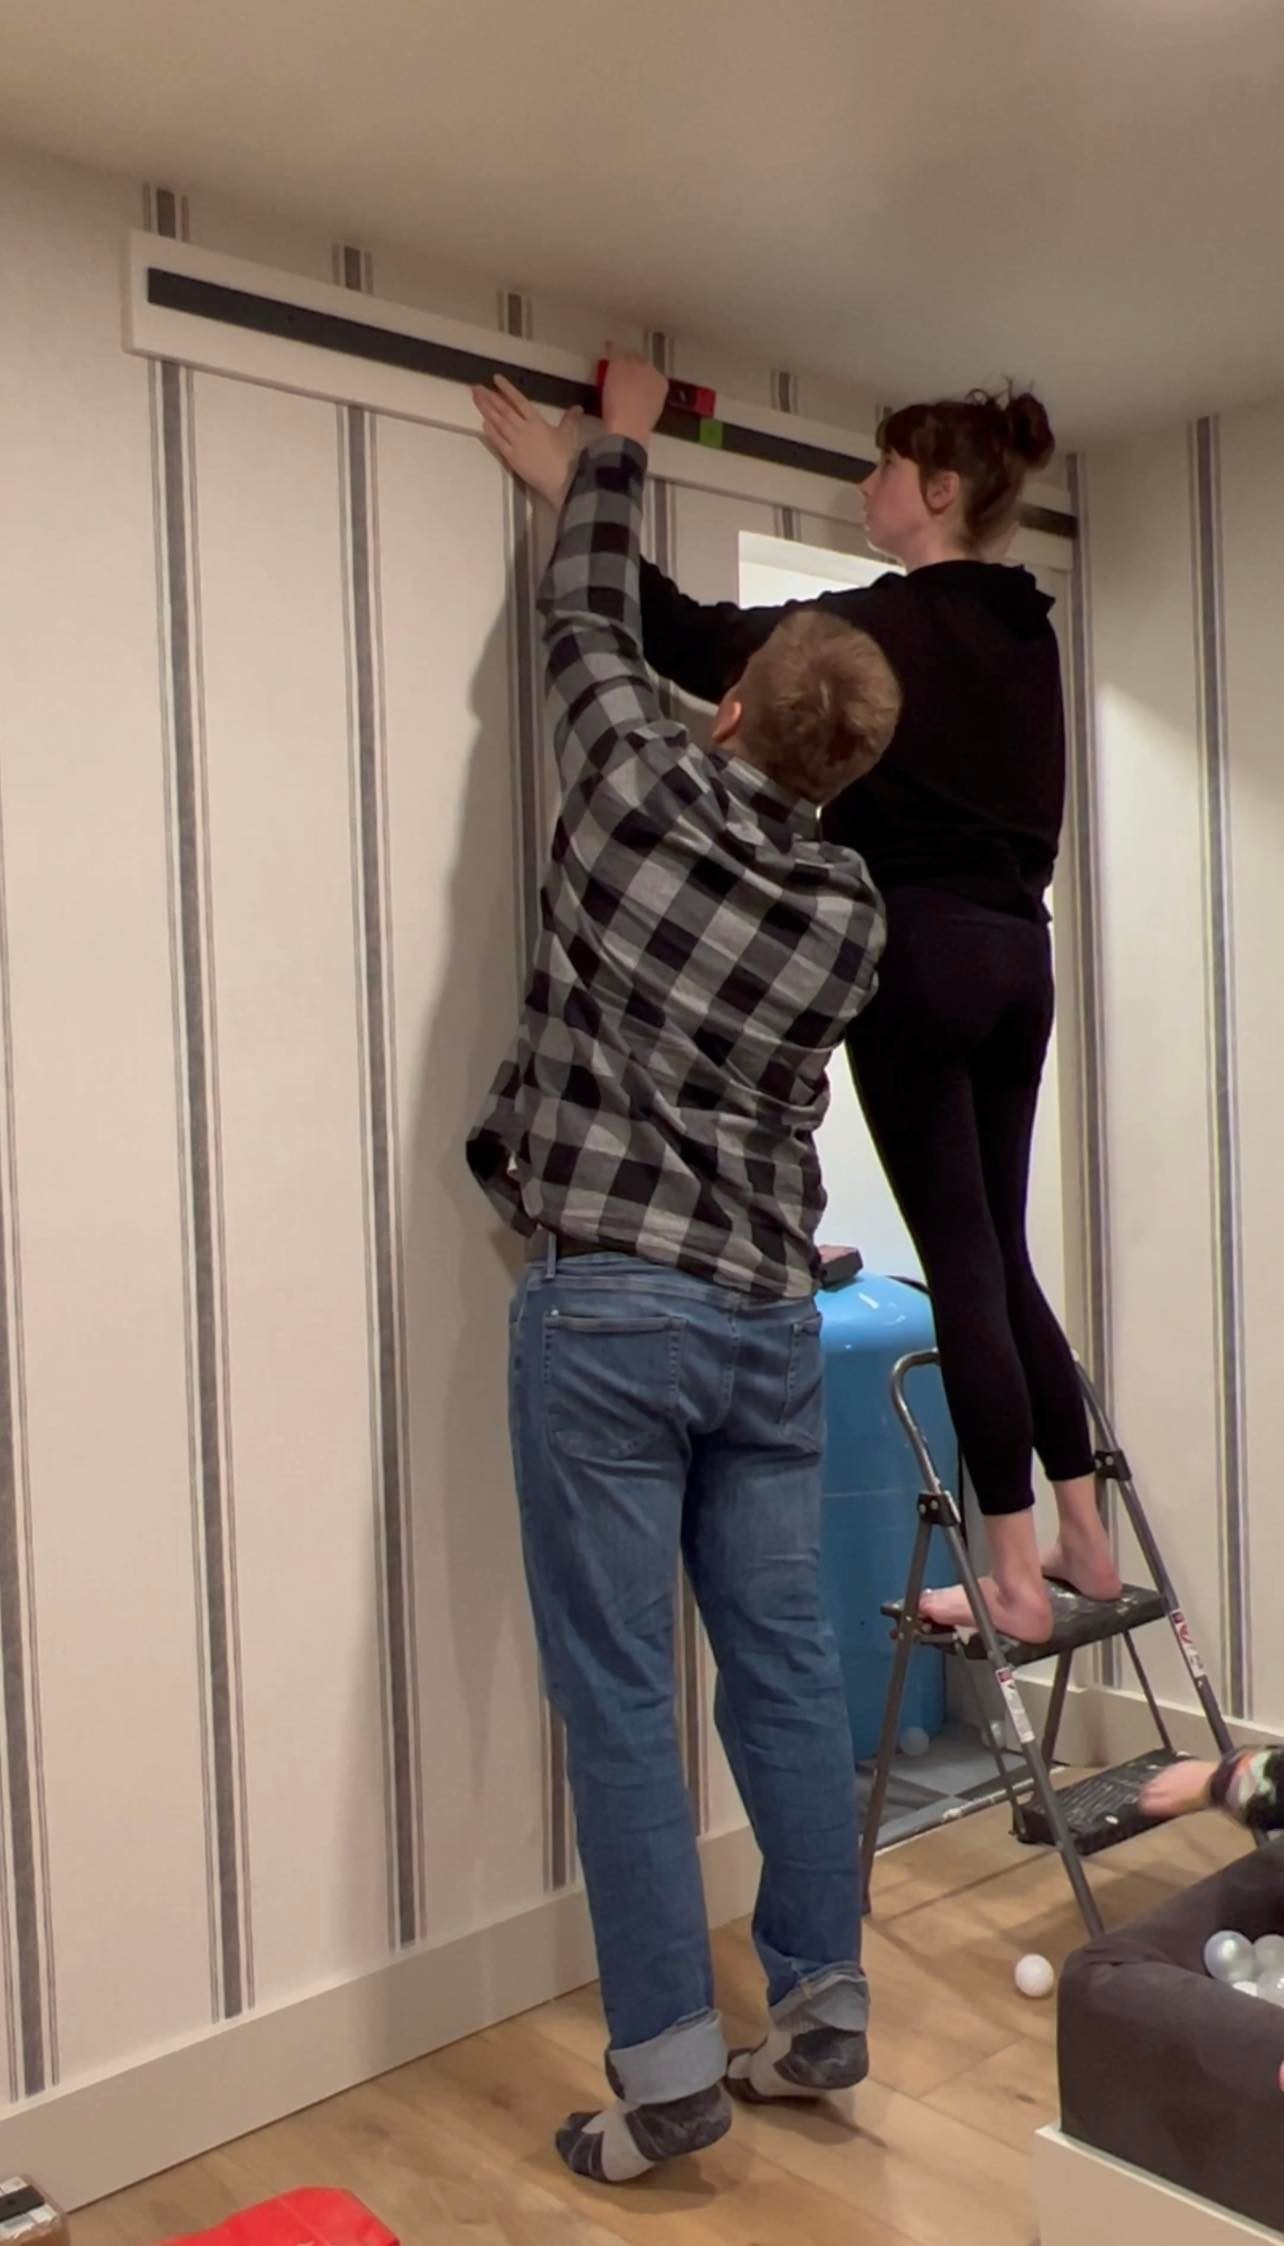
depending on your baseboard size, you will want to match the hardware track board. my baseboards are 5.5” tall and .75” thick. so i matched this in a track board. i first painted it the same color as my walls and then i used a stud finder to mount it to the studs with 3” screws. this is important because your hardware might not line up perfectly with your wall studs and this makes it really secure. it also helps push the door out so when you open and close it, it doesn’t scratch your baseboards.
we followed the hardware mounting instructions and then once the pieces were all together, we hung the door!
paint colors:-door: black by behr
-walls: swiss coffee by behr
-trim: aged beige by behr
this door is really easy for beginners and can be beautiful when it’s done! i love that i can close it when i don’t want to see the water pressure tank and then open it up during the day for my kids to get the toys out of the closet. it could also be a great solution for bathrooms that are narrow and you still want a door for privacy or even laundry rooms in the same situation.
check out my video tutorial on instagram!
happy diying!
xoxo-taylor