how to hang pre-pasted wallpaper
if you’re like me, wallpaper sounded really intimidating & something i was never going to try. but then -insert heart eyes- you start seeing all the pretty patterns + you just really want to add it to a certain room. then you wonder what kind of wallpaper should you buy? there are three types:
-peel and stick, it’s in the name! just peel off the backing and apply it to the wall. If you redecorate often, it’s easy to remove and replace. the only downside, it doesn’t shift well when you are trying to reposition the panel, so you will have to pull the whole thing off and move it over if needed
-non-pasted, This wallpaper does not come prepared with adhesive so you’ll need to use paste to apply it to your wall. Though the pasting process can be messy and particular, it tends to produce the most long-lasting results
-pre-pasted (the kind we are talking about!), Just add water and this wallpaper is ready for application. No messy paste required. Though quick and easy, this application style unfortunately doesn’t last as long as the others
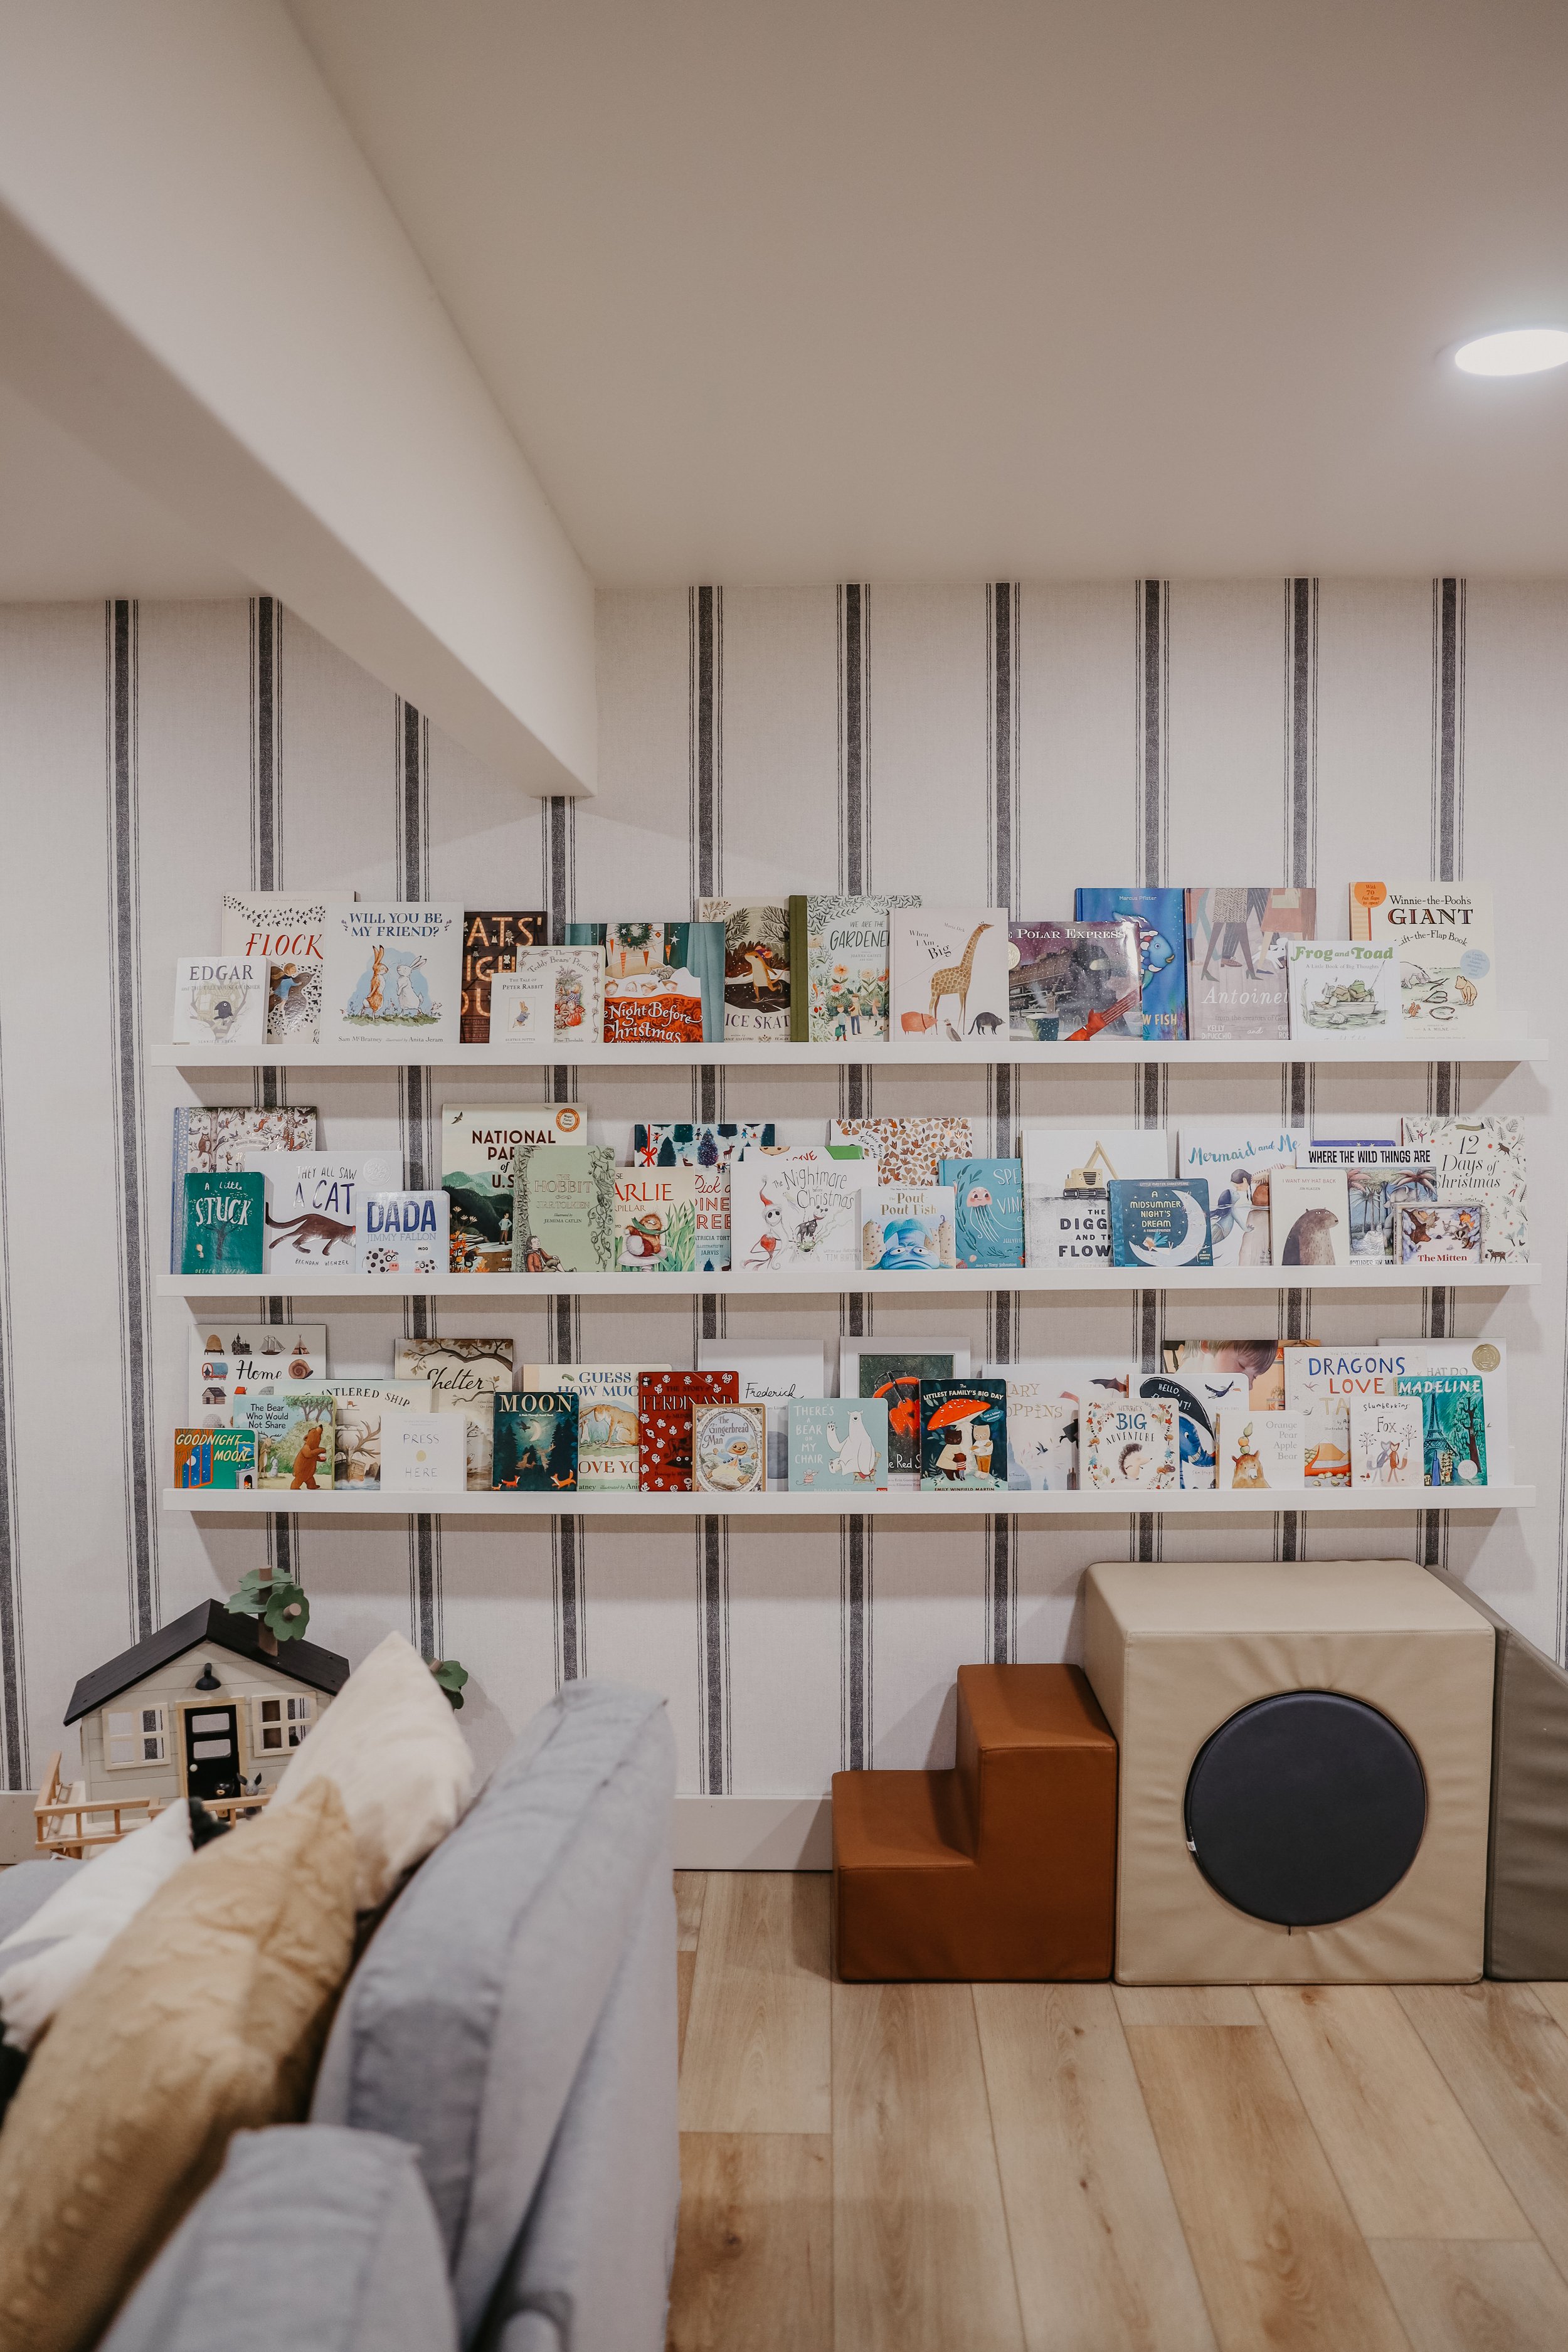
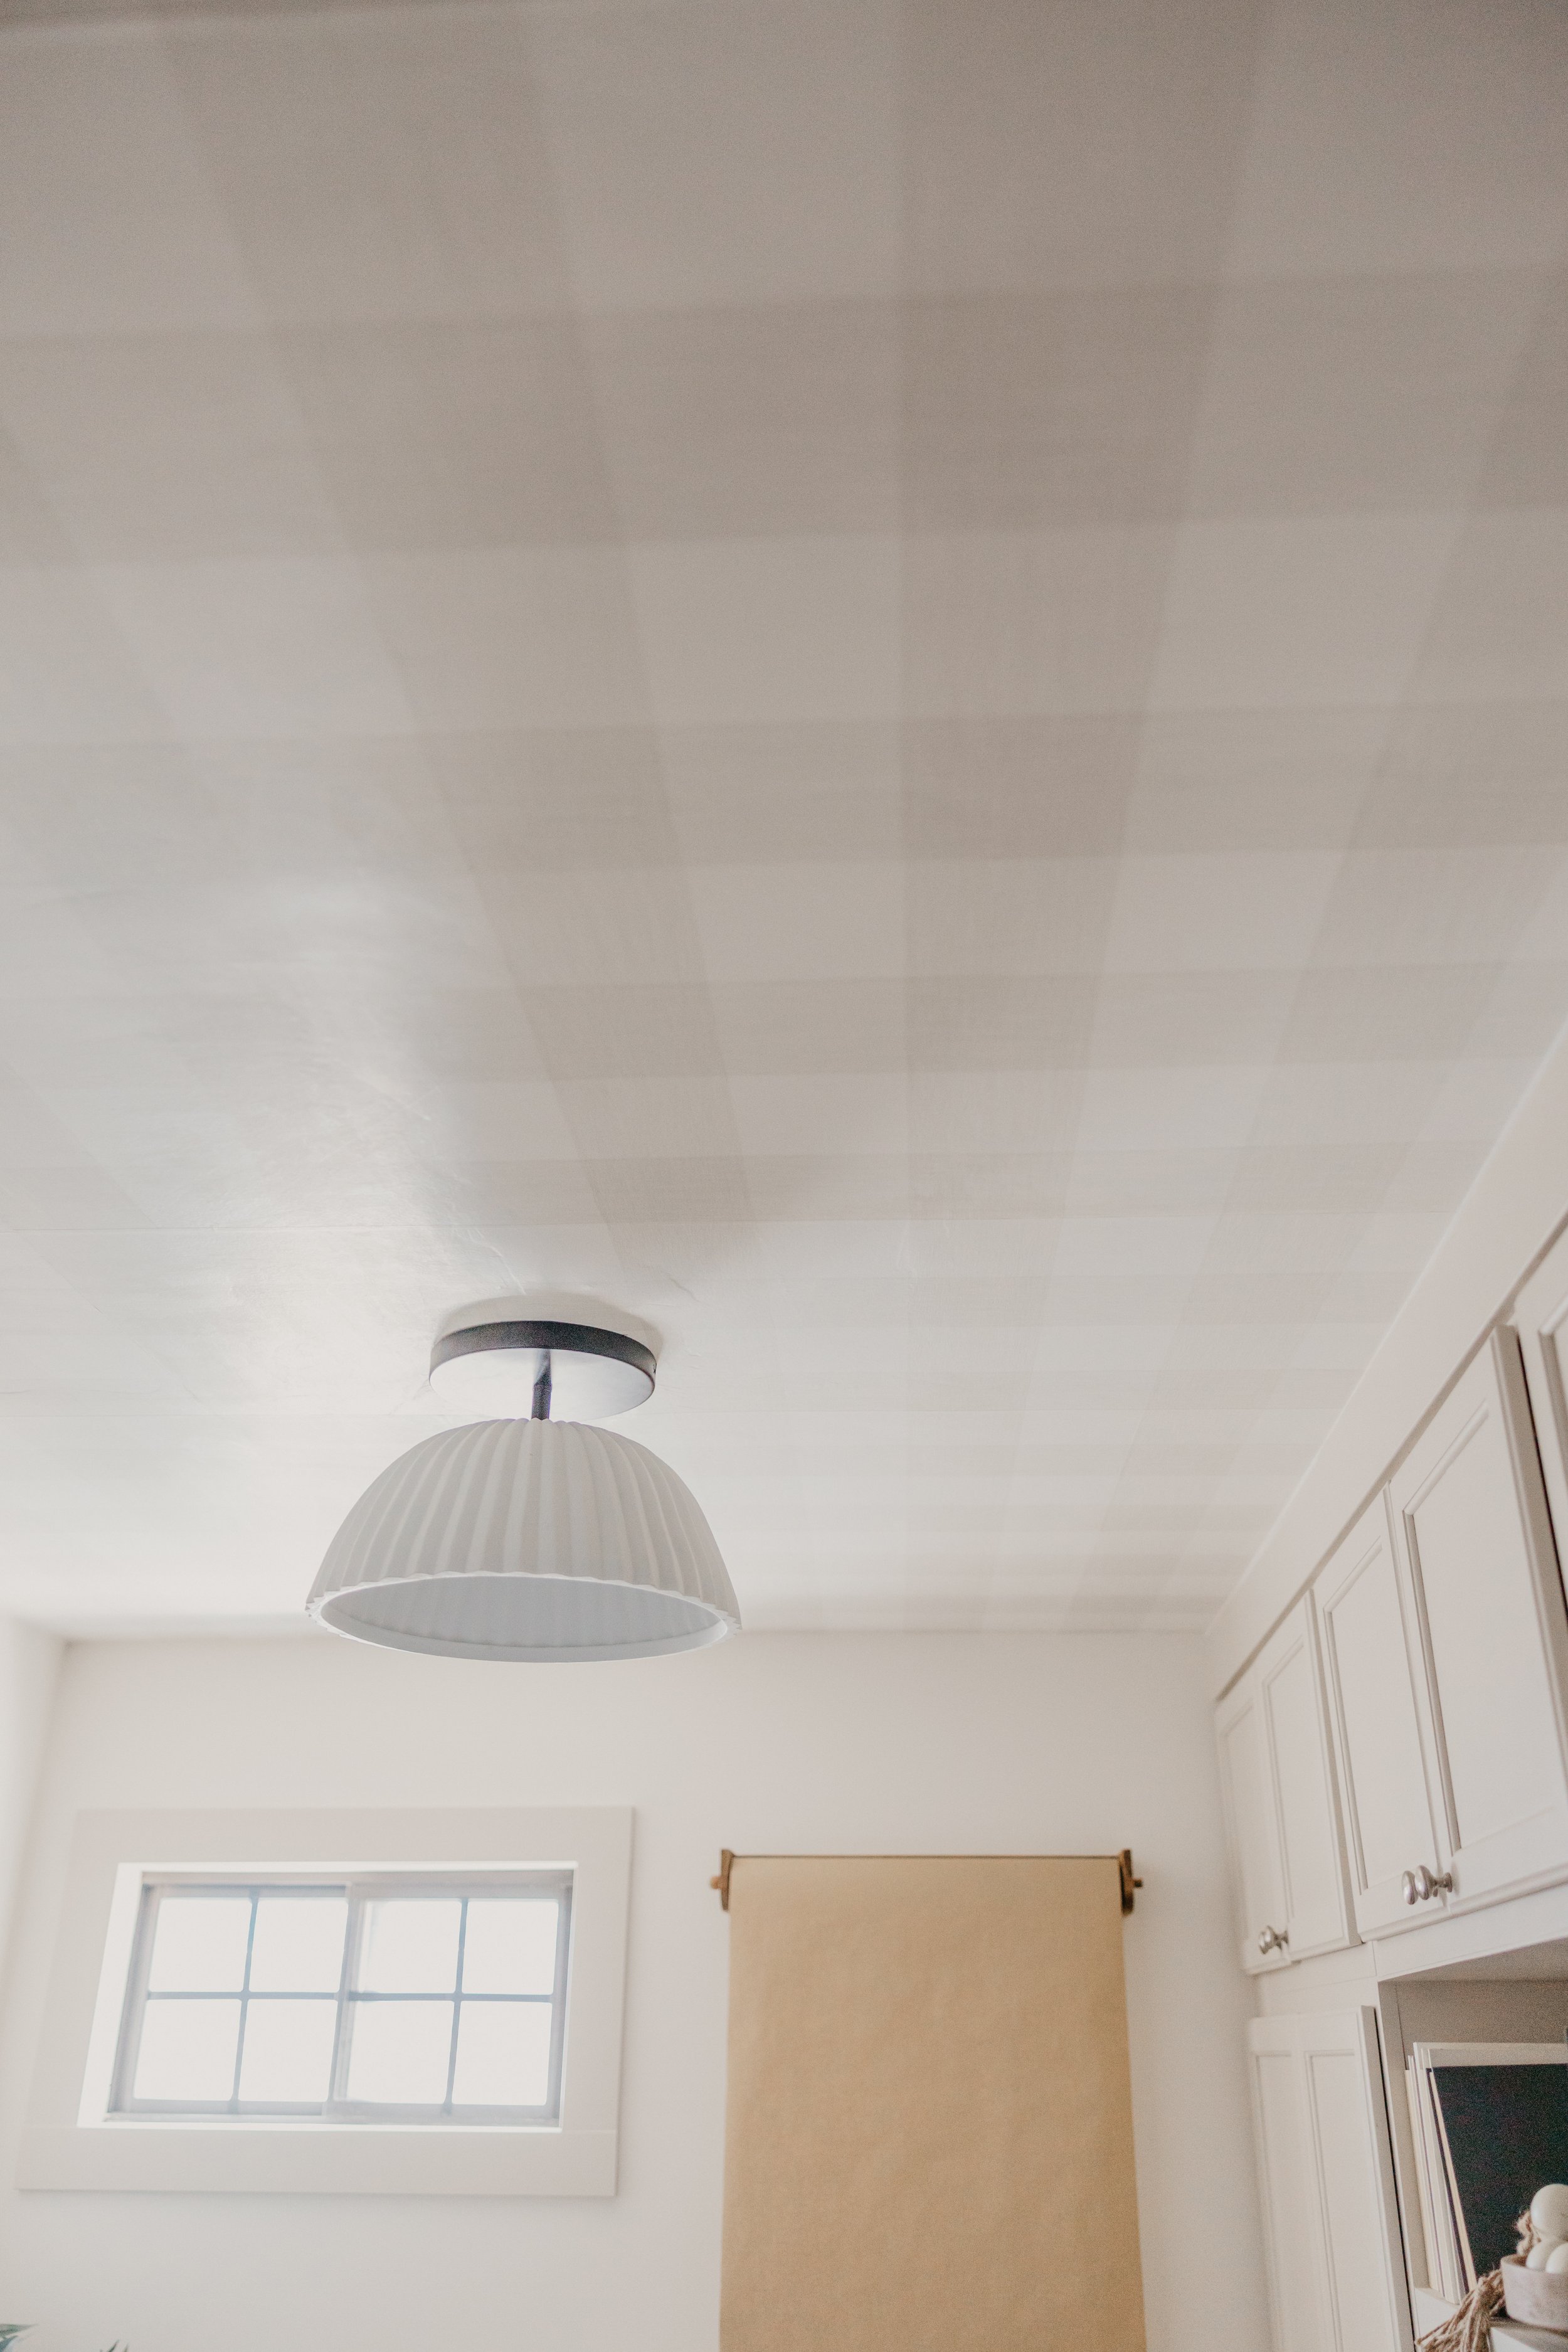
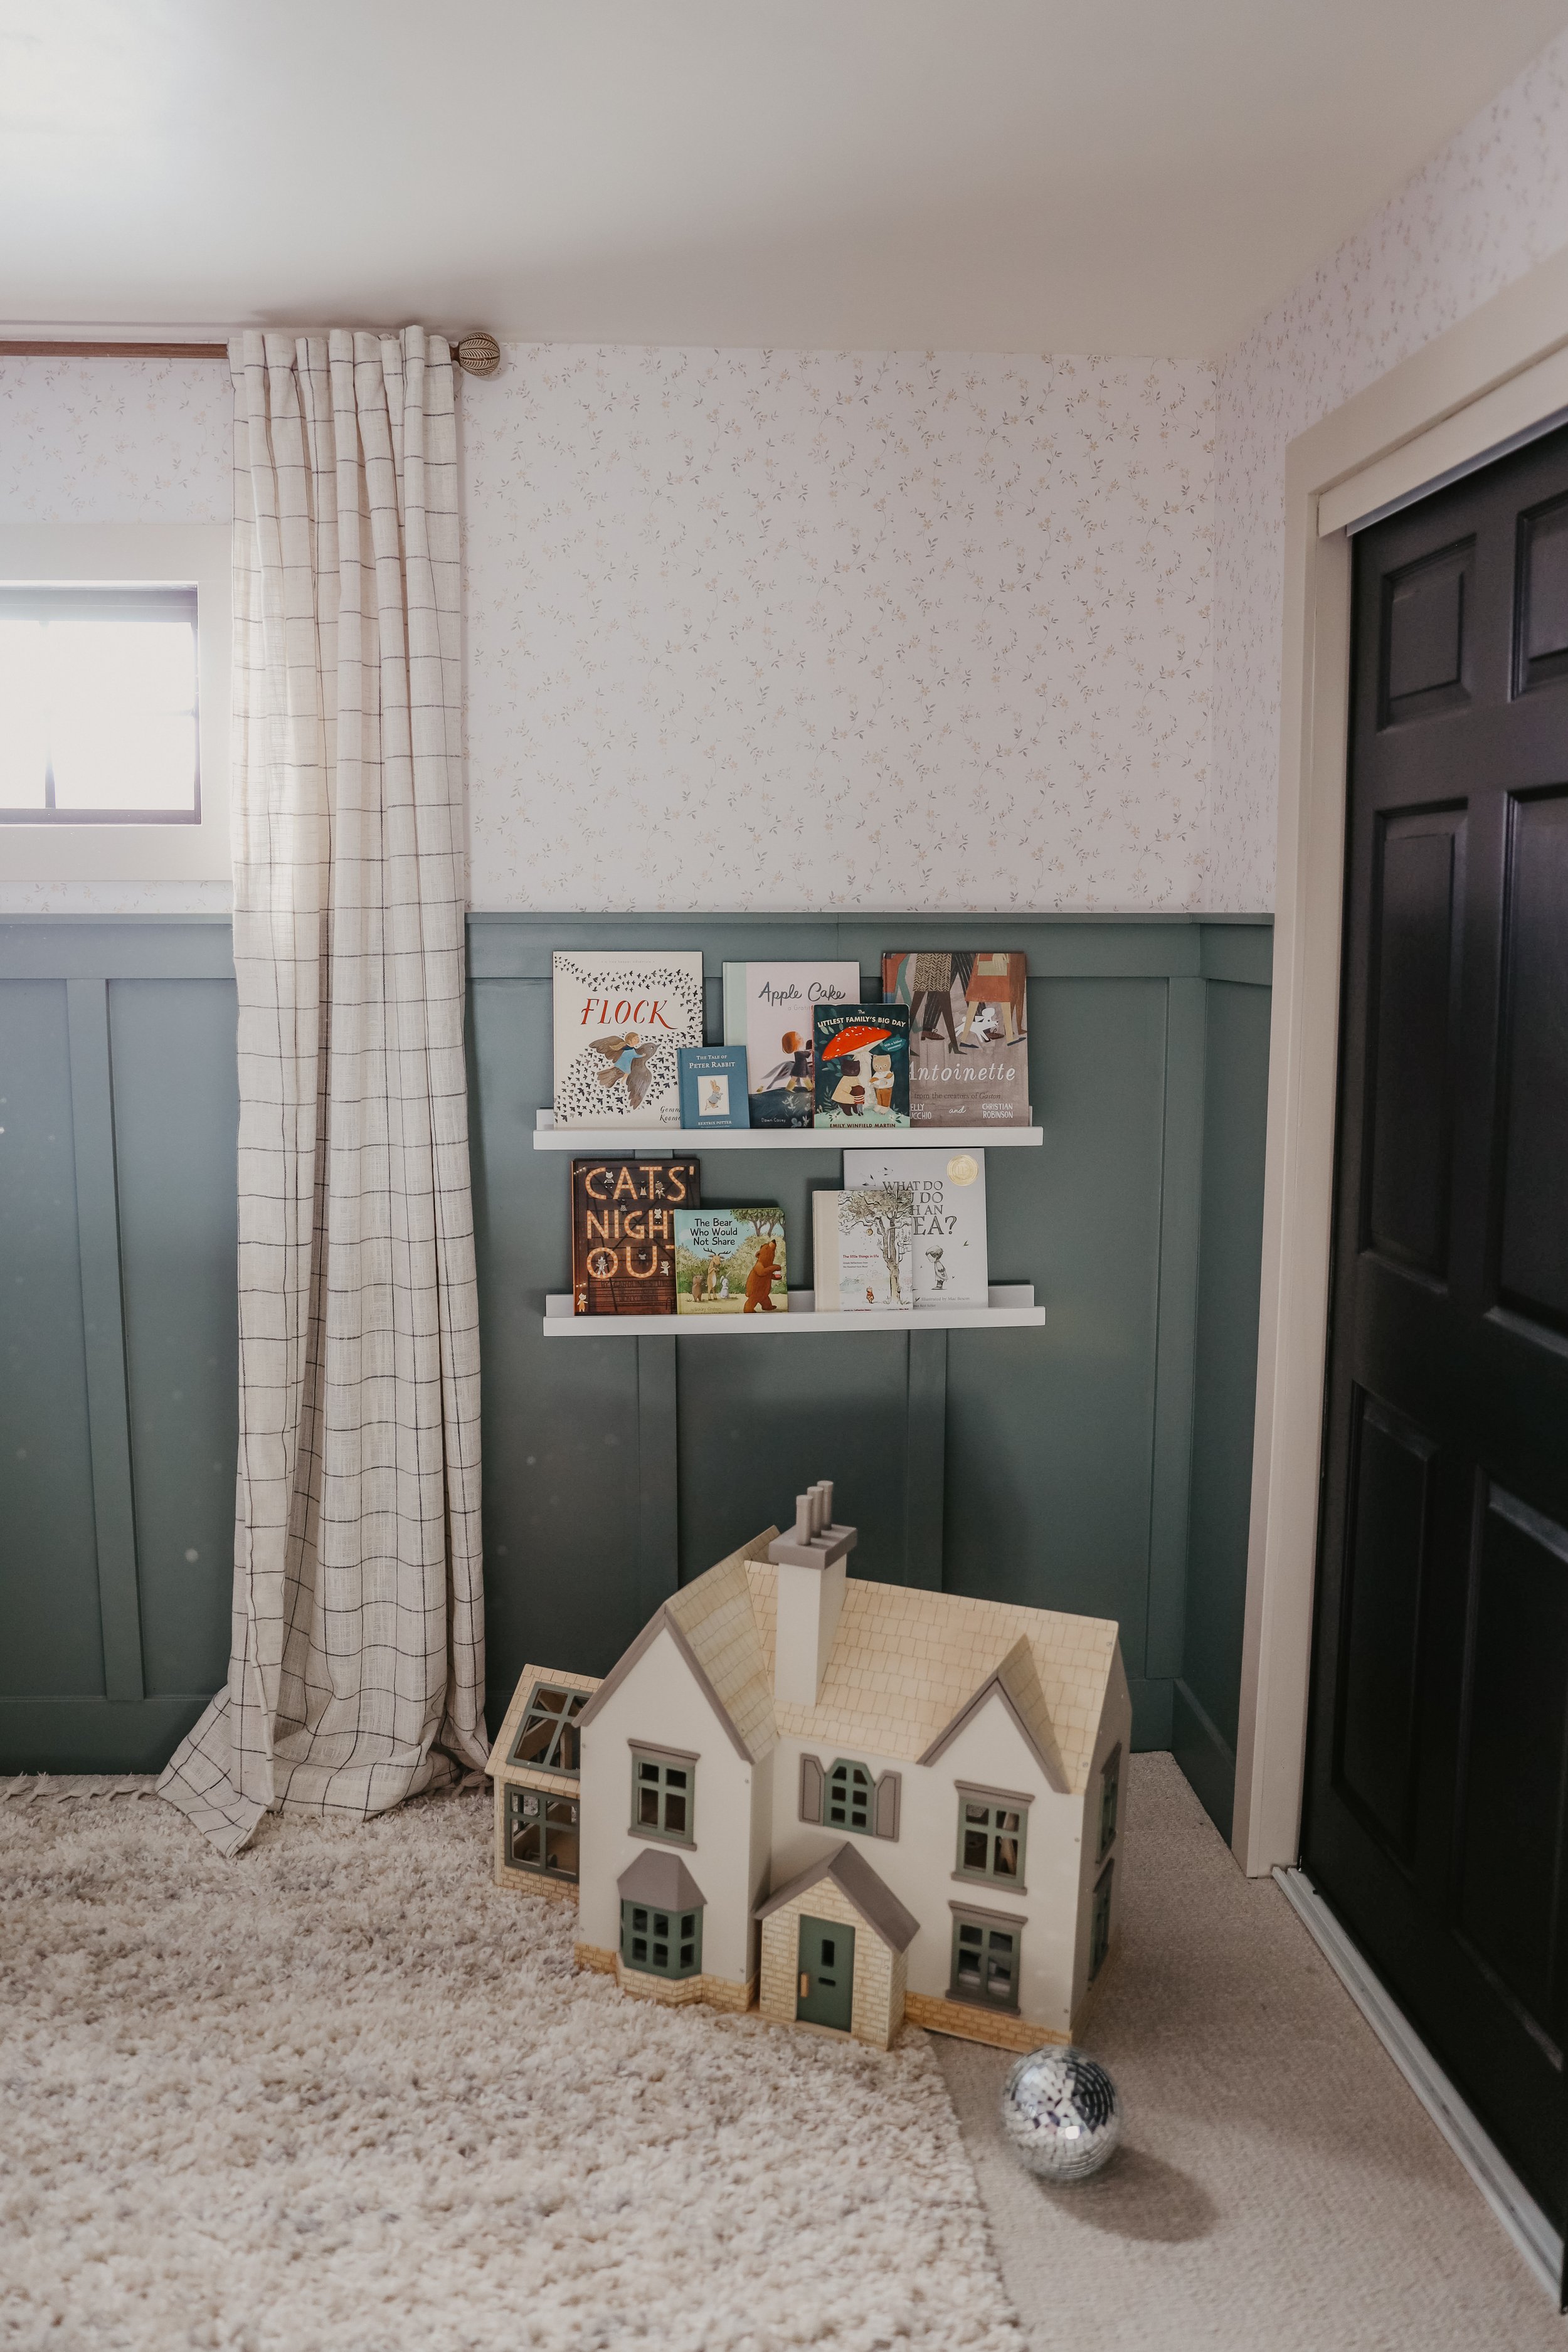
after you decide which kind is best for your space, you order it and wait for it to arrive. then when it shows up, it’s time to install! i’ve added pre-pasted wallpaper to three spaces in my house so far; in my office, on the ceiling ( i love it so much), in the playroom and in my twins’ room. each application i followed the same steps and so far it is holding up great.
supplies:-wallpaper of choice
-wallpaper scraper
-box cutter or razor blade
-spray bottle with water
-towel or wipes
-laser level
steps:measure the vertical wall space you are trying to cover. you will only be able to go as wide a the panel, but you want to cover the vertical space in one piece, trying to minimize the seams.
then roll out and cut your piece.
set up your laser level so you keep your paper straight despite the imperfections in your walls.
next use your spray bottle and spray down half of the paper thoroughly. you want to make sure the edges are nice and wet, otherwise it won’t stick like it should.
take the two corners and fold into the middle of the paper where your spray line is. press the paper onto itself without creasing the edge that you folded over. this is called “booking” and it helps the glue activate on the wallpaper. then repeat your steps on the other half of the paper and let the whole thing sit for a few minutes.
then, grab two of the corners and pull that half of the paper up. start by laying the paper on the wall where you want it, but give yourself an extra inch or two at the top of the paper so you have room for any imperfections in your wall/ceiling. i specifically love pre-pasted wallpaper because after the panel is laid on the wall, i can still maneuver and adjust it without pulling the whole panel off.
then start smoothing out the paper with your hand + wallpaper scraper. you want to remove any air bubbles, otherwise your paper will show this when it is dry. once it is all smoothed out where you want it, trim off the extra top edge and bottom edge.
after your first panel is set and smooth, repeat this process for as many other panels as you need to cover your desired space. then wipe off any excess glue on the paper or anywhere else on your walls/ceiling.
wallpaper typically takes a few hours to fully dry, so i usually wait 24 hours before i hang anything back on the wall over the wallpaper.
wallpapering is not hard my friends! just time consuming and a little bit of a learning curve, but something that is totally doable! now go out there and get wallpapering. have questions? send me a message!