Guest room makeover | board + batten

went back to my parent’s house last month for another quick project! this is the second room i’ve done a board and batten trim in + it definitely adds so much character! it has such a timeless look and can honestly be paired with any design style in my opinion. this room only took me 5 days to get done, but if you don’t have kids you could probably do it in 2 or 3 haha
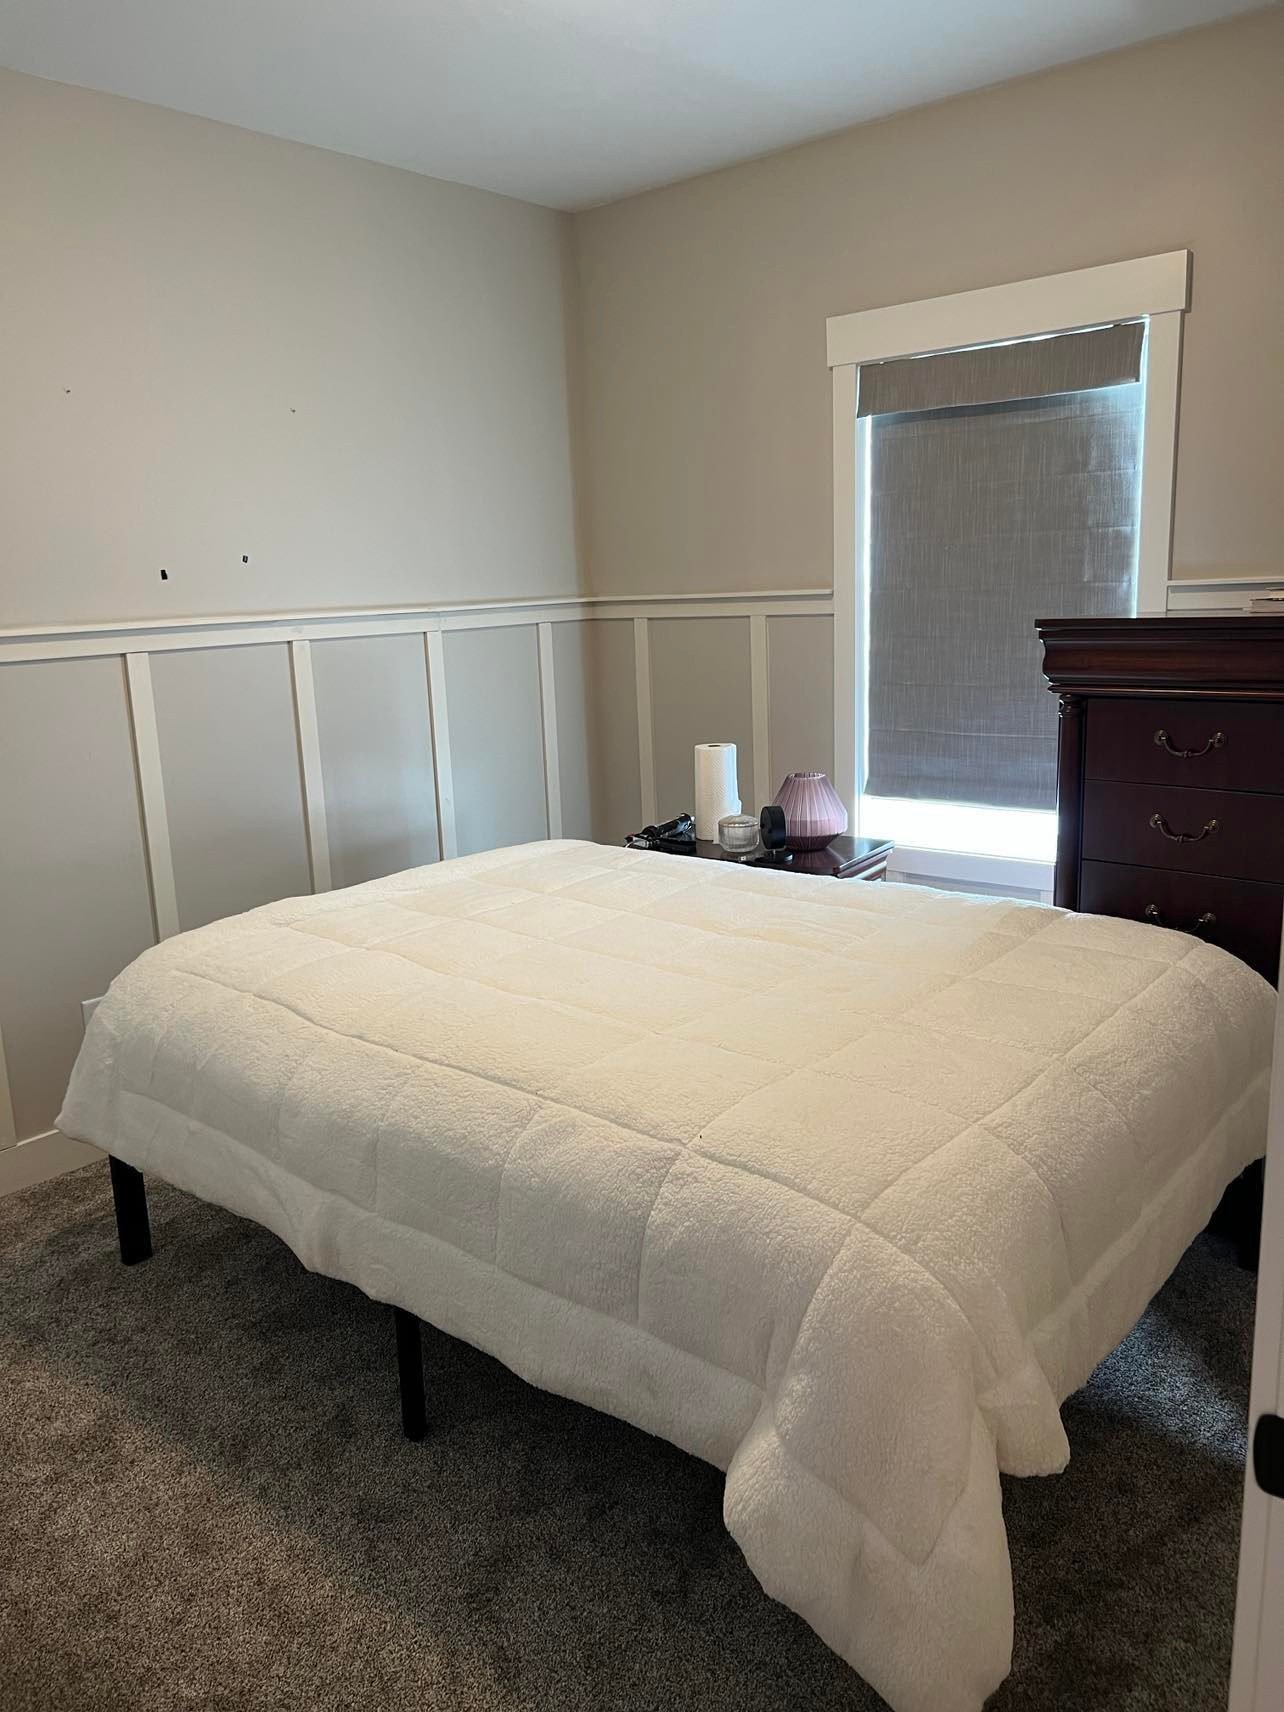
steps:the first step is to measure your walls and determine how tall you want the trim to be. they have 108” ceilings, so we went with about 54” tall, including the baseboards. this was a good height for them because we didn’t have any wasted material. if you want a more dramatic look, definitely go higher, like 2/3 of the wall height at least!
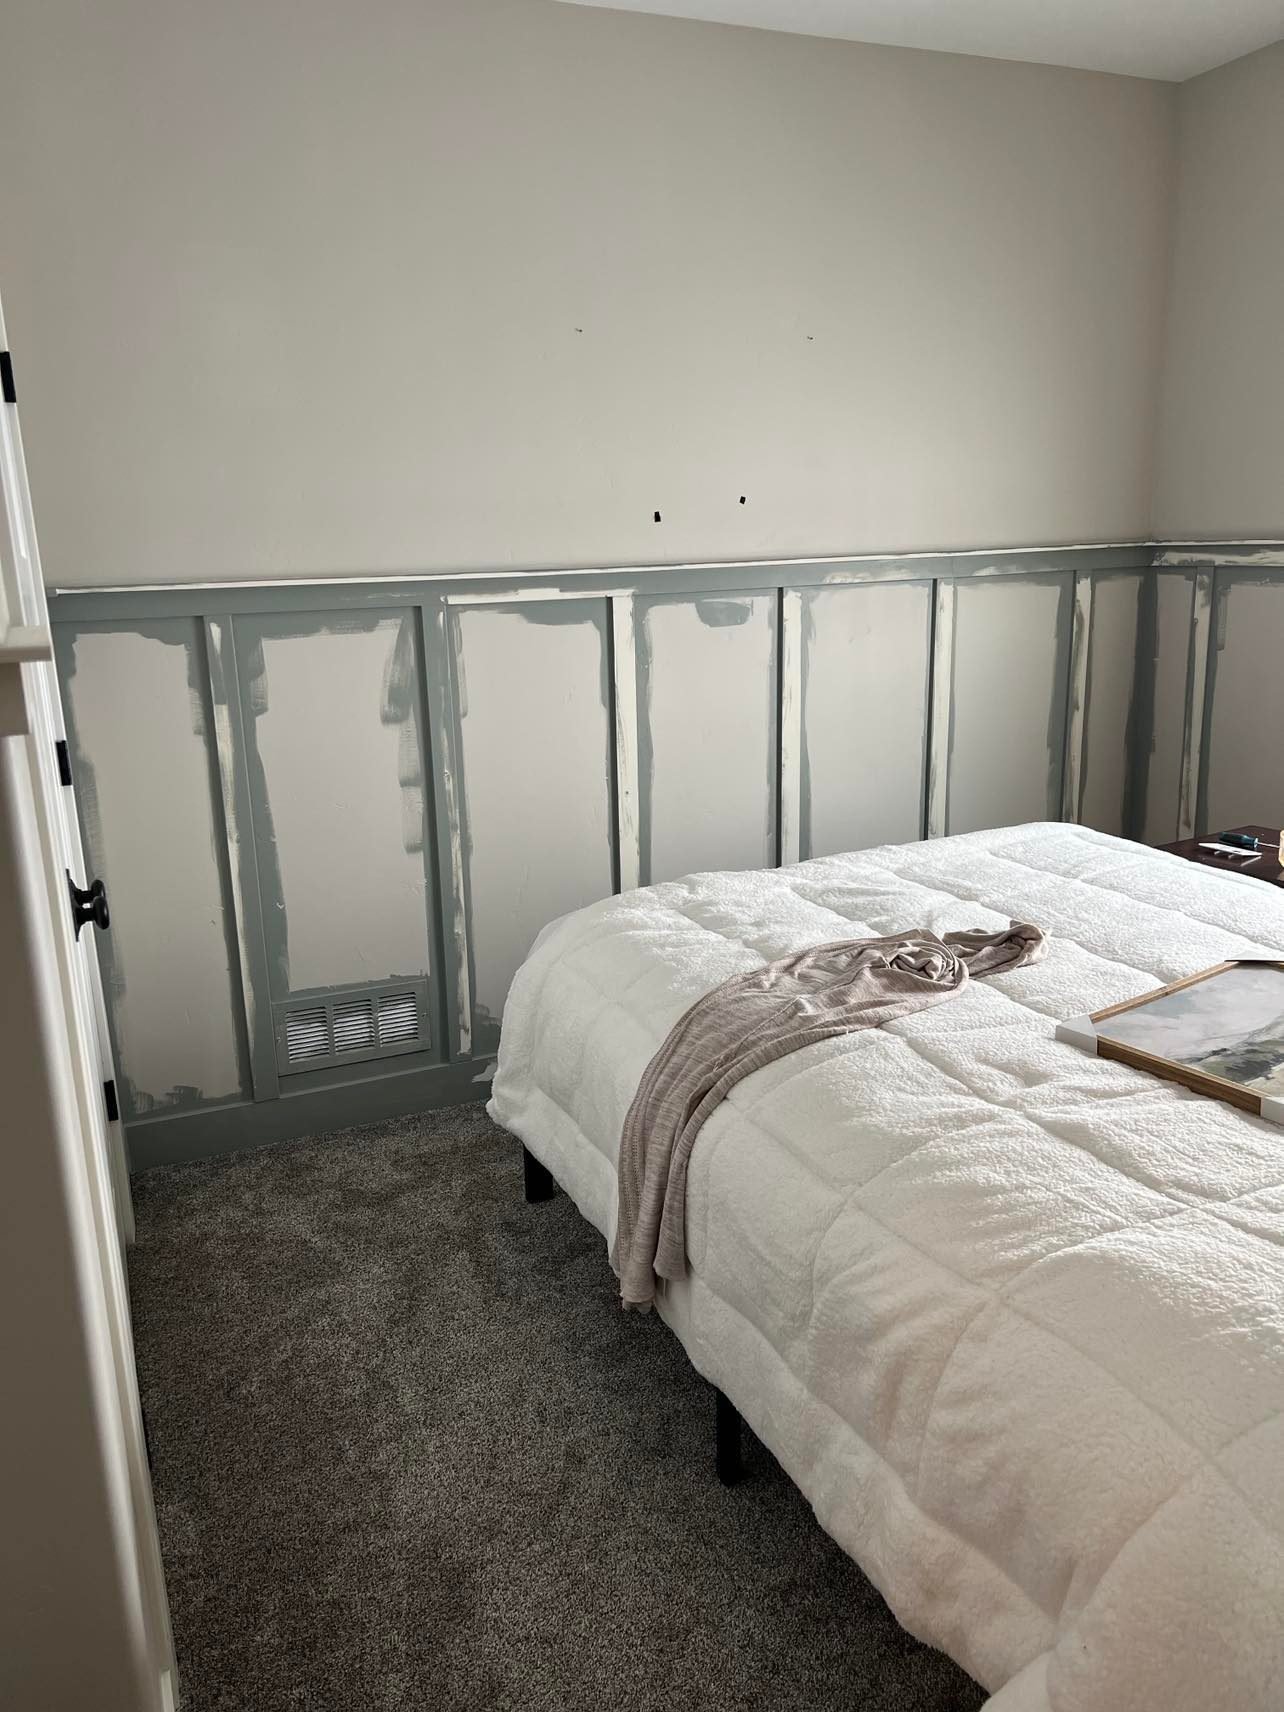
after that, plan our your spacing and pick out all the trim you will need tp complete the project. for their design, we used their existing 5.5” baseboards, then stacked 48” battens on top. we used 1 x 3 mdf for the battens and top trim piece. then we used a 1 x 2 for the top cap. we spaced the battens about 15” apart. you can space them anywhere from 12” to 22”, just depends on the look you are going for.
next, its time to cut! we used our miter saw to cut all the battens to 48”. we went one by one and spaced them and nailed them to the wall with a 18 gauge brad nailer. if you aren’t nailing into a stud, that’s okay, just shoot the nails into the board at an angle so they hold into the drywall better.
once you have all your vertical battens installed, measure out and add the top trim and top cap. if you can get one continuous piece, that always looks best! but if you can’t, you can miter the ends of the two connecting pieces to 45 degrees and they will have a smaller seam that will hardly be noticeable as long as you make sure they are level. you can also just butt them up to each other and make sure they are level as well. then wood fill the seam.
after you have all your trim on the wall, it is time to caulk and wood fill! i like to wood fill any nail holes and larger gaps between the boards. then you will caulk all the edges of the boards to really make it look professional and clean. this usually takes about 24 hours to fully dry, so come back the next day and sand down the wood filler you used.
after you have sanded and cleaned it all up, you are ready to paint! you can either tape it off and use a sprayer or hand paint it with an angled brush and foam roller. i usually opt for the latter because it doesn’t require as much prep work. but one day i’d like to be more confident with a sprayer!
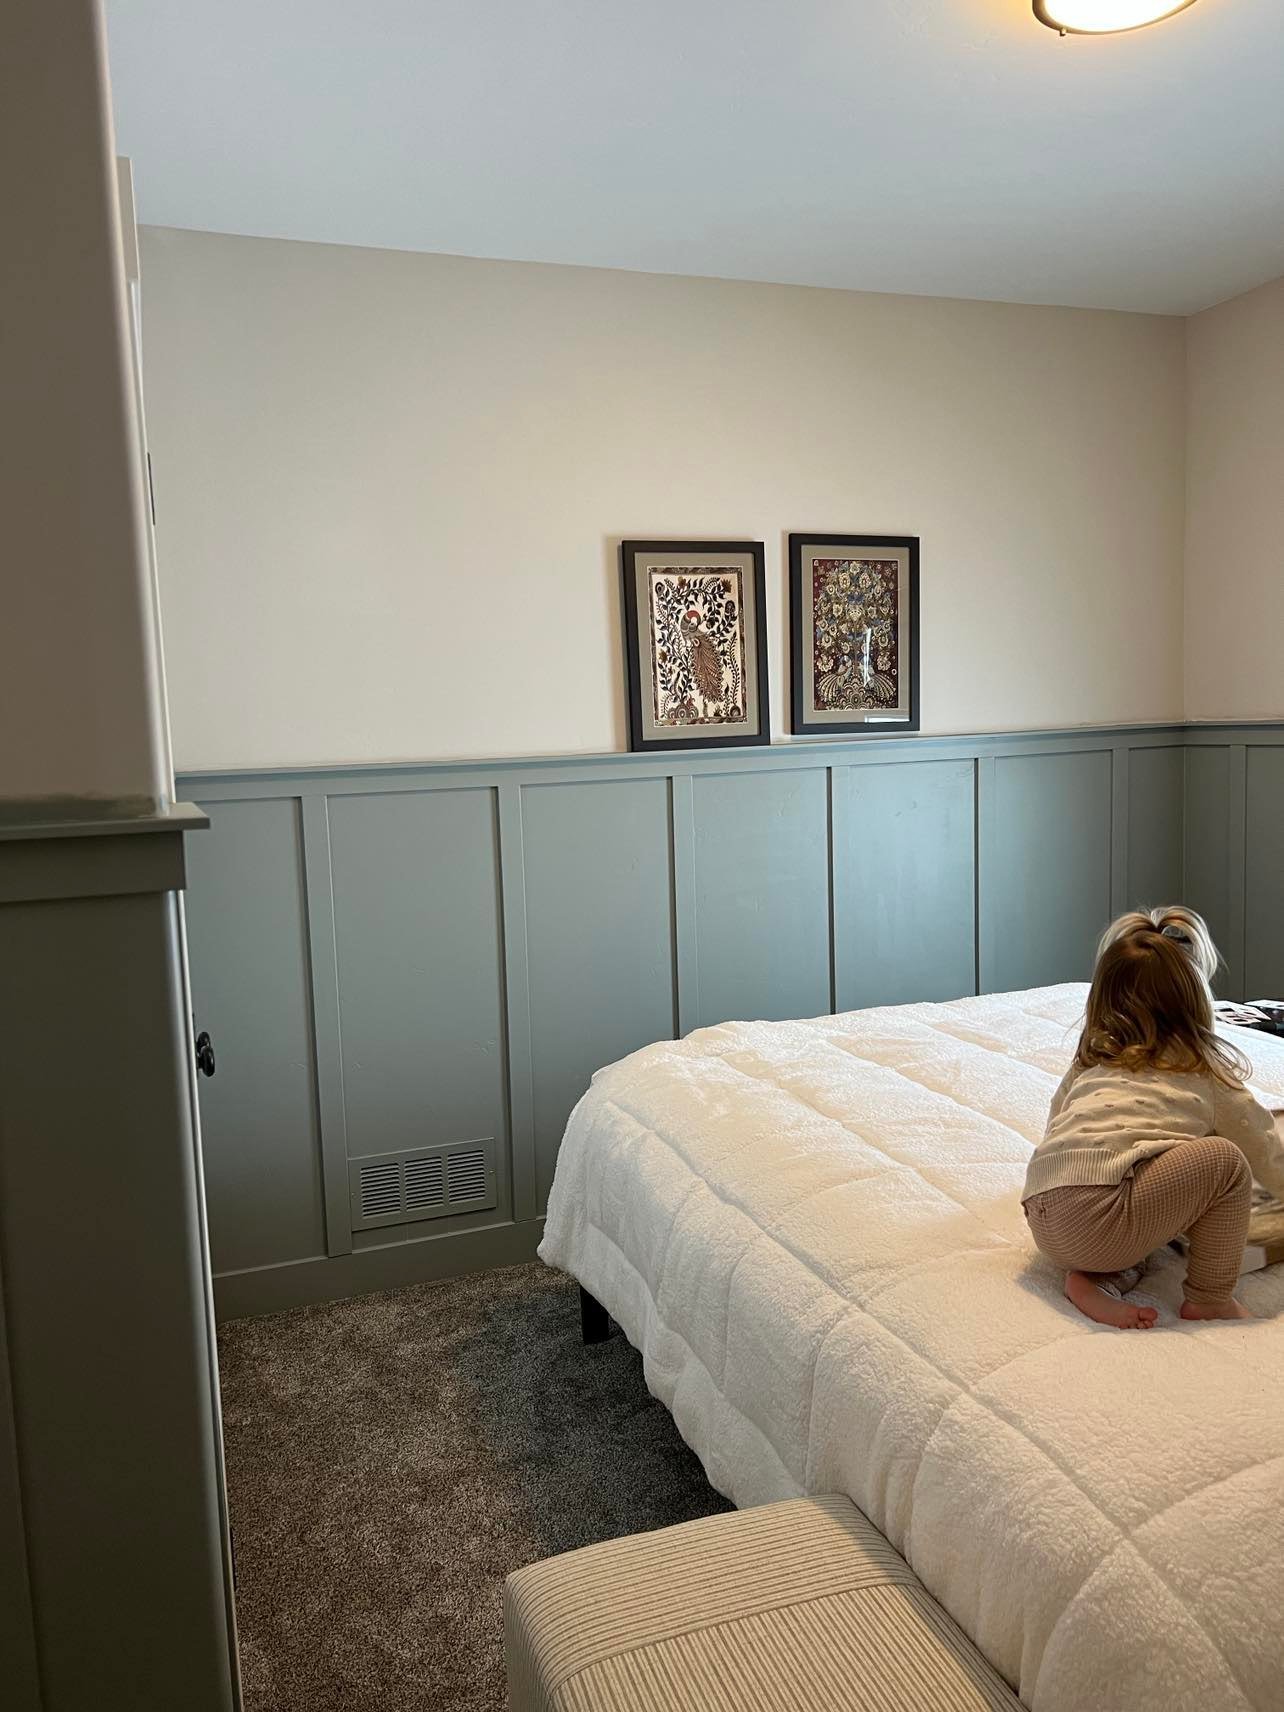
first when painting, i cut everything in with an angled brush. then when that is dry, i like to go around and roll everything. after the first coat is dry, i then roll a second coat. then after that is dry, i do any touch ups i missed. then we’re done!
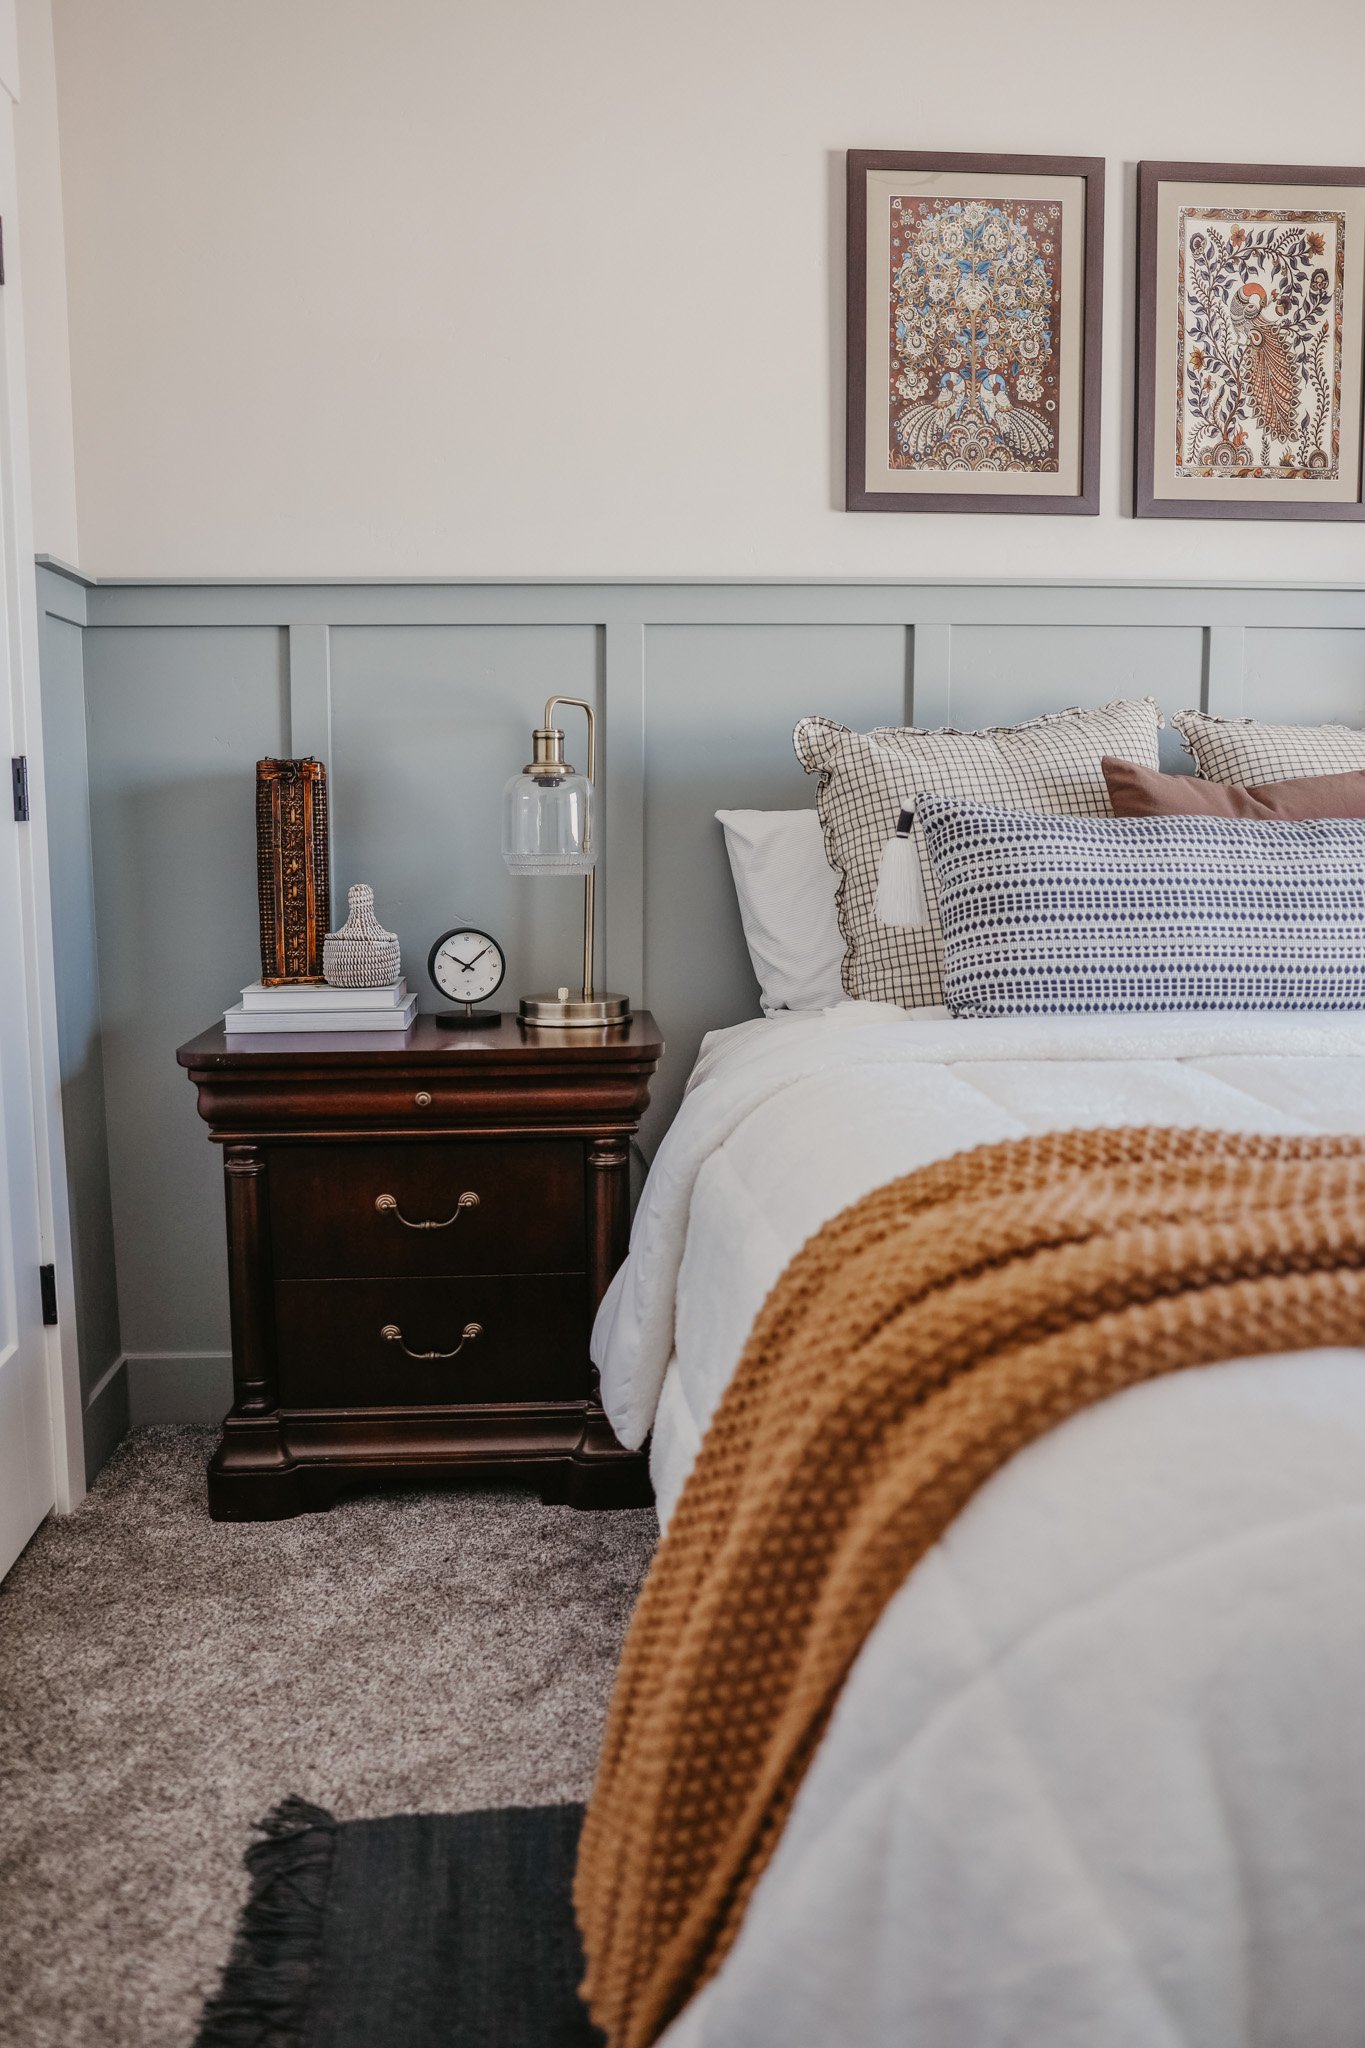
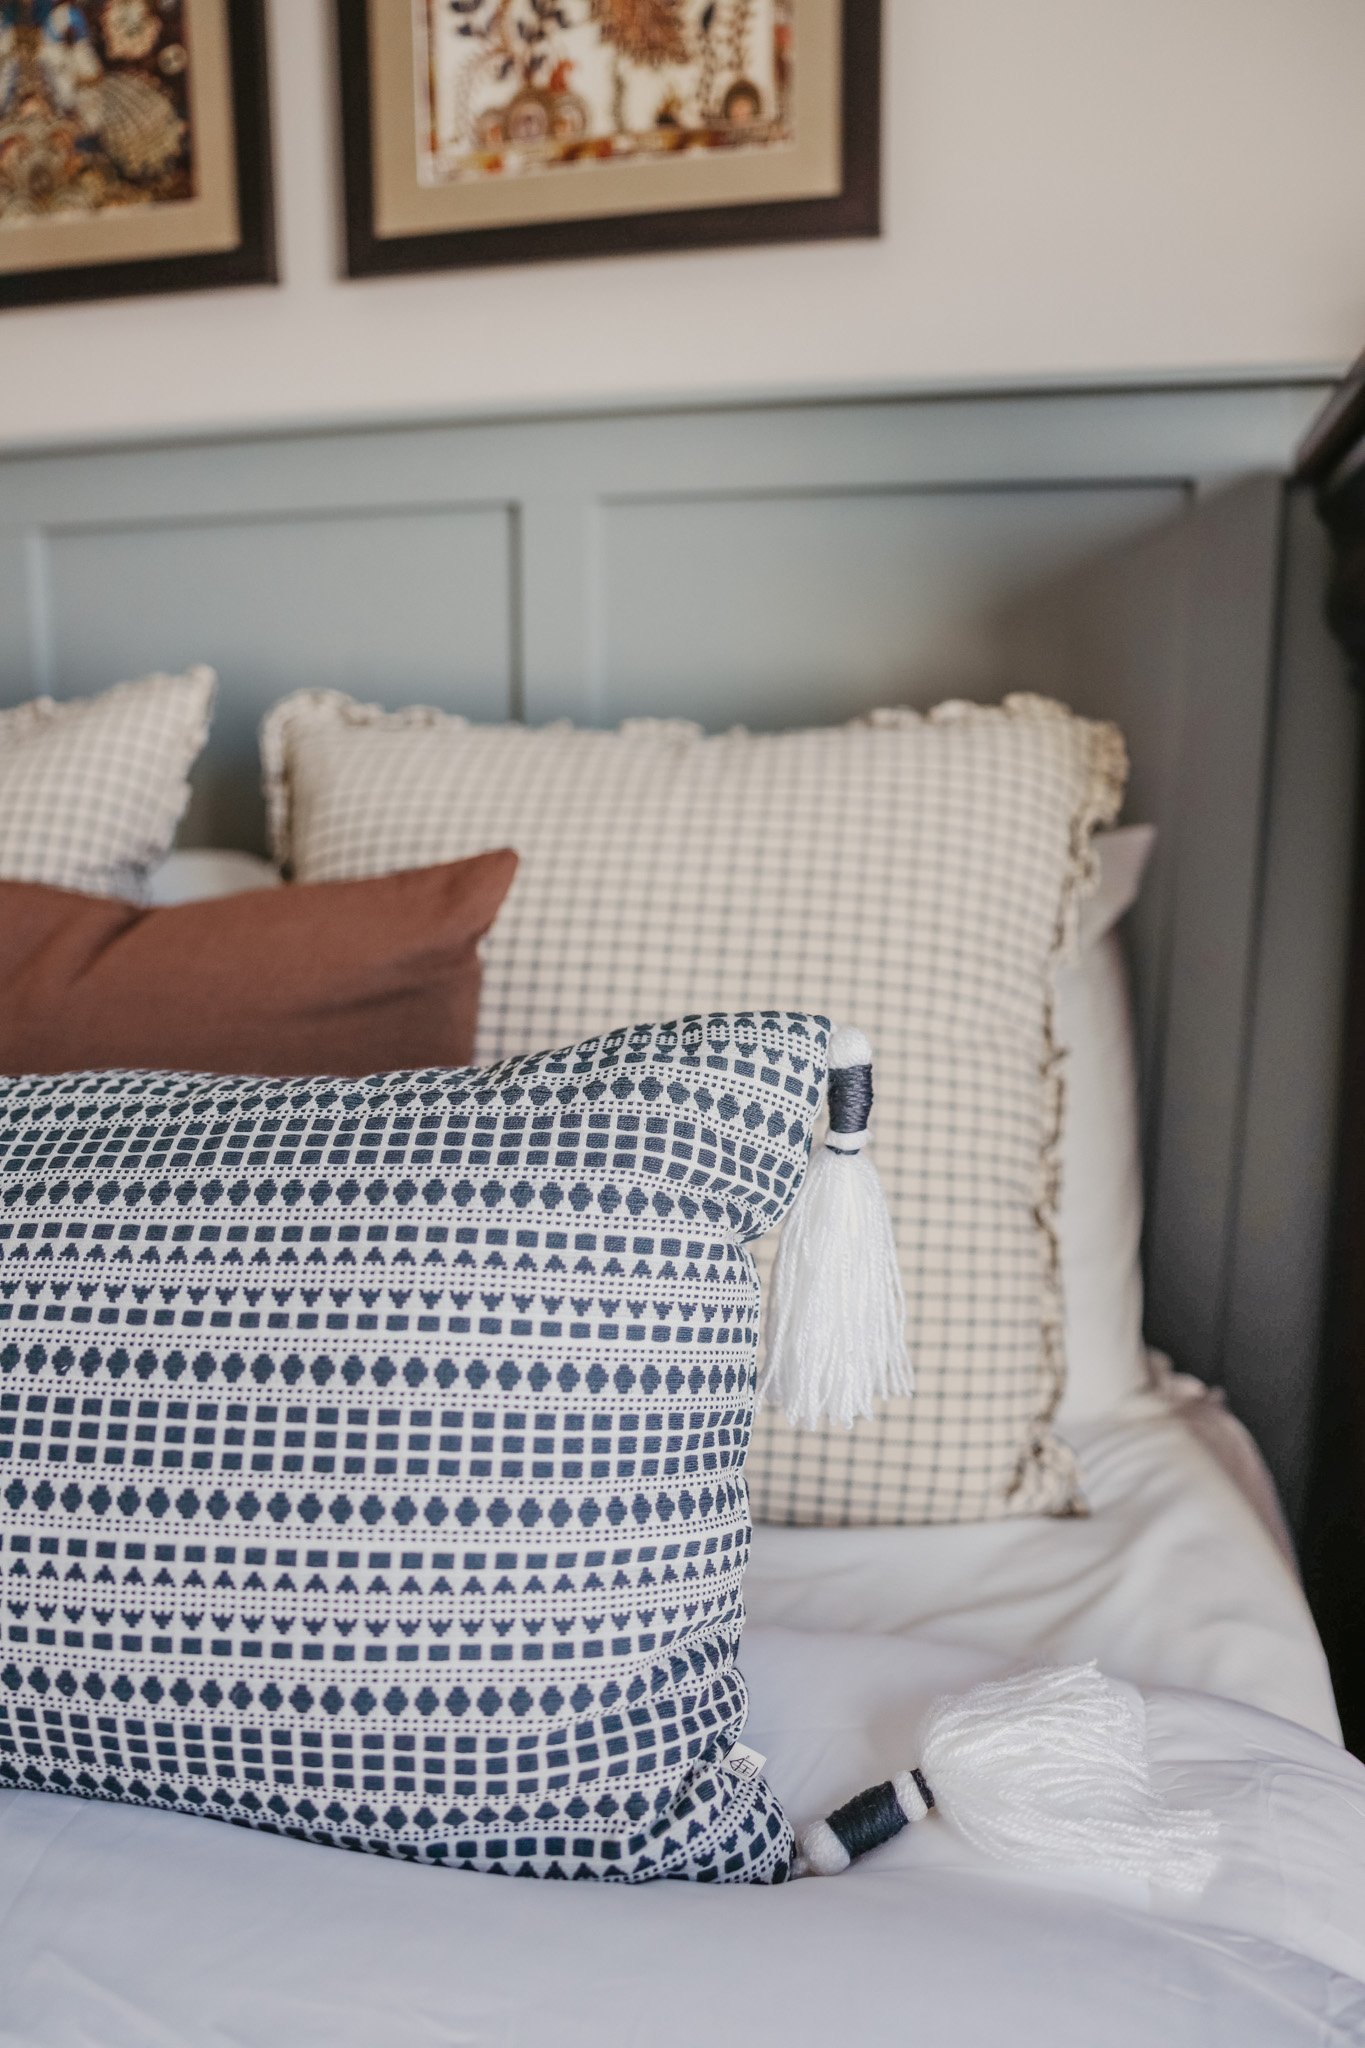
lastly, i decorate and style it and then we enjoy <3
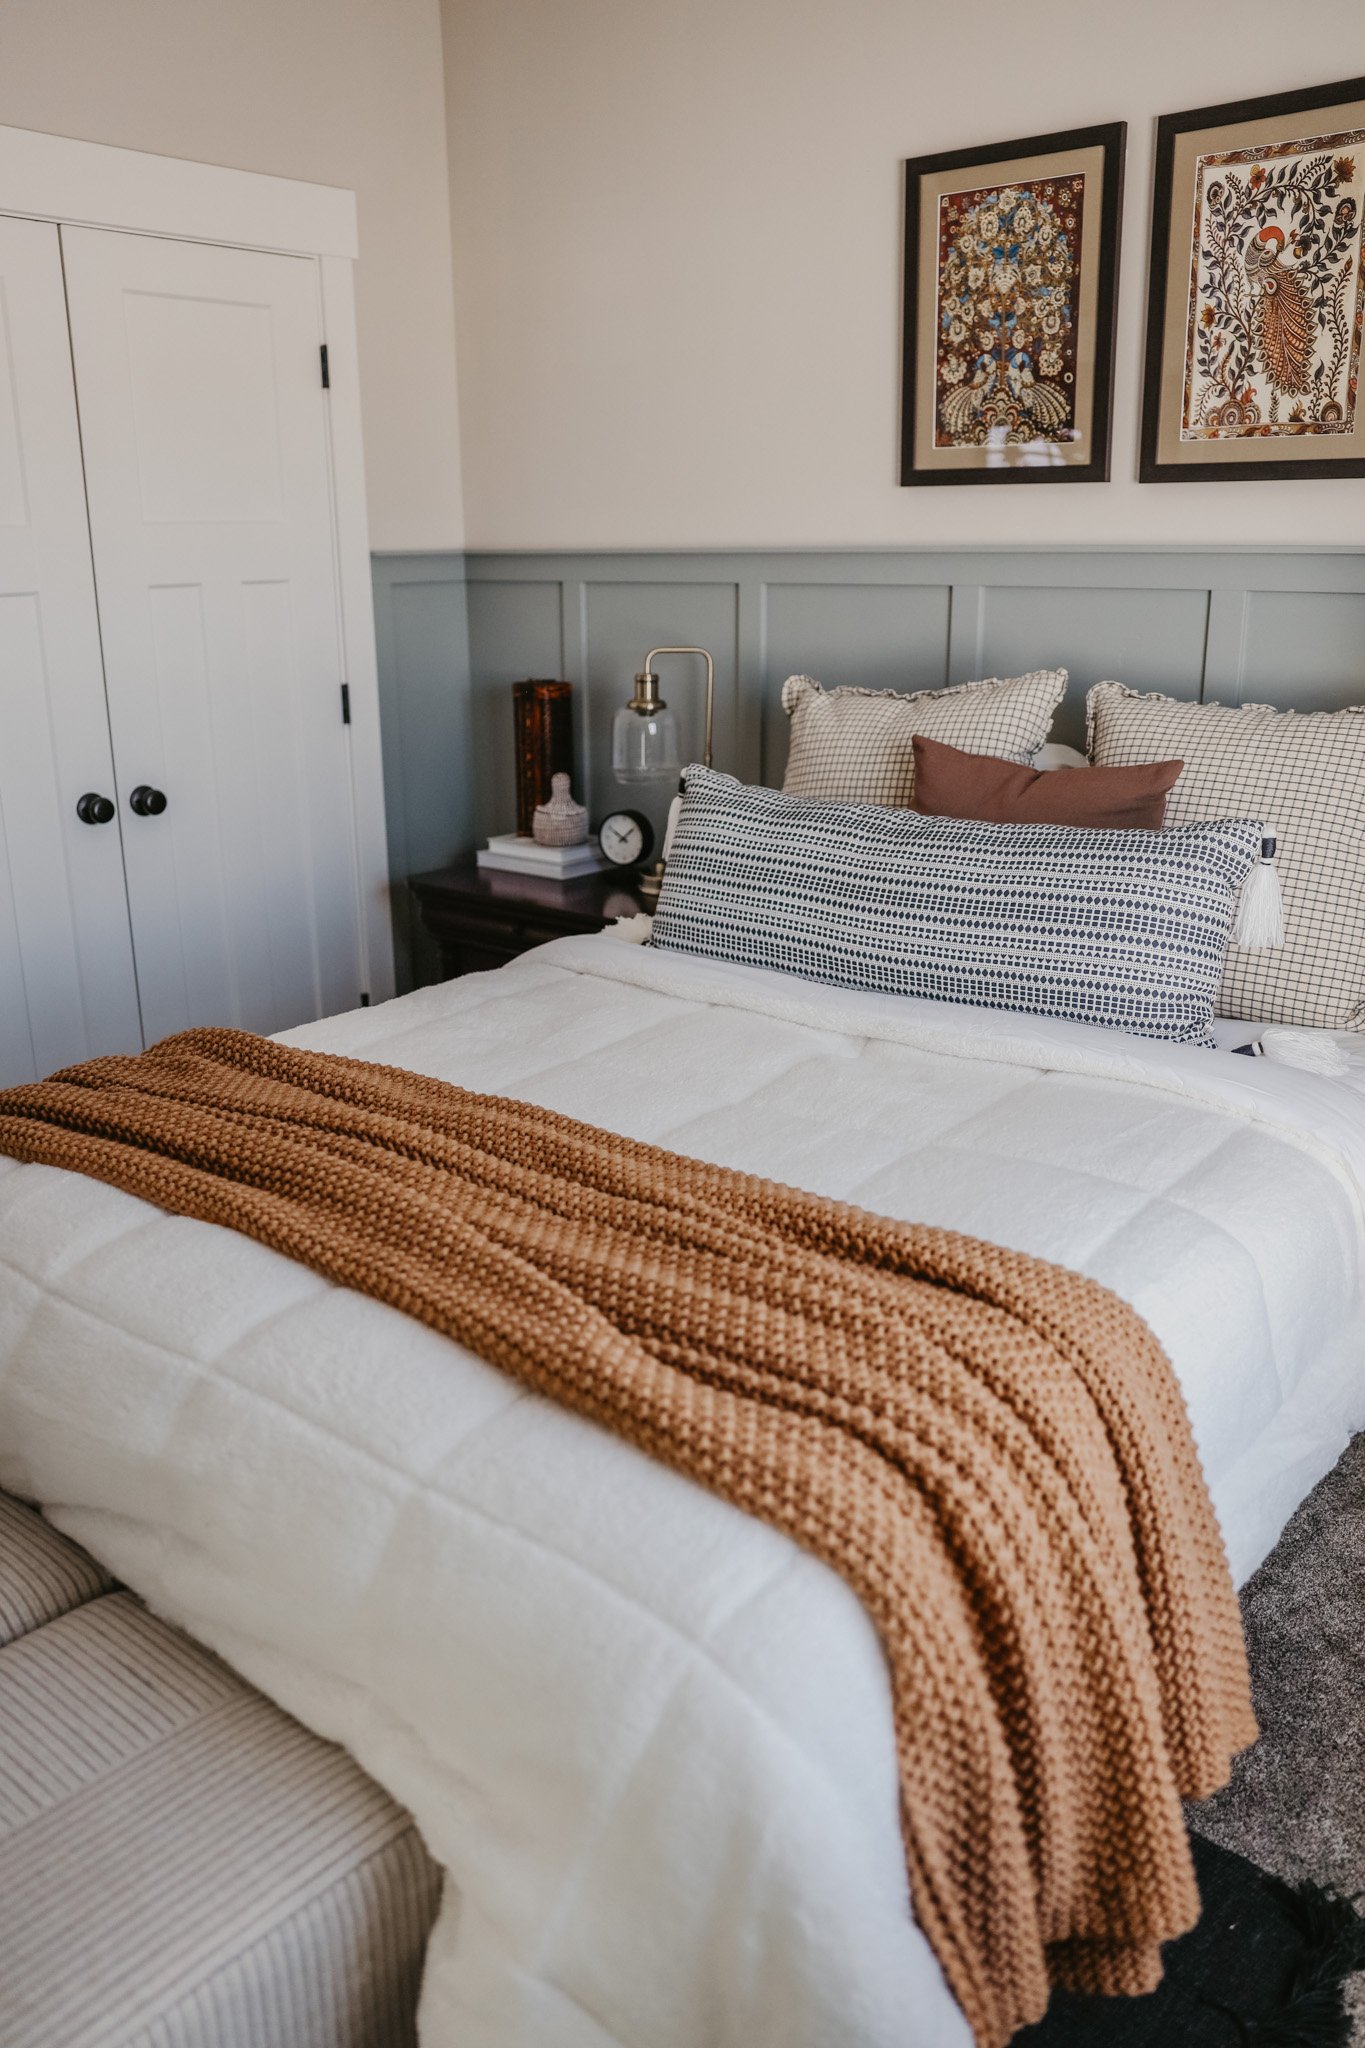
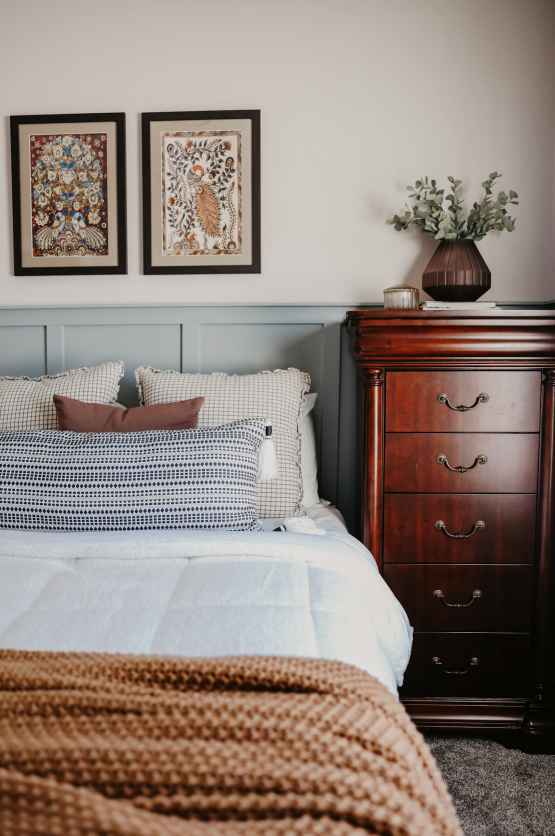
paint color:Sage grey by behr paint
supplies:-brad nailer
-2 inch brad nails
-miter saw or circular saw
-caulk
-caulk gun
-wood filler
-2” angled paint brush
-9” roller brush
-4” roller brush
-1 x 3 mdf
-1 x 2 mdf
-paint color of choice!
-level
if you have textured walls, you can still do this! my parent’s have a very subtle knock down texture, so we just added the trim right over it. but if you have a less subtle texture and want smooth walls, your options are to skin coat (which takes forever but can look good if done right!) or adding hardboard between your battens. for this you would either lay an entire 4 x 8 sheet underneath your battens, cut it to the right height, and then lay your battens on top. or you could cut each individual square out between your battens and then caulk around the edges. then paint like normal!
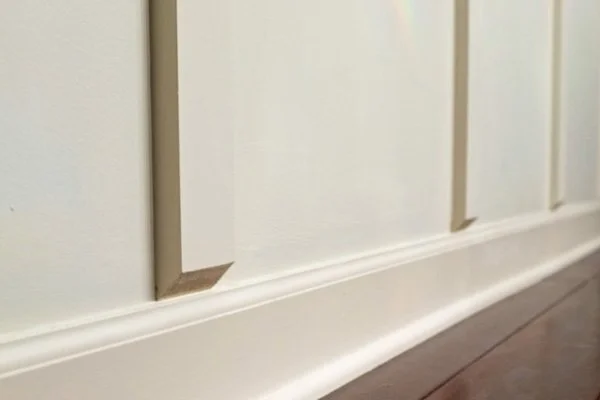
if you do add hardboard underneath and then lay the battens over, make sure you take that thickness into account and factor your total thickness with all the pieces so they don’t hang over your baseboards. if they do hang over your baseboards, you can always angle your bottoms so they go into your baseboards and look intentional!
like this:
overall, a really easy wall treatment that is great for beginners! pretty sure i will be adding this to another room in my house again in the future too.
happy diying friends!
xoxo-taylor
need decor sources? shop this room here!